
Bonneville V6-231 3.8L VIN 3 SFI (1988)
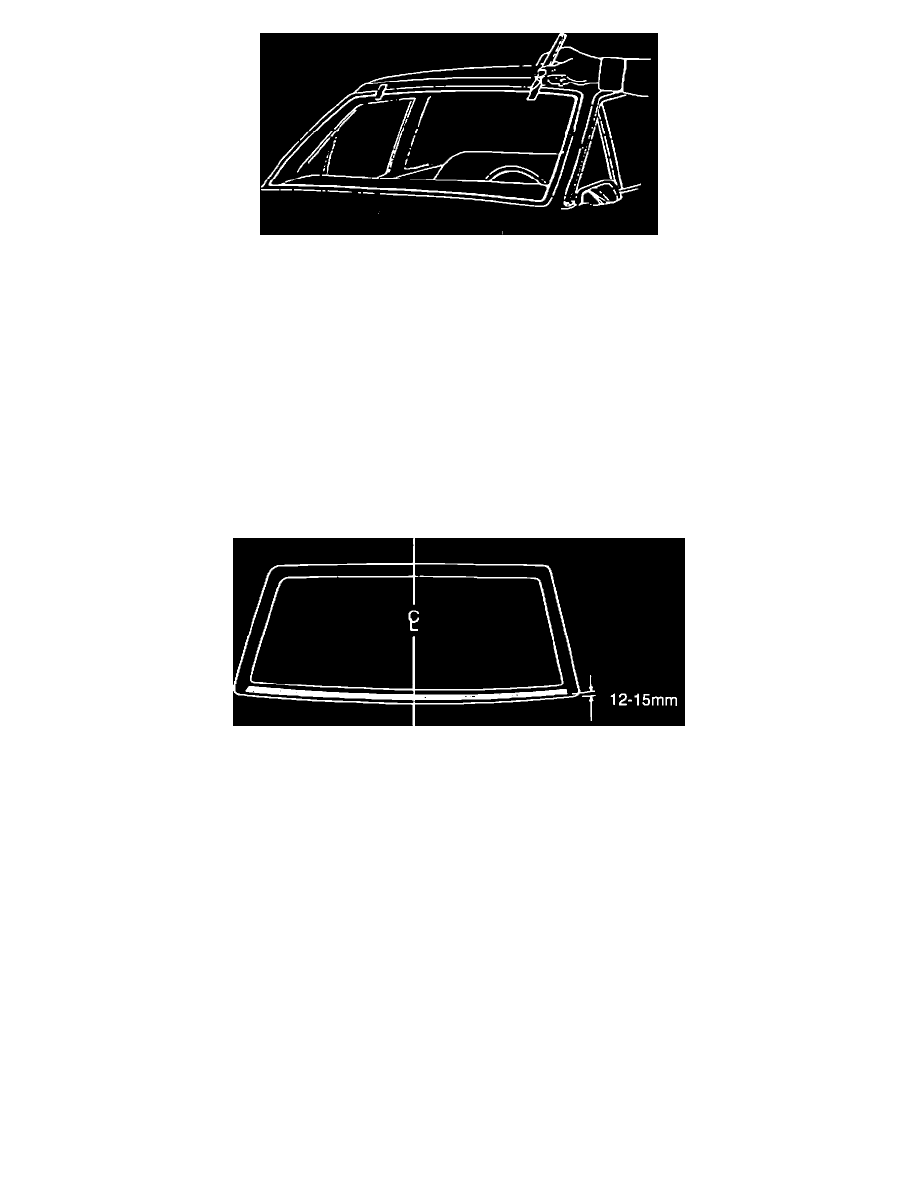
FIGURE 3
8.
Position windshield glass into opening. Align for uniform fit to roof and windshield pillars.
Mark position by applying masking tape to windshield and body. Cut tape at edge of glass and body. This will provide a means to align
windshield into body during installation (See Figure 3).
Utilizing a business card or similar item, run the card between the windshield and the windshield pillar garnish molding to check for clearance
along the entire windshield pillar length.
9.
Remove windshield from body and prep as follows, utilizing primers contained in the Urethane Repair Kit No. 9636067:
a.
Clean windshield with general glass cleaner.
b.
Apply clear primer glass prep #1 to entire perimeter of glass edge inboard approximately 12 mm. Wipe primer off with a clean, dry rag.
c.
Apply black glass prep #2 primer directly over clear primer area.
FIGURE 4
10.
Apply insulation strip, Part No. 20674325, along lower inboard edge of glass so as to allow 12-15 mm of glass clearance (Figure 4) from edge of
glass to bottom edge of insulation strip.