
Bonneville V6-3.8L VIN K (1996)
Intake Manifold: Service and Repair
Intake Manifold Lower
CAUTION: This engine has two bolts which are hidden beneath the upper intake. These bolts are located in the right front and left rear corners of the
lower intake manifold. It is necessary to remove the upper intake manifold to service the lower intake.
REMOVAL
1. Disconnect the negative battery cable.
2. Remove the upper intake manifold.
3. Drain the cooling system. See Cooling System.
4. Remove the upper radiator hose. See Cooling System.
5. Remove the generator. See Starting and Charging.
6. Remove the drive belt tensioner.
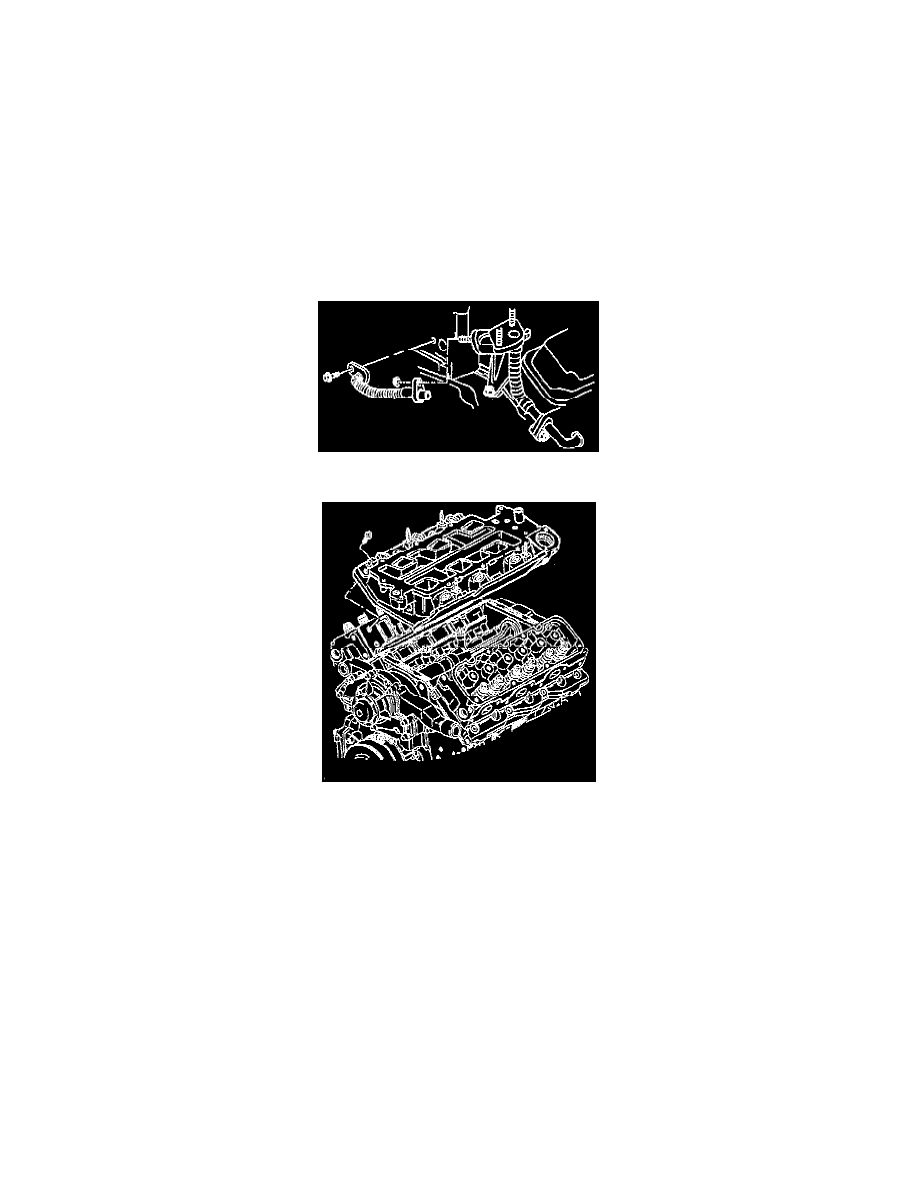
7. Remove the EGR valve outlet pipe. See Powertrain Management.
8. Remove the lower intake manifold bolts.
9. Remove the lower intake manifold.
INSTALLATION
CAUTION: In order to complete the installation, observe the following assembly tips:
^
Clean the cylinder block, heads and the intake manifold sealing surface of all oil with a suitable solvent.
^
Clean the intake manifold bolts and bolt holes of adhesive compound.
^
Apply thread locking compound GM P/N 12345739 or equivalent to the intake manifold bolt threads before assembly.
1. Install the lower intake manifold gasket.
2. Install the lower intake manifold.
3. Apply GM P/N 12345382 threadlocker or equivalent on the bolt threads.