Bonneville V8-4.6L VIN Y (2004)

Front Door Striker: Service and Repair
Door Striker Replacement
Door Striker Replacement
Removal Procedure
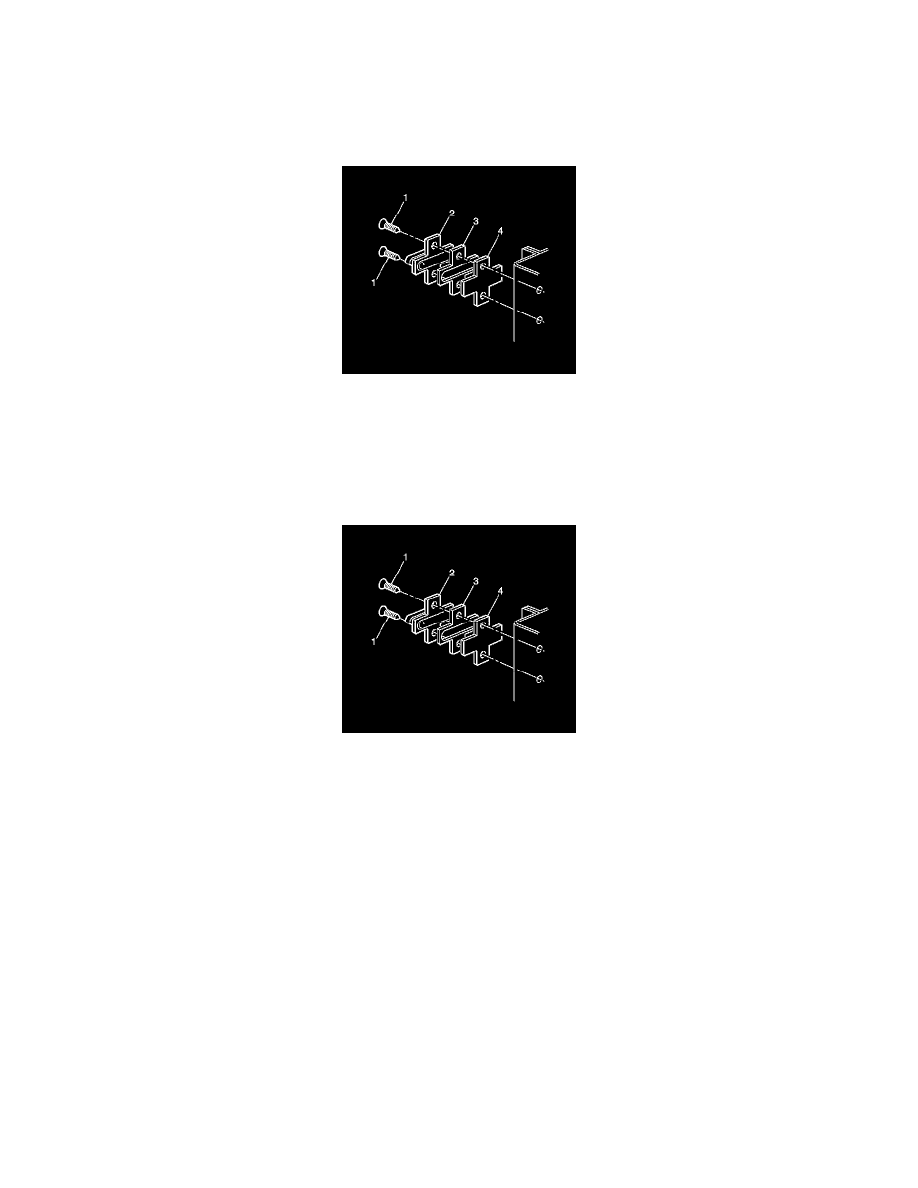
Important: Observe the striker location and the number of spacers before removing the striker fasteners.
1. Mark the location of the door striker on the pillar with a grease pencil.
2. Remove the door striker fasteners (1).
3. Remove the striker (2), spacer (3) and washer.
Installation Procedure
1. Assemble the washer, spacer (3), and striker (2).
2. Position the striker on the lock pillar, with the narrow part of the striker facing outward, to the marks made on the door pillar during removal.
3. Secure the striker fasteners (1).
4. Align the door striker. Refer to Door Lock Striker Adjustment.
Notice: Refer to Fastener Notice in Service Precautions.
5. Tighten the striker fasteners.
Tighten the striker fasteners to 28 N.m (21 lb ft).
