
Fiero L4-151 2.5L (1985)
Suspension Spring ( Coil / Leaf ): Service and Repair
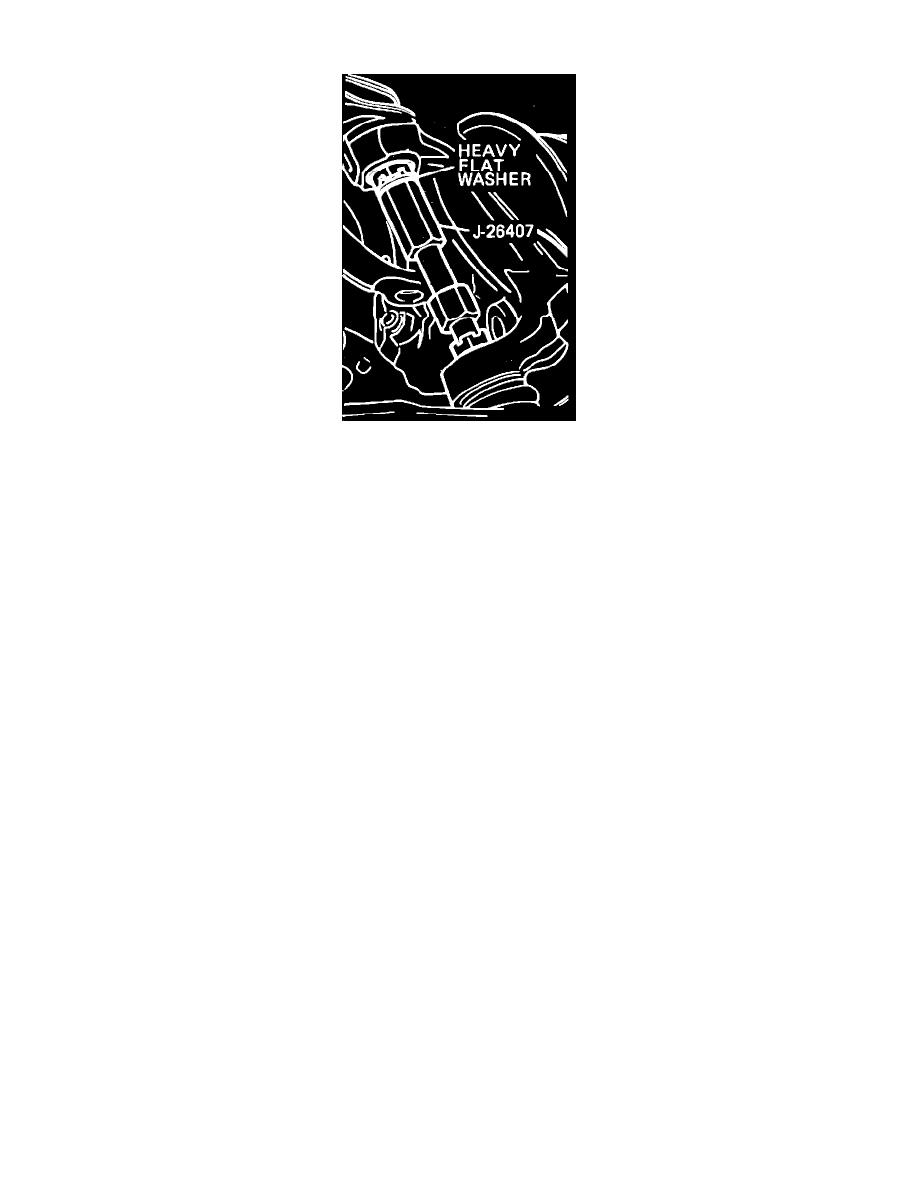
Fig. 3 Lower ball joint removal
1.
Raise vehicle and support at frame crossmember.
2.
Remove wheel and tire assembly, then disconnect stabilizer bar from lower control arm.
3.
Disconnect tie rod from steering knuckle, then the shock absorber from lower control arm.
4.
Support lower control arm with a suitable jack, then remove lower ball joint stud nut and press ball joint out of steering knuckle, using tool No.
J-26407, Fig. 3. Position steering knuckle and hub aside.
5.
Loosen lower control arm pivot bolts.
6.
Install a safety chain through coil spring, then slowly lower jack and remove spring, Fig. 1.
7.
Remove lower control arm attaching bolts and the lower control arm. It may be necessary to loosen or remove steering gear attaching bolts to
gain access to the control arm attaching bolt at the crossmember.
8.
Reverse procedure to install, noting the following:
a. Install control arm attaching bolts finger tight. Do not torque bolts until all other components have been assembled and torqued to
specifications.
b. Torque ball joint stud nut to 55 ft. lbs.
c. Torque stabilizer bar attaching bolt to 16 ft. lbs.
d. Torque tie rod attaching nut to 29 ft. lbs.
e. Torque shock absorber lower attaching bolt to 35 ft. lbs.
f.
If steering gear attaching bolts have been loosened or removed, install new bolts and torque to 21 ft. lbs.
g. Torque control arm-to-body attaching bolt to 62 ft. lbs. and control arm-to-crossmember nut to 52 ft. lbs.