
Fiero V6-173 2.8L (1986)
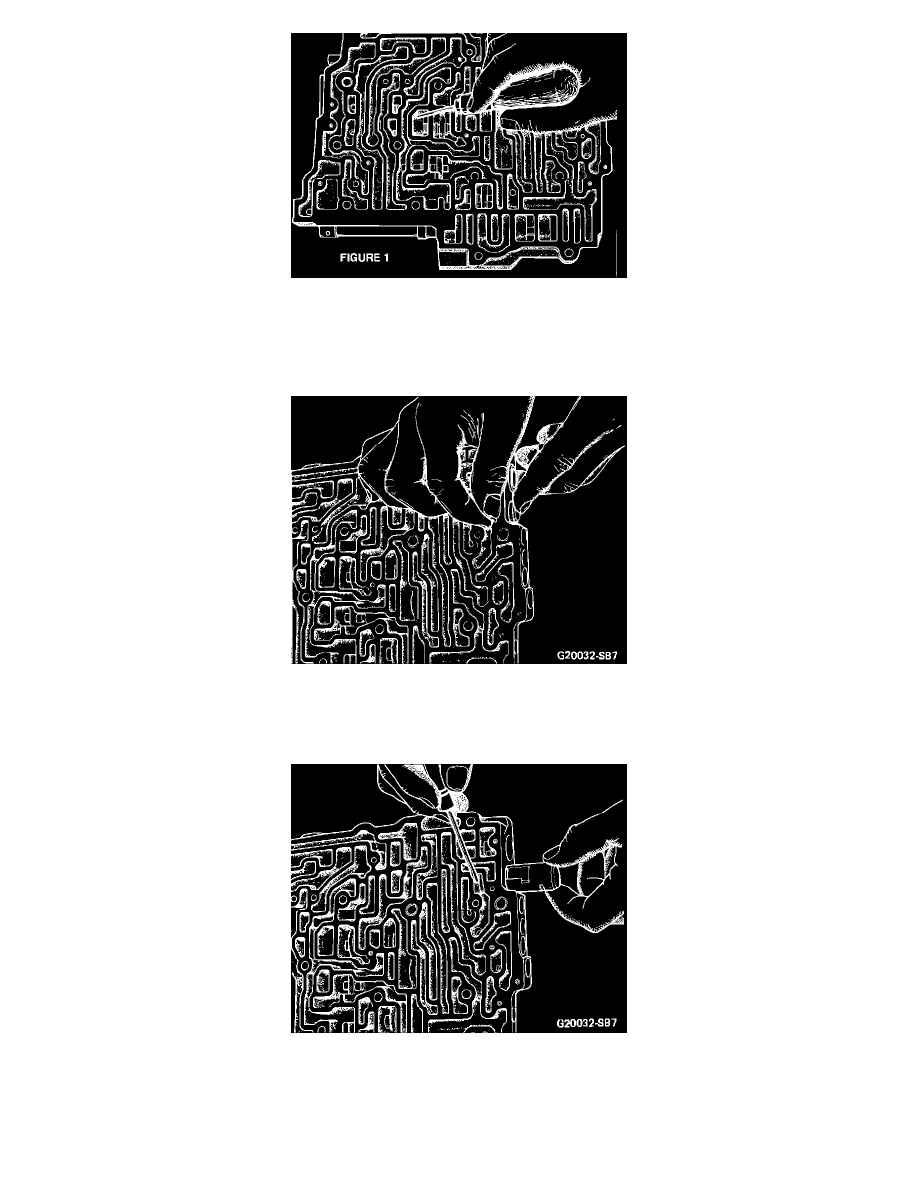
FIGURE 1 - Control Valve Assembly
5.
Inspect the casing and fluid passages for foreign materials that may have accumulated in pockets. Remove the foreign material with a small
screwdriver or an awl. (Refer to Figure 1)
6.
As necessary, repeat the washing and drying procedures as described in steps #3 and #4 until all foreign materials are removed.
FIGURE 2 - COIL SPRING REMOVAL
7.
While applying a slight pressure with your finger against spring force in the valve train, remove the coiled spring pin, sleeve or clip that
retains the valve train. (Refer to Figure 2)
FIGURE 3 - BUSHING REMOVAL
8.
Slowly release pressure on the valve train and remove it from the valve body. A small flat blade screwdriver may be used to remove the
bushing from the bore. (Refer to Figure 3)
DO NOT USE EXCESS FORCE TO REMOVE VALVES OR BUSHINGS