
Firebird V6-173 2.8L VIN L 2-bbl HP (1983)
4.
Install the governor assembly and cover.
5.
Road test the vehicle. If the vehicle operates satisfactory, stop here; if not, continue.
6.
Remove the oil pan and oil filter.
a.
Remove the 1-2 accumulator cover and pin assembly, 1-2 accumulator spring, and the 1-2 accumulator piston. Inspect for porosity,
nicks, damaged ring grooves, cut seals or broken spring.
b.
Remove the solenoid "O" ring assembly.
c.
Remove the T.V. lever and bracket assembly. Inspect both the T.V. cable and the T.V. lever and bracket assembly for sticking or
binding.
d.
Remove the valve body assembly and check the following valves for freeness: T.V. limit valve; accumulator valve; line bias valve;
throttle valve; 3-4 relay valve; 1-2 shift valve; 1-2 T.V. valve; modulated T.V. up valve; and, modulated T.V. down valve.
Disassemble and clean the valve body assembly or replace as necessary.
e.
Remove the oil passage cover plate, the spacer plate and gaskets, and the check balls.
f.
Inspect both the case and the valve body faces for nicks, damage, or out of flat faces.
g.
Be certain the band anchor plug is installed.
h.
Check the oil filter for small cracks, plugged screen, flash plugging filter neck, or cut "O" ring.
i.
Check for plugged governor filters.
j.
Reassemble the transmission. Be certain all checkballs are properly installed and bolt torques are correct.
7.
Road test the vehicle. If the condition is corrected, stop here; if not, continue.
8.
Following the Service Manual procedure, remove the transmission from the vehicle, disassemble, and inspect. Pay careful attention to the
following items.
a.
Inspect the oil pump assembly for stuck or sticking pressure regulator valve; loose, mislocated, or missing stator shaft sleeve; and,
scored or damaged bearing journals.
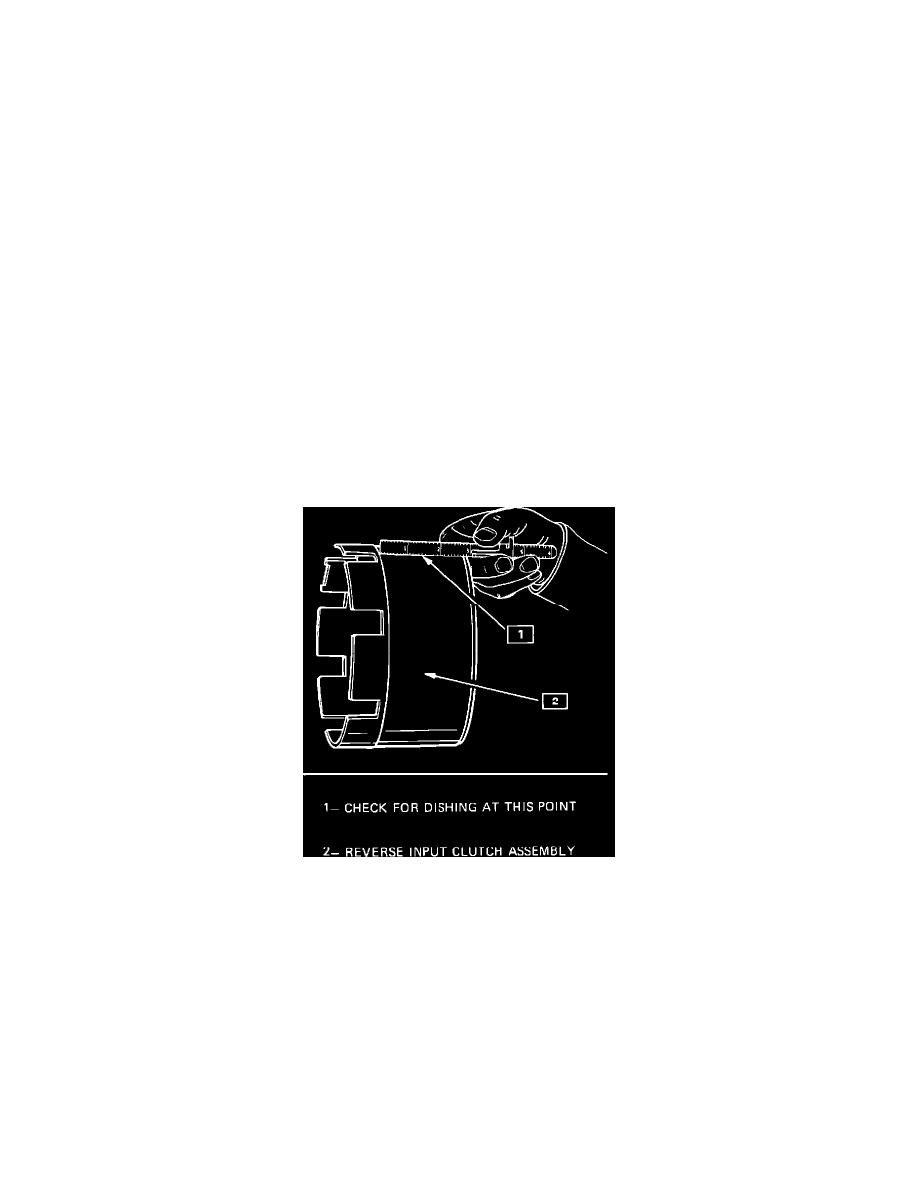
FIGURE 2
b.
Inspect the reverse input housing for scored or damaged bushings. Also, check the clutch housing outer diameter for scoring, damage, or
dishing (see Figure 2).
c.
Inspect the turbine shaft seal rings for cuts, nicks, or damage. Make sure the rings are free in the ring grooves.
d.
Check the lip seals on the forward, overrun, and 3-4 clutch pistons for cuts or damage.
e.
Check the forward clutch "O" ring seal on the input housing hub for cuts, nicks or damage.
f.
Check the forward, overrun, and 3-4 clutch piston for porosity or damage.
g.
Inspect the forward, overrun, and 3-4 clutch checkballs for sticking or, leaking conditions.
h..
Inspect the reaction sun gear shell
and reaction sun gear for damaged tangs, stripped splines, broken hub, or scored bushings.
i.
Inspect the reaction carrier for damaged pinion teeth.
j.
Inspect the 2-4 band assembly for wear or damage.
9.
Reassemble the transmission (refer to your Service Manual). Replace any worn or damaged parts as necessary. Recheck the 2-4 servo pin
length and be certain clutch pack and transmission end plays are correct.