
Firebird V6-3.8L VIN K (1995)
8. Regulator assembly (20 or 82) from channel assemblies.
9. Regulator assembly (20 or 82), with motor assembly (83) attached if equipped, through rear access hole.
INSTALL OR CONNECT
1. Regulator assembly (20 or 82), with motor assembly (83) attached if equipped, through rear access hole.
2. Regulator assembly (20 or 82) to channel assemblies.
3. Electrical connector to motor assembly (83), if equipped.
4. Rivets (23) in sequence.
5. Front side door window rear guide channel nuts.
INSPECT
^
Window alignment. Adjust if necessary.
6. Front side door water deflector.
7. Front side door trim assembly.
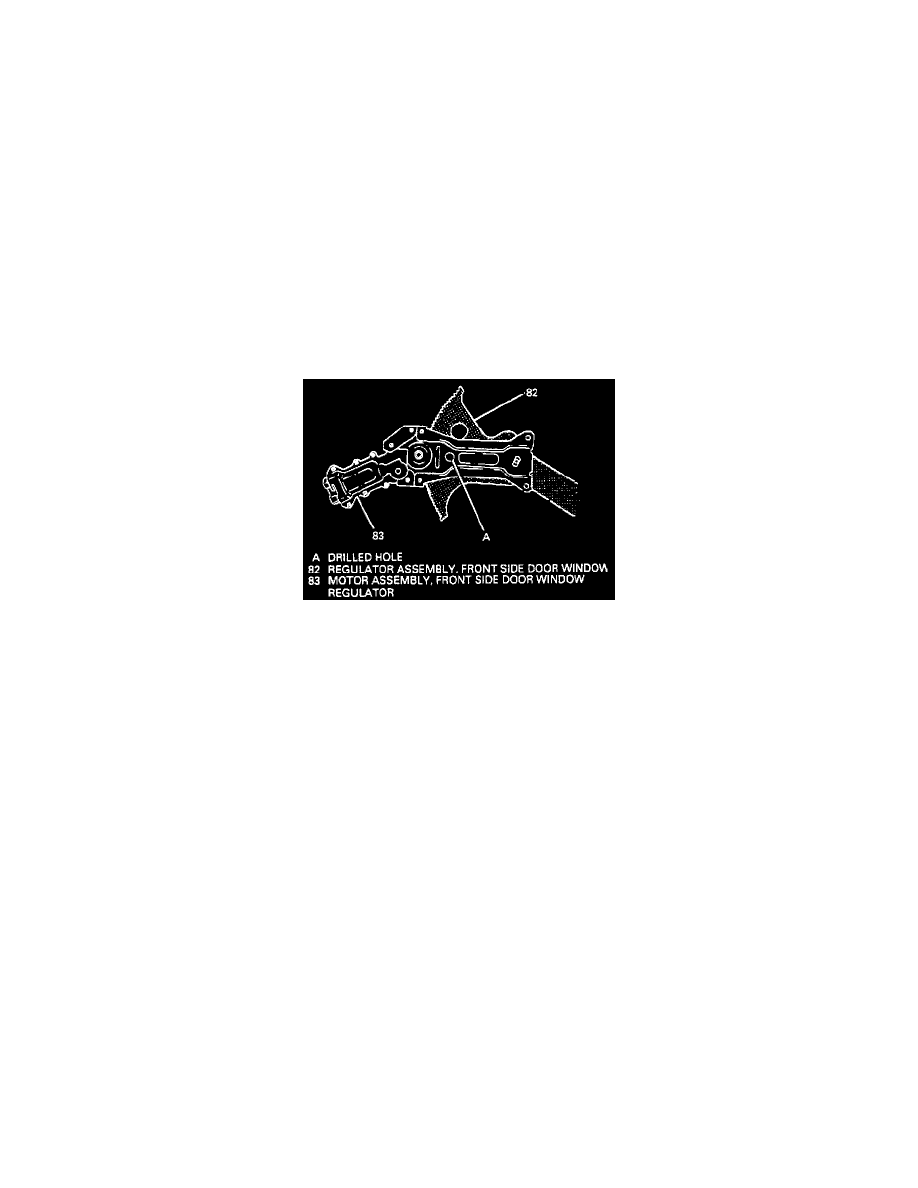
Front Side Door Window Regulator Motor Assembly
CAUTION: if electric motor removal from the regulator assembly is required, the sector gear must be locked into position. The regulator lift arm is
under tension from the counterbalance spring and could cause personal injury if the sector gear is not locked in position.
Locking Sector Gear
REMOVE OR DISCONNECT
1. Front side door window regulator assembly with motor assembly.
2. Drill hole through window regulator sector gear and backplate.
3. Install bolt and nut to lock sector gear into position.
4. Rivets.
^
Push rivet mandrel out of rivet with a punch.
^
Drill out rivet.
^
Remove rivet fragments from hole.
5. Motor assembly (83).
INSTALL OR CONNECT
1. Motor assembly (83).
2. Rivets.
3. Remove bolt and nut used to secure sector gear.
4. Front side door window regulator assembly and motor.