Firebird V8-5.7L VIN G (2001)

Trim Panel: Service and Repair
Cargo Area Front Trim Panel Replacement (Coupe)
Cargo Area Front Trim Panel Replacement (Coupe)
Removal Procedure
1. Lower the seatback.
2. Remove the left or right shroud side trim finishing panel.
3. Remove the coat hook.
Release retainer with a screwdriver and pull out if necessary.
4. Remove the rear seat striker bolt/screw and washer.
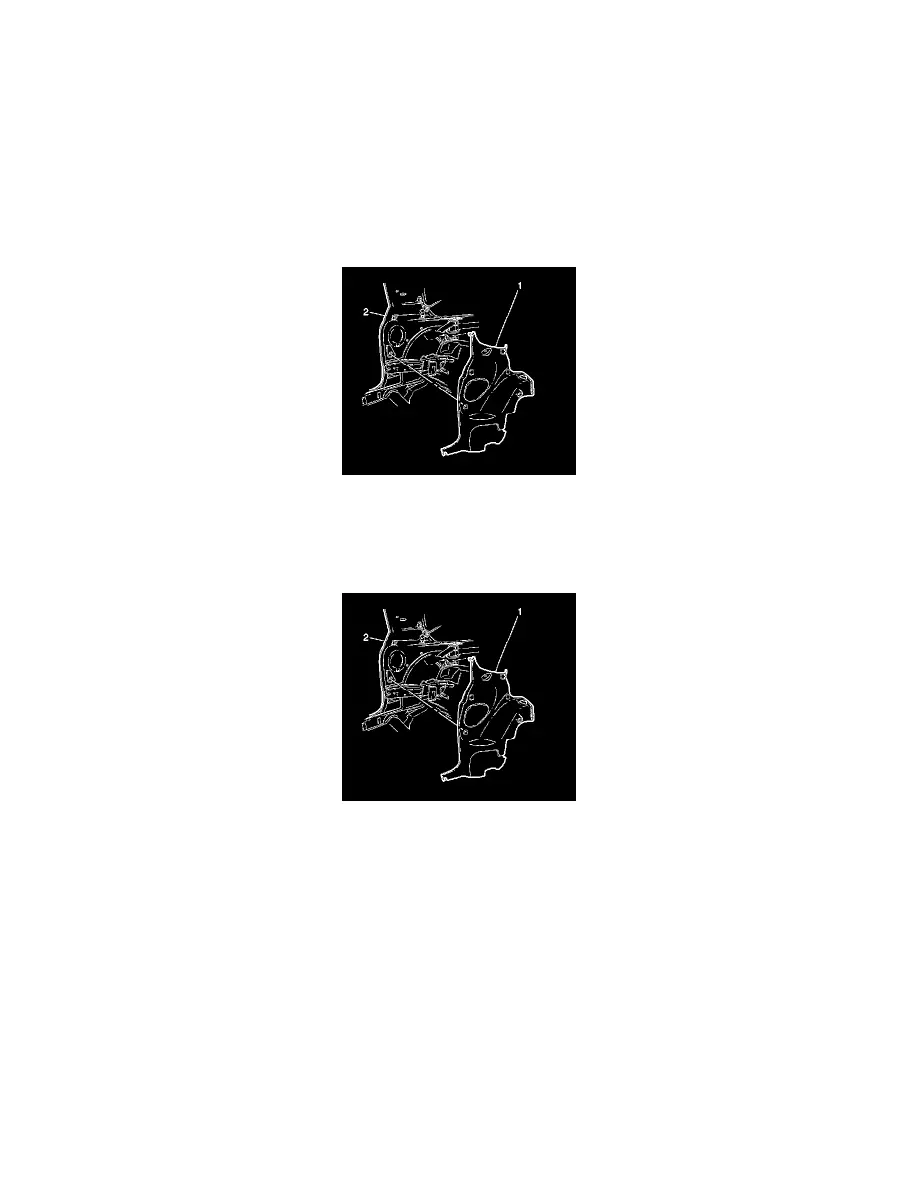
5. Remove quarter inner trim finishing panel (1) from vehicle body (2).
Push lap belt through slot in quarter inner trim finishing panel.
6. Remove speaker grille, if replacing panel.
Installation Procedure
1. Install speaker grille, if removed.
Important: Thread lap belt through slot in quarter inner trim finishing panel.
2. Install quarter inner trim finishing panel (1) to vehicle body (2).
Notice: Refer to Fastener Notice in Service Precautions.
3. Install the rear seat striker bolt/screw and washer.
Tighten the bolt to 35 N.m (26 lb ft).
4. Install the coat hook.
Important: Slide into position and press retainer to lock.
5. Install the left or right shroud side trim finishing panel.
6. Raise the seatback.
