
Firebird V8-5.7L VIN G (2001)
Trunk / Liftgate Lock Cylinder: Service and Repair
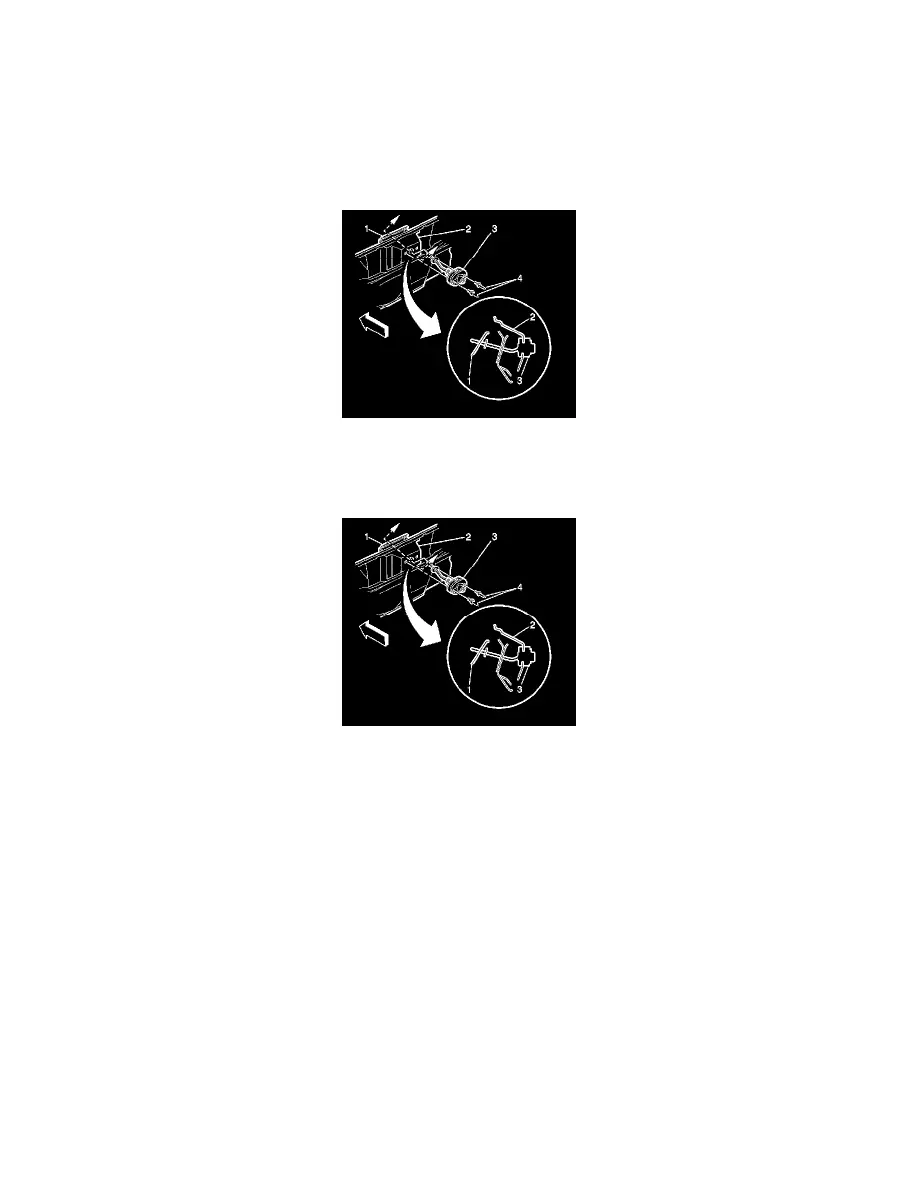
Liftgate Lock Cylinder Replacement
Removal Procedure
1. Open the window panel.
2. For Chevrolet only, remove the rear end finish panel. Refer to Rear End Panel Replacement (Pontiac) Rear End Panel Replacement (Chevrolet).
3. For Pontiac only, remove the taillamp filler. Refer to Rear End Panel Replacement (Pontiac) Rear End Panel Replacement (Chevrolet).
4. Remove the rivets (4).
5. Remove the lock cylinder (3).
Installation Procedure
Important: Position the tan dot on the lock cylinder upward when installing the lock cylinder.
1. Install the lock cylinder (3).
Guide the lock cylinder shaft through the hole in the rear end panel into the hole in the lock support.
2. Align the lock cylinder.
3. Install the right rivet (4).
4. Install the left rivet (4).
5. For Pontiac only, install the tail lamp filler. Refer to Rear End Panel Replacement (Pontiac) Rear End Panel Replacement (Chevrolet).
6. For Chevrolet only, install the rear end finish panel. Refer to Rear End Panel Replacement (Pontiac) Rear End Panel Replacement (Chevrolet).