Firebird V8-5.7L VIN G (2001)

3. Assemble the O-ring onto the J 33011.
4. Install the O-ring.
4.1. Insert the J 33011 into the compressor neck until the installer bottoms out.
IMPORTANT: The top groove in the compressor neck is for the shaft seal retainer ring.
4.2. Lower the moveable slide of the J 33011 in order to release the O-ring into the seal O-ring lower grove.
4.3. Rotate the J 33011 in order to seat the O-ring.
4.4. Remove the installer.
5. Dip the new shaft seal in clean 525 viscosity refrigerant oil.
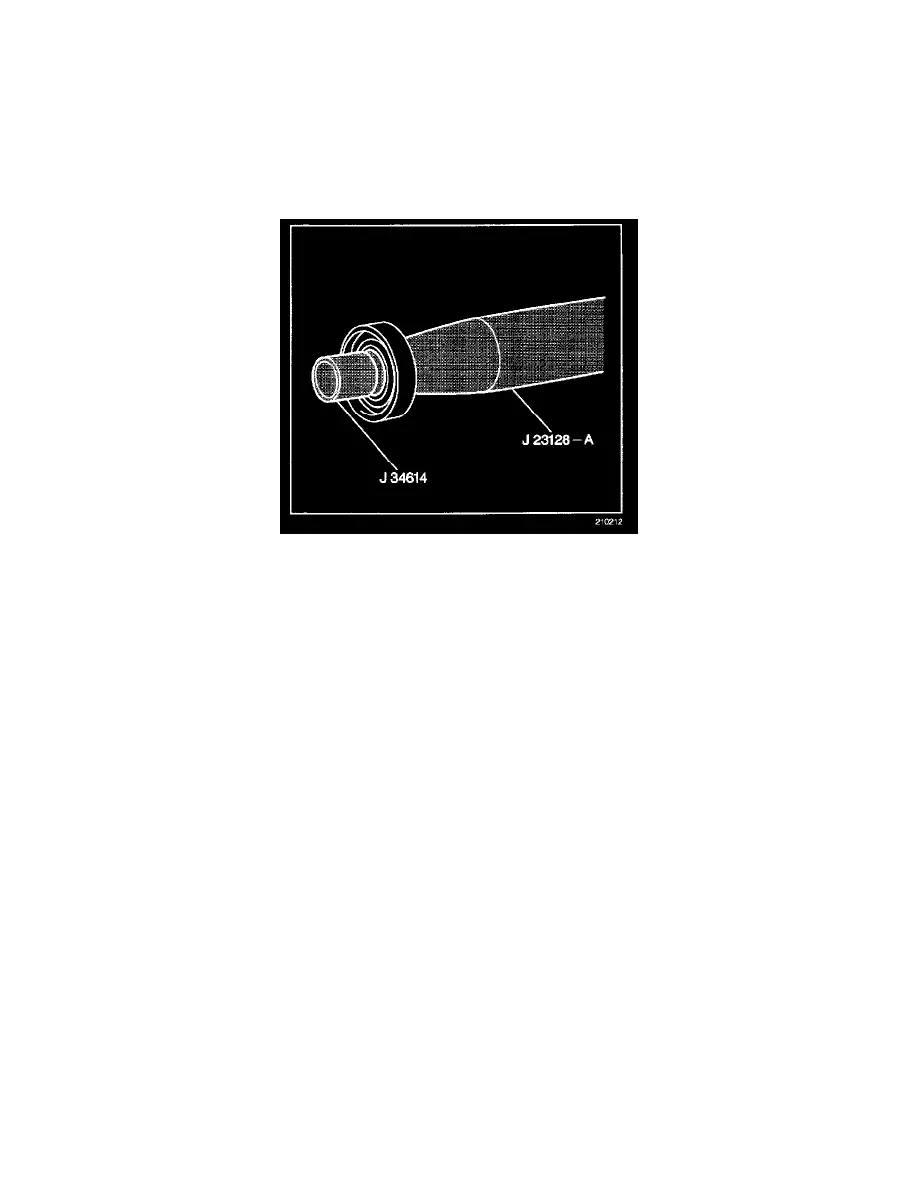
6. Assemble the seal to the J 23128-A by turning the handle clockwise.
6.1. Ensure that the stamped steel case side of the lip seal engages with the knurled tangs of the J 23128-A.
6.2. Ensure that the flared-out side of the lip seal faces toward the compressor.
NOTE: Use care when handling the seal protector. Do not nick the seal protector. This may damage the seal during installation. Ensure that the
bottom of the seal protector is not flared. This may damage the seal during installation.
7. Install the J 34614 on the lip seal.
8. Install the lip seal onto the shaft.
8.1. Place the J 34614 over the end of the compressor shaft.
8.2. Slide the new seal onto the shaft using a rotary motion of the J 23128-A.
8.3. Ensure that the seal makes good contact with the O-ring.
Do not dislodge the O-ring.
8.4. Disengage the J 23128-A from the seal.
8.5. Remove the J 23128-A and the J 34614 from the compressor.
