
Firebird V8-5.7L VIN G (2001)
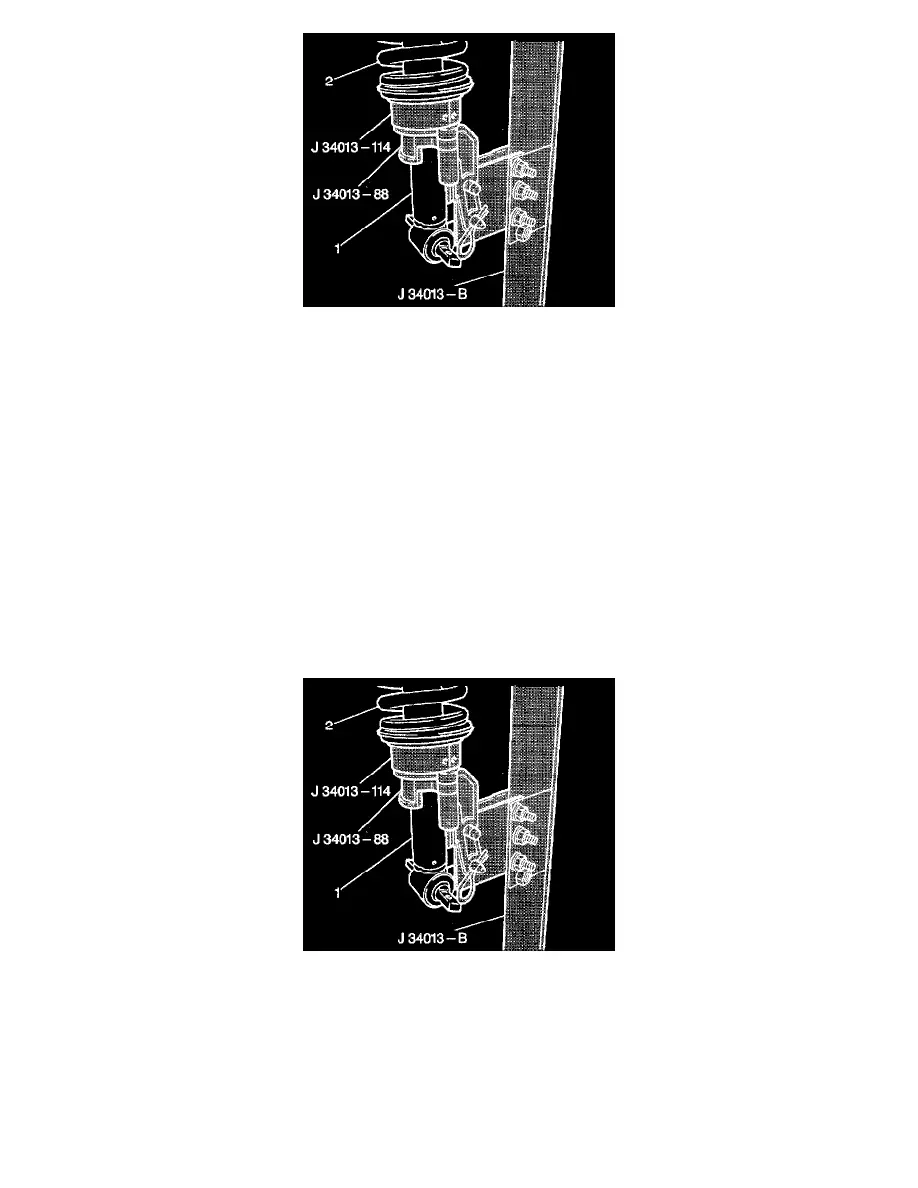
6. Install the shock absorber (1) to J 34013-88.
7. Close J 34013-88 and install the locking pin.
Important: If the mounting ears of the shock absorber are not facing downward, toward the rear of J 34013-B, the shock absorber will not align
properly.
8. Turn the screw on J 34013-B counterclockwise in order to raise the shock absorber up to J 34013-114. Align the top of the shock absorber flat
against the tool with the studs going through the guide holes in J 34013-114.
Caution: Do not over compress the spring. Severe overloading may cause tool failure which could result in bodily injury.
9. Compress the coil spring approximately 13 mm (0.50 inch).
10. Insert J 39642-1 on the shock absorber nut, then insert J 39642-2 through J 39642-1 in order to hold the shock absorber rod in place.
11. Remove the shock absorber nut using J 39642-1 while holding the shock absorber rod from rotating with J 39642-2.
12. Discard the shock absorber nut.
13. Turn J 34013-B clockwise in order to fully relieve coil spring tension.
14. Remove the coil spring from the shock absorber.
15. Remove the shock absorber from J 34013-88.
Assembly Procedure
1. Install the shock absorber (1) to J 34013-88..
2. Install the coil spring to the shock absorber.
Important:
-
Face the mounting ears of the shock absorber downward, toward the rear of J 34013-B or the shock absorber will not align properly.
-
Before removing the shock absorber, use chalk or paint in order to mark the lower mount location relative to the upper mount location, or you will
not be able to properly reinstall the shock absorber. Do NOT scribe.
3. Close J 34013-88 and engage the locking pin.
4. Position the upper and lower coil spring seats correctly.