
G5 L4-2.2L (2007)
Ball Joint: Service and Repair
Lower Ball Joint Replacement (with FE1 Only)
Removal Procedure
1. Raise and support the vehicle. Refer to Lifting and Jacking the Vehicle.
2. Remove the lower control arm. Refer to Lower Control Arm Replacement.
3. Place the lower control arm in a vise.
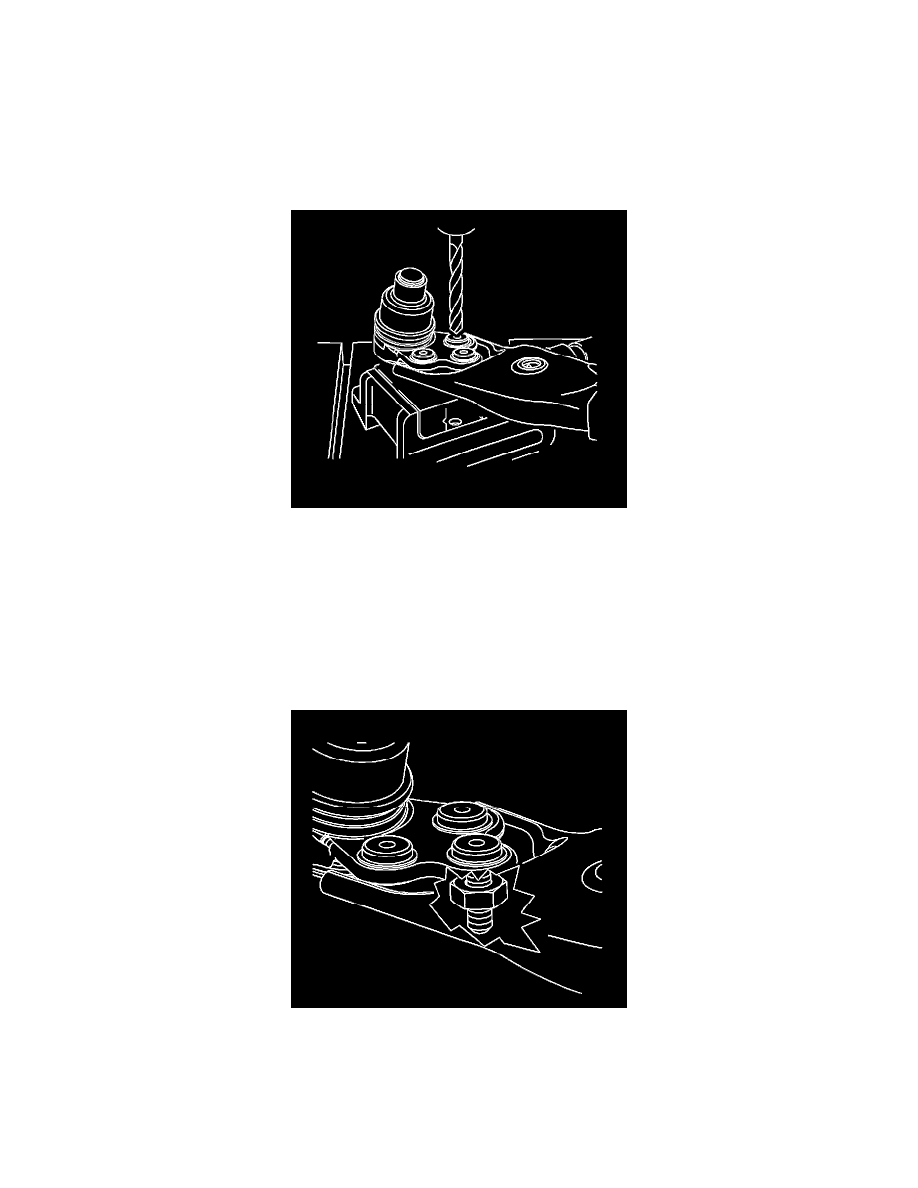
4. Remove the ball joint to control arm rivets using the following procedure:
1. Use a 3 mm (1/8 in) drill bit in order to make a pilot hole through the rivets.
2. Use a 13 mm (31/64 in) drill bit to complete drilling the rivets.
5. Remove the ball joint from the lower control arm.
Installation Procedure
1. Install the ball joint to the lower control arm.
Notice: Refer to Fastener Notice.
2. Install the ball joint bolts and the nuts. Follow the instructions in the ball joint kit.
Tighten the ball joint bolts to 68 N.m (50 lb ft).
3. Install the lower control arm. Refer to Lower Control Arm Replacement.