
G6 L4-2.4L (2007)
Wiring Harness: Service and Repair
4T45-E - Automatic Transaxle
Wiring Harness Replacement
Removal Procedure
Tools Required
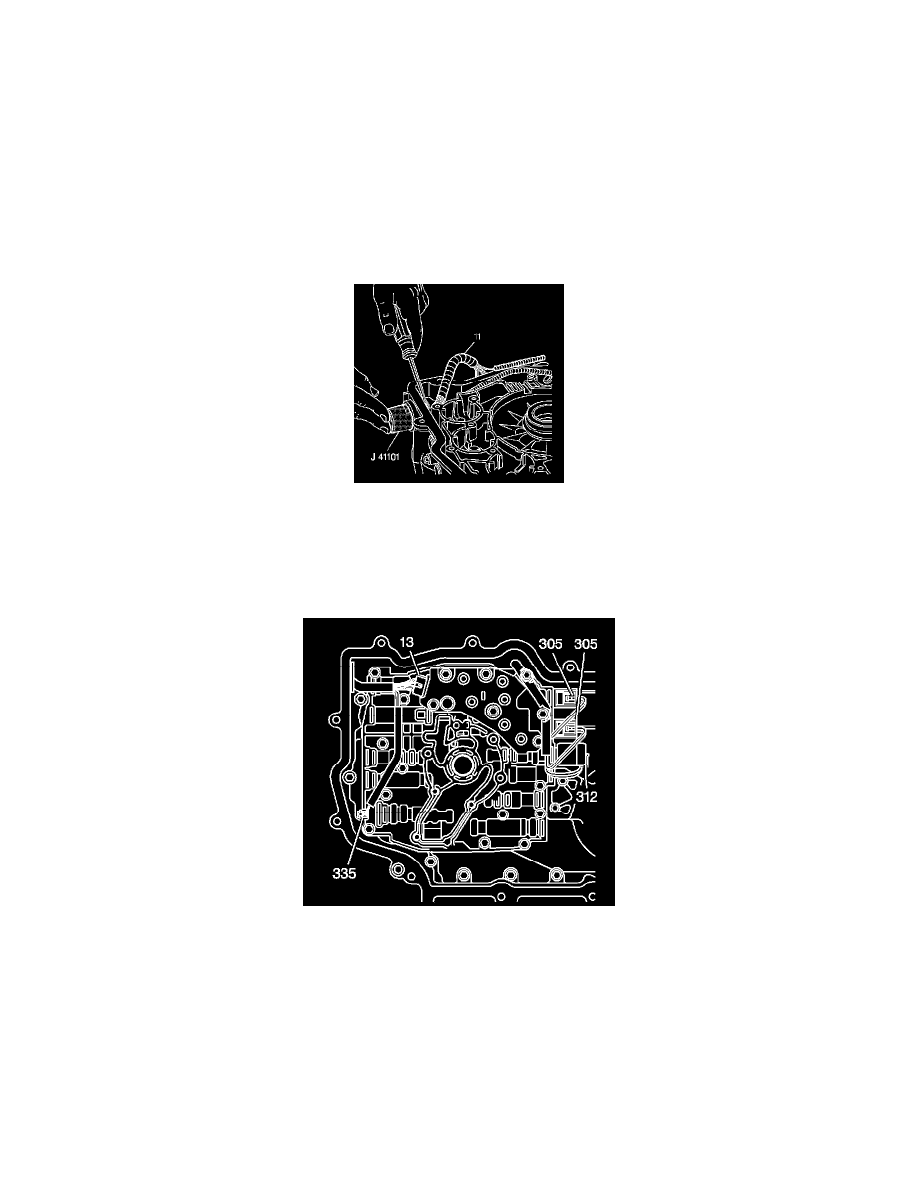
J 41101 Transaxle Connector Remover
1. Remove the transmission side cover.
2. Remove the control valve body.
3. Push the J 41101 onto the pass-through connector from the outside of the transmission case in order to compress the pass-through connector's
retaining tabs.
4. With the retaining tabs compressed, use a screwdriver in order to remove the pass-through connector through the inside of the transmission case.
5. Remove the wiring harness (11).
Installation Procedure
Connect the wiring harness assembly to the following components:
^
The TFP switch assembly (13)
^
The pressure control solenoid (312) (red connector)
Important: The 1-2 shift solenoids wires are red and light green. The 2-3 shift solenoid wires are red and yellow.
^
The 1-2 shift solenoid (305) (white connector)
^
The 2-3 shift solenoids (305) (white connectors)
^
The TCC solenoid (335)
^
Install the control valve body.
^
Install the transmission side cover.