
G6 V6-3.5L (2009)
Front Door Striker: Service and Repair
Door Striker Anchor Plate Replacement
Removal Procedure
Note:
*
This procedure covers the removal and installation of the front and the rear door strikers.
It will be necessary to remove the following trim when replacing the front or the rear striker.
*
When the striker bolts have been removed, the striker anchor plate will slip down in the door pillar or quarter panel and the trim will need to be
removed to gain access.
1. Remove the body lock pillar lower trim. Refer to Body Lock Pillar Lower Trim Panel Replacement (Convertible) (See: Interior Moulding /
Trim/Trim Panel/Service and Repair)Body Lock Pillar Lower Trim Panel Replacement (Coupe) (See: Interior Moulding / Trim/Trim
Panel/Service and Repair)Body Lock Pillar Lower Trim Panel Replacement (Sedan) (See: Interior Moulding / Trim/Trim Panel/Service and
Repair).
2. Remove the lower center pillar trim.
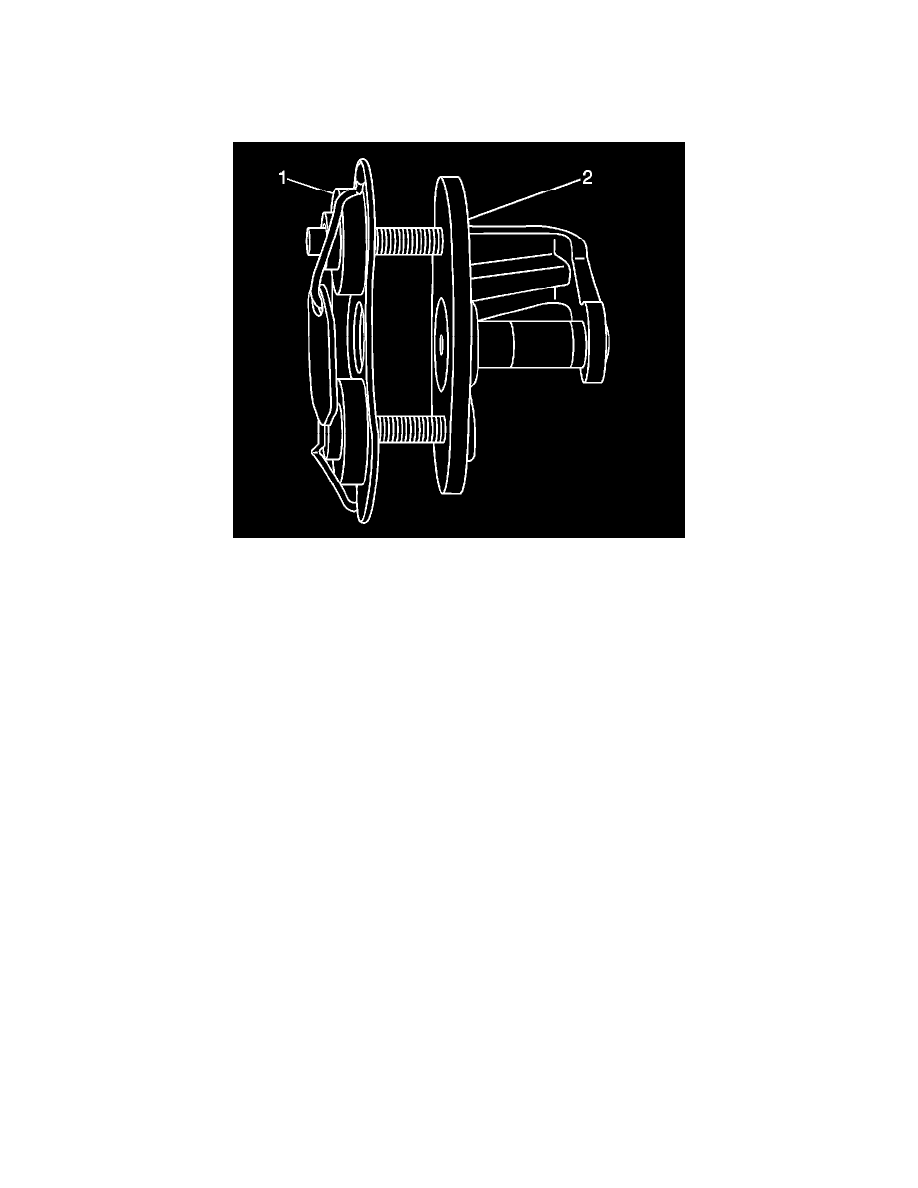
3. Mark the position of the striker with a grease pencil.
4. Remove the screws from the door striker.
5. Remove the striker (2).
Installation Procedure