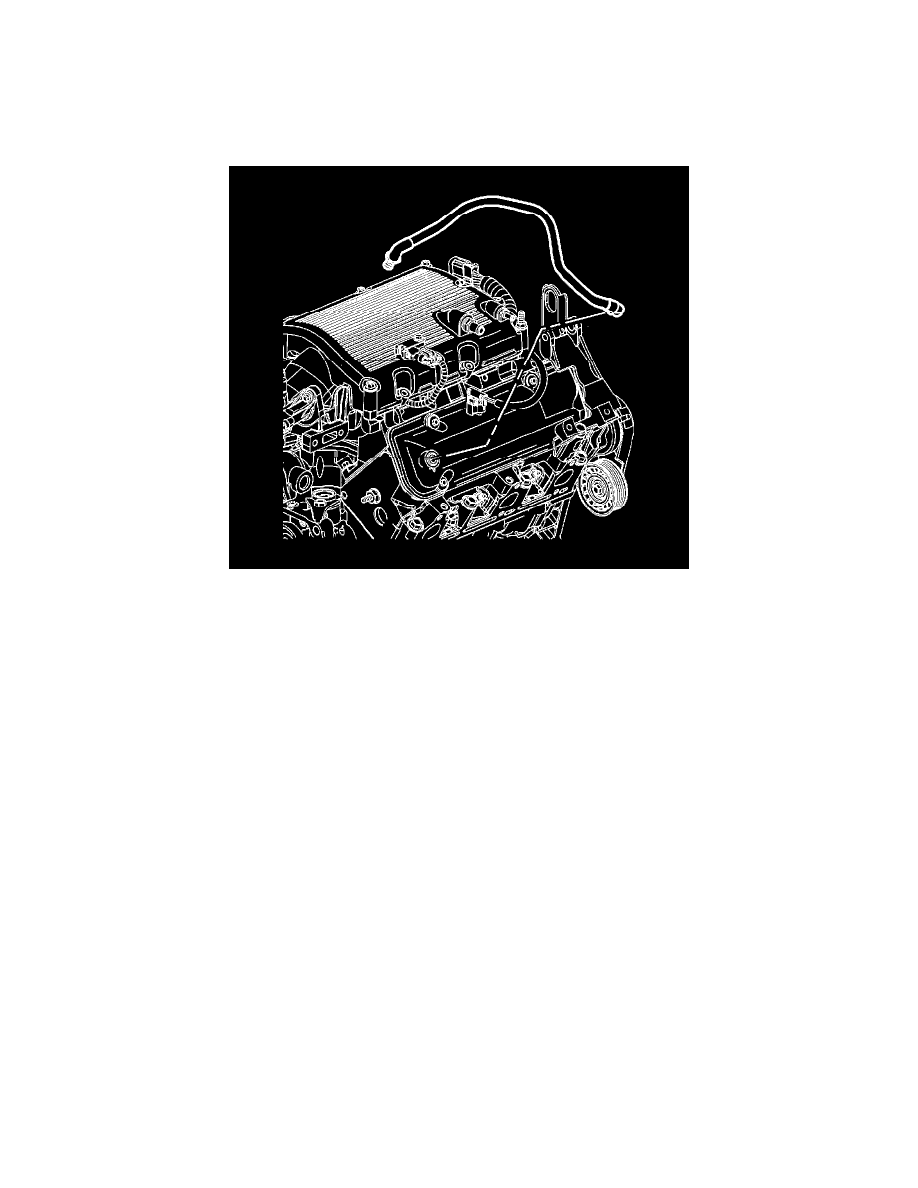
G6 V6-3.5L (2009)

Intake Manifold: Service and Repair
Upper Intake Manifold Replacement
Upper Intake Manifold Replacement
Removal Procedure
1. Disconnect the negative battery cable. Refer to Battery Negative Cable Disconnection and Connection (See: Starting and
Charging/Battery/Battery Cable/Service and Repair).
2. Remove the intake manifold cover. Refer to Intake Manifold Cover Replacement (See: ).
3. Remove the vacuum hoses from the following:
*
Evaporative emissions (EVAP) canister purge valve
*
Manifold vacuum source
*
Brake booster
*
Heater and air conditioning (A/C) source
4. Disconnect the electrical connectors from the following:
*
Exhaust gas recirculation (EGR) valve
*
Mass air flow (MAF) sensor
*
Intake air temperature (IAT) sensor
*
Electronic throttle control
*
EVAP canister purge valve
5. Remove the air cleaner outlet duct. Refer to Air Cleaner Outlet Duct Replacement (See: Tune-up and Engine Performance Checks/Air Cleaner
Housing/Air Cleaner Fresh Air Duct/Hose/Service and Repair/Air Cleaner Outlet Duct Replacement).
6. Drain the cooling system. Refer to Cooling System Draining and Filling (LY7, LZE, LZ4, LZ9) (See: Cooling System/Service and Repair
)Cooling System Draining and Filling (GE 47716 Fill) (See: Cooling System/Service and Repair)Cooling System Draining and Filling (LE5
Static Fill) (See: Cooling System/Service and Repair).
7. Remove the left side spark plug wires from the spark plugs. Refer to Spark Plug Wire Replacement (See: Tune-up and Engine Performance
Checks/Ignition Cable/Service and Repair).
8. Remove the following wiring harnesses from the retainers:
*
Camshaft position (CMP) sensor wiring harness
*
Left side spark plug wire harness
*
Engine wiring harness
