
G6 V6-3.5L (2009)
Note: Make certain that the drive plate does not drag against the pulley when the pulley is rotated.
8. Measure the air gap between the pulley and the drive plate. Adjust the shims to achieve a 0.3-0.6 mm (0.012-0.024 in) air gap.
Caution: Refer to Fastener Caution (See: Service Precautions/Vehicle Damage Warnings/Fastener Caution).
Note: Make certain that the new drive plate bolt has colored adhesive on at least 5 threads.
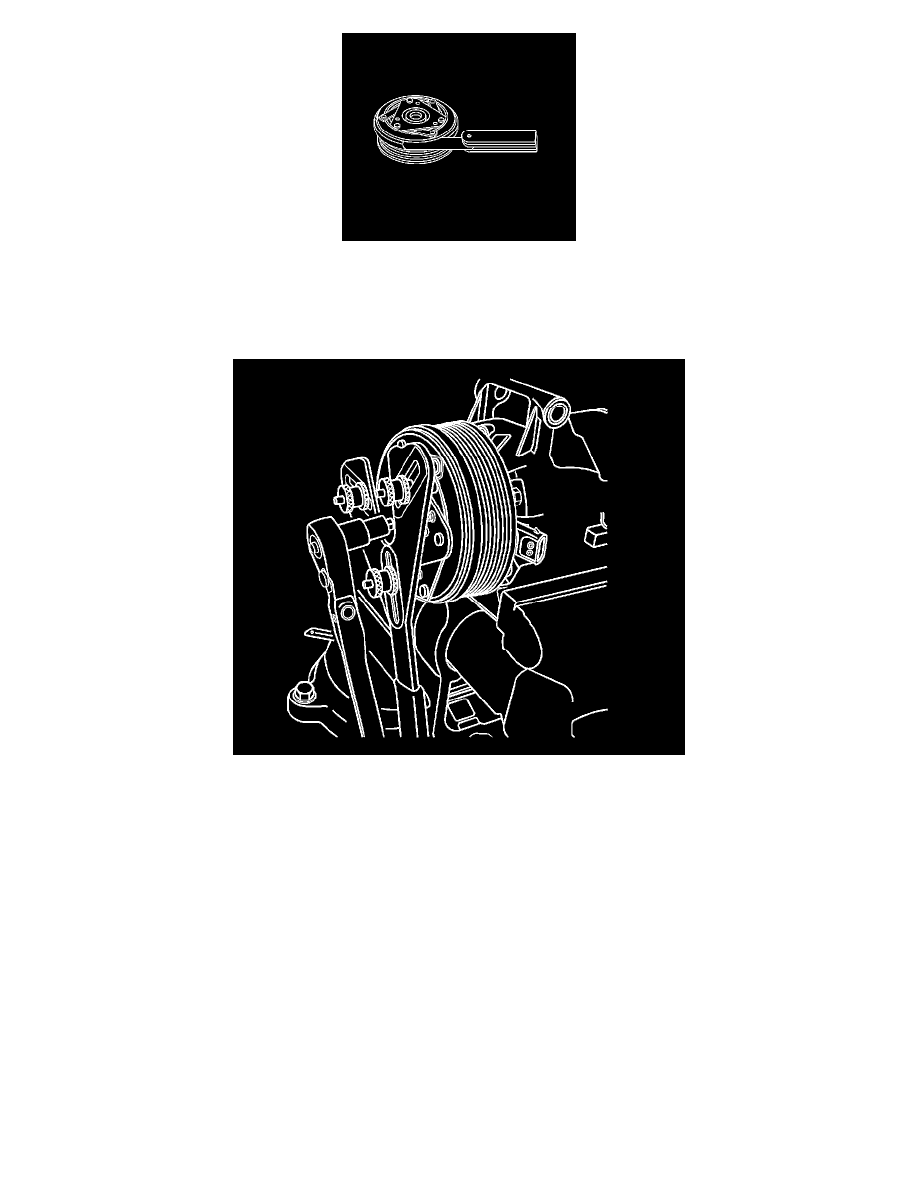
9. Install the clutch drive plate bolt.
10. Tighten the compressor clutch drive plate bolt.
Use the J 37872 to hold the compressor clutch plate from turning.
Tighten the bolt to 12 Nm (106 lb in).
11. Install the lower air deflector. Refer to Radiator Air Lower Baffle and Deflector Replacement (See: Engine, Cooling and Exhaust/Cooling
System/Radiator/Service and Repair).
12. Lower the vehicle.
13. Install the drive belt to the A/C compressor. Refer to Drive Belt Replacement (See: Engine, Cooling and Exhaust/Engine/Drive Belts, Mounts,
Brackets and Accessories/Drive Belt/Service and Repair) for the 2.4L engine or Drive Belt Replacement (See: Engine, Cooling and
Exhaust/Engine/Drive Belts, Mounts, Brackets and Accessories/Drive Belt/Service and Repair) for the 3.5L engine or Drive Belt Replacement (
See: Engine, Cooling and Exhaust/Engine/Drive Belts, Mounts, Brackets and Accessories/Drive Belt/Service and Repair) for the 3.6L engine or
Drive Belt Replacement (Coupe) ()Drive Belt Replacement (Convertible) () for the 3.9L engine.
14. Leak test the fittings using the J 39400-A .