
G6 V6-3.5L (2009)
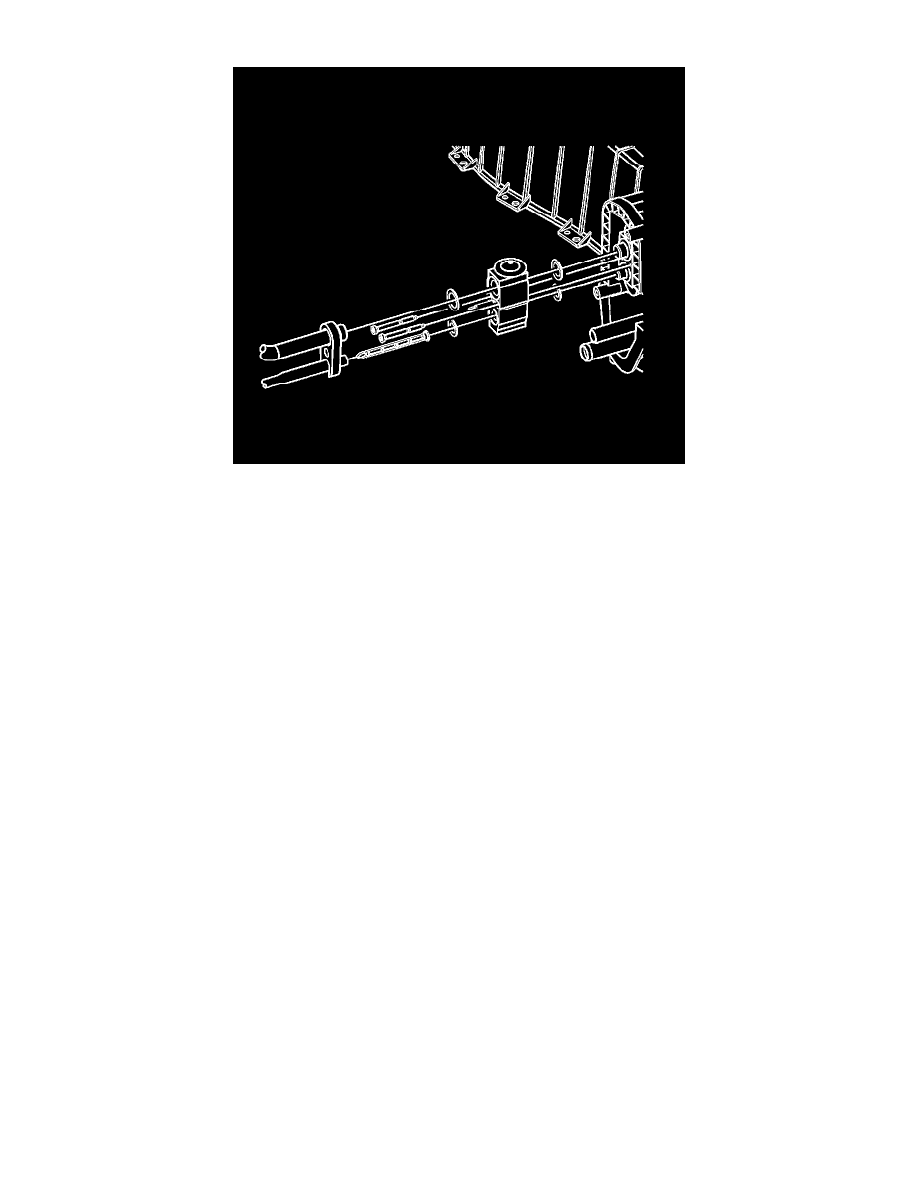
4. Remove the liquid line from the dash clip.
5. Remove the liquid line and suction line nut from the thermal expansion valve (TXV).
6. Remove the suction line from the TXV.
7. Remove the liquid line from the TXV.
8. Remove the TXV screws.
9. Remove the TXV.
Note: Cap all A/C components immediately to prevent system contamination.
10. Remove and discard the sealing washers.
Installation Procedure
1. Uncap A/C components.
2. Install new sealing washers. Refer to Sealing Washer Replacement (See: Coupler HVAC/A/C Coupler O-ring/Service and Repair/Sealing Washer
Replacement).