
G6 V6-3.5L (2009)
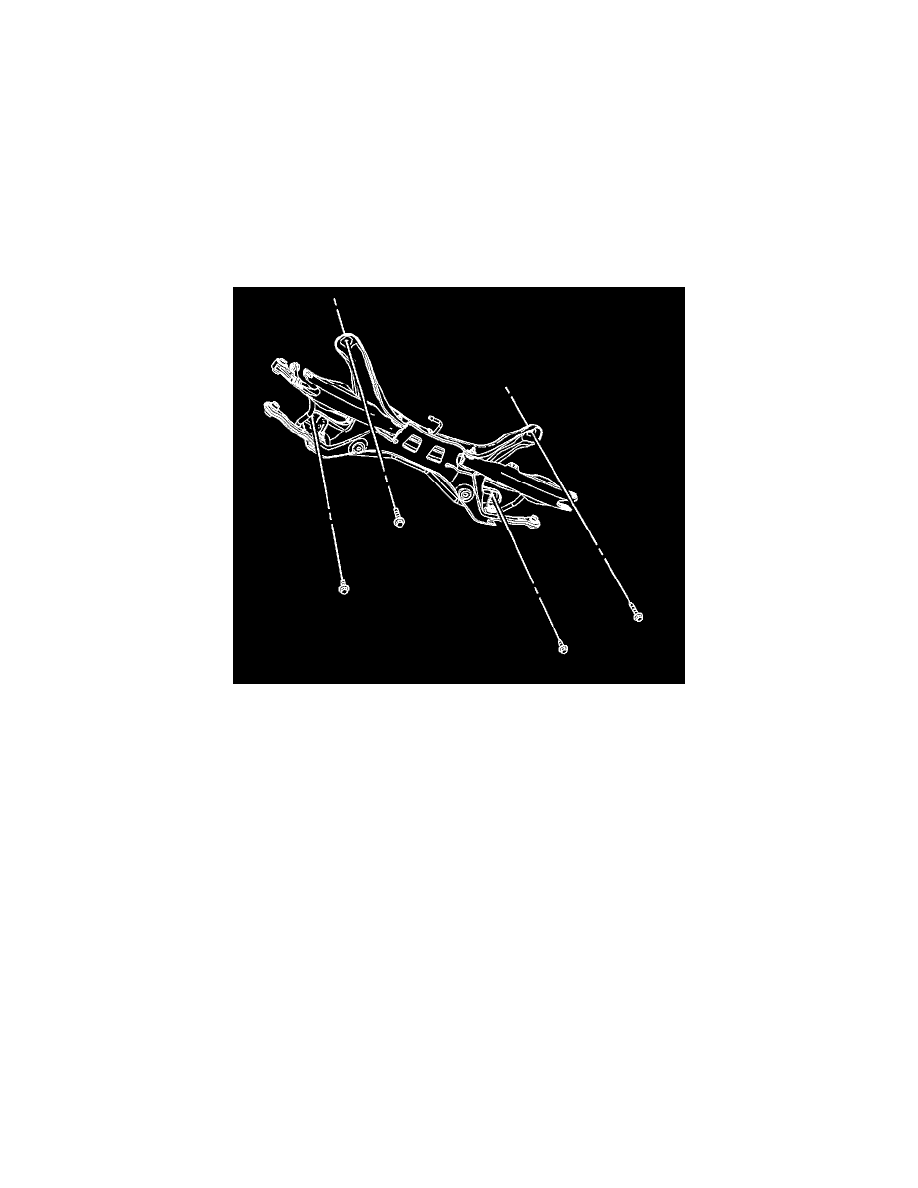
Tighten the lower control arm to rear support nut and bolt to 110 Nm (81 lb ft).
*
Stabilizer bar and insulators
Tighten the stabilizer shaft insulator bolts to 35 Nm (26 lb ft).
*
Toe link to support bolt and nut.
Tighten toe link to support bolt and nut to 110 Nm (81 lb ft).
Note: Position the support assembly to the body rails by location of paint marks during removal.
2. With the aid of an assistant, raise and position the support assembly to the vehicle.
3. Install the support assembly to body bolts.
Tighten the bolts to 100 Nm (74 lb ft) plus 30 degrees.
4. Remove the jack stand from under the vehicle.
5. If the vehicle is equipped with ABS, route the ABS wiring harness, connect it to the clips on the support assembly and upper control arms.
6. Install the knuckles. Refer to Knuckle Replacement (See: Front Steering Knuckle/Service and Repair/Rear Suspension).
7. Install the muffler. Refer to Exhaust Muffler Replacement (LE5 With MH8) (See: Engine, Cooling and Exhaust/Exhaust System/Muffler/Service
and Repair)Exhaust Muffler Replacement (2.4L, 3.5L, and 3.9L) (See: Engine, Cooling and Exhaust/Exhaust System/Muffler/Service and Repair
)Exhaust Muffler Replacement (LY7, LZ9) (See: Engine, Cooling and Exhaust/Exhaust System/Muffler/Service and Repair).
8. Install the rear tire and wheel assemblies. Refer to Tire and Wheel Removal and Installation (See: Wheels and Tires/Service and Repair).
9. Lower the vehicle.
10. Adjust the rear alignment. Refer to Wheel Alignment Measurement (See: Alignment/Service and Repair/Wheel Alignment Measurement).