
G6 V6-3.5L (2009)
Caution: Refer to Fastener Caution (See: Service Precautions/Vehicle Damage Warnings/Fastener Caution).
Note: The correct thread engagement is critical. Cross-threaded fittings can achieve proper tightness and still leak.
2. Install the oil cooler fitting to the radiator and tighten to 38 Nm (28 lb ft).
3. Install the transaxle oil cooler hoses to the oil cooler fittings on the radiator. Refer to Transmission Fluid Cooler Hose/Pipe Quick-Connect Fitting
Disconnection and Connection (See: ).
4. Fill the cooling system. Refer to Cooling System Draining and Filling (LY7, LZE, LZ4, LZ9) (See: Engine, Cooling and Exhaust/Cooling
System/Service and Repair)Cooling System Draining and Filling (GE 47716 Fill) (See: Engine, Cooling and Exhaust/Cooling System/Service
and Repair)Cooling System Draining and Filling (LE5 Static Fill) (See: Engine, Cooling and Exhaust/Cooling System/Service and Repair).
5. Adjust the transmission fluid level.
6. Inspect for fluid leaks.
Transmission Fluid Cooler Hose/Pipe Quick-Connect Fitting Disconnection and Connection
Transmission Fluid Cooler Hose/Pipe Quick-Connect Fitting Disconnection and Connection
Removal Procedure
Important: Perform the following procedure when removing the retaining rings and cooler lines from the quick connect fittings located
on the radiator and/or the transmission.
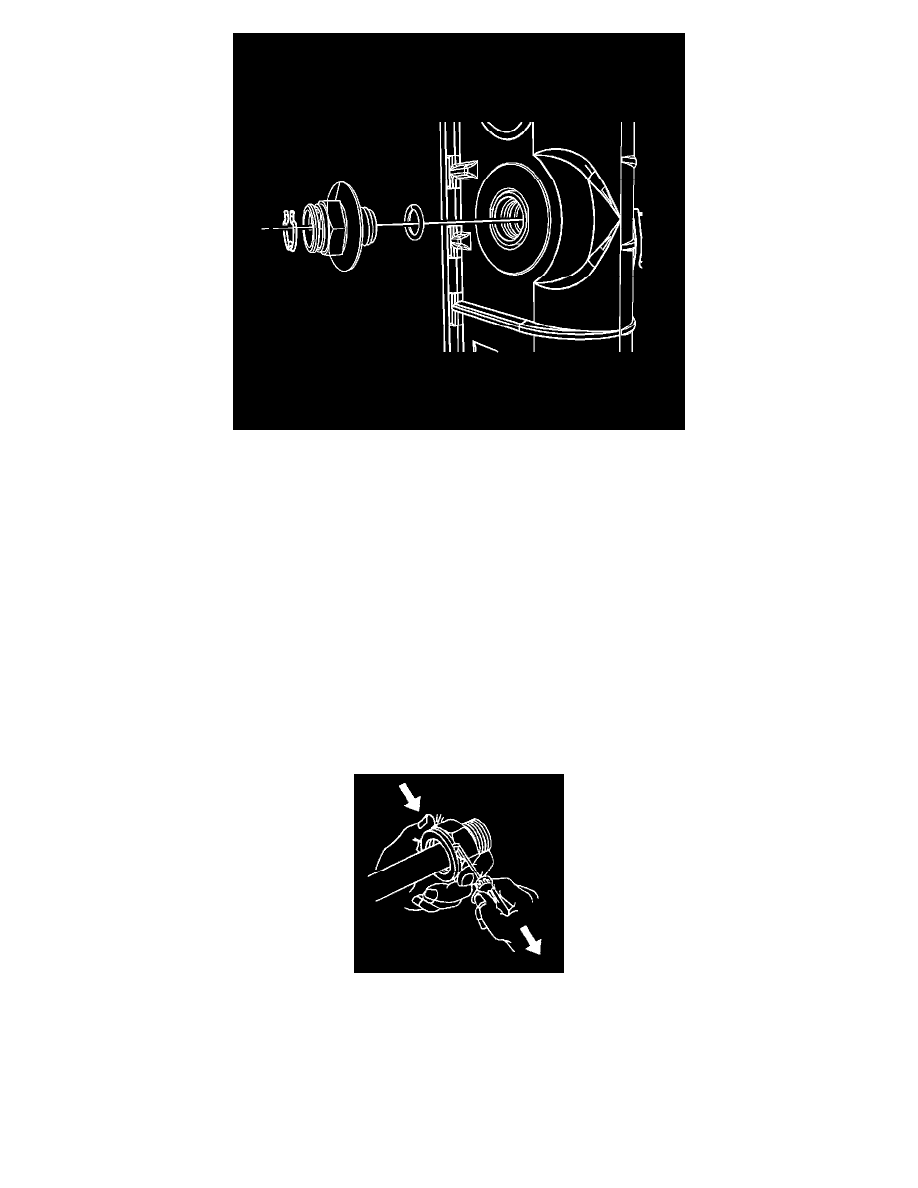
1. Pull the plastic cap back from the quick connect fitting and down along the cooler line about 5 cm (2 in).
2. Using a bent-tip screwdriver, pull on one of the open ends of the retaining ring in order to rotate the retaining ring around the quick connect fitting
until the retaining ring is out of position and can be completely removed.
3. Remove the retaining ring from the quick connect fitting.
4. Discard the retaining ring.