
G6 V6-3.9L (2009)
Note: The service part comes as an assembly that includes the lower dash panel. If the repair does not require the dash panel, remove the dash
panel before you install the lower plenum panel.
Note: If you cannot determine the location of the original plug weld holes, space the plug weld holes every 40 mm (11/2 in) apart.
1. Drill 8 mm (5/16 in) plug weld holes in the service part as necessary in the corresponding locations noted on the original panel.
2. Prepare all mating surfaces as necessary.
3. Apply GM-approved weld-thru coating or equivalent to all mating surfaces. Refer to Anti-Corrosion Treatment and Repair ().
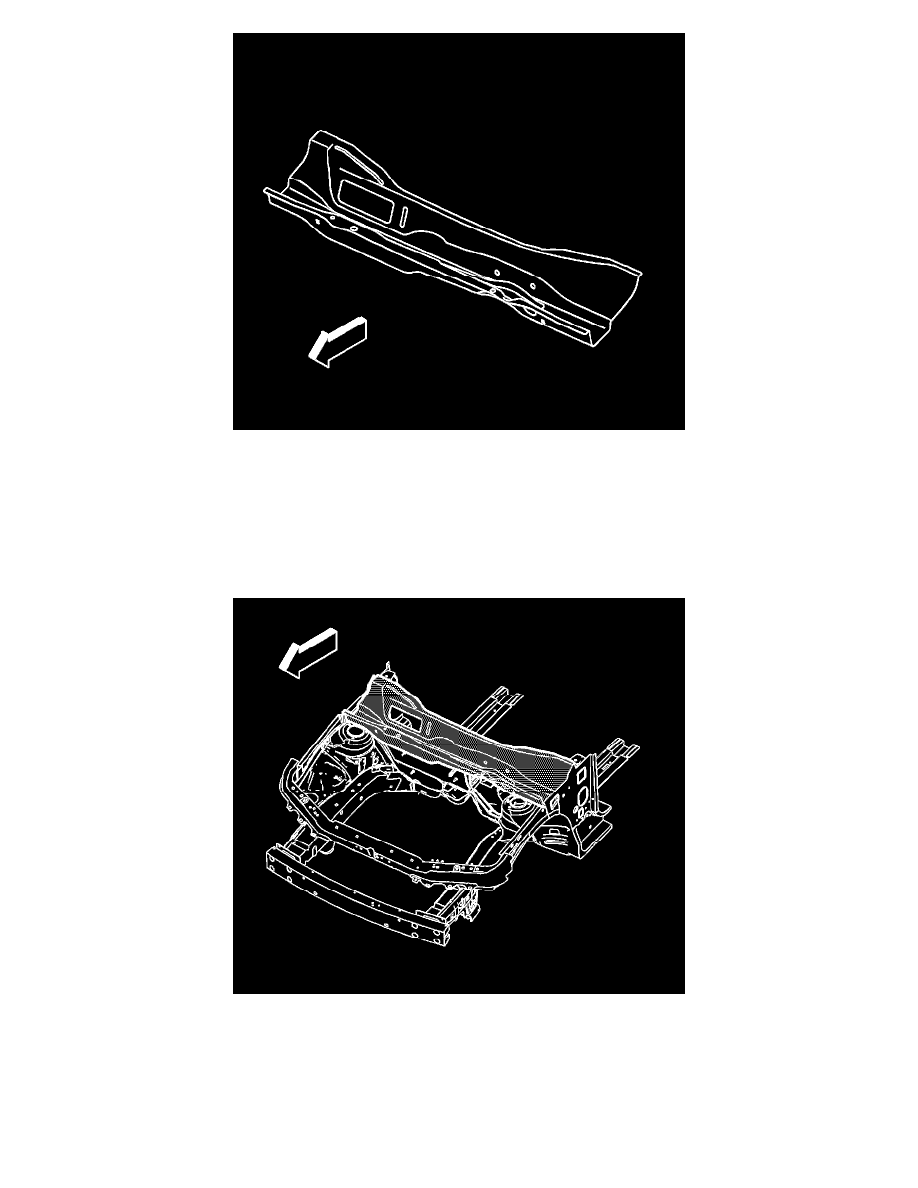
4. Position the lower plenum panel to the vehicle.
5. Plug weld accordingly.
6. Clean and prepare all of the welded surfaces.
7. Install all of the related panels and components.
8. Apply the sealers and anti-corrosion materials to the repair area, as necessary. Refer to Anti-Corrosion Treatment and Repair ().
9. Paint the repaired area. Refer to Basecoat/Clearcoat Paint Systems (See: Paint, Striping and Decals/Paint/Application and ID/Basecoat/Clearcoat
Paint Systems).
10. Connect the negative battery cable. Refer to Battery Negative Cable Disconnection and Connection (See: Starting and Charging/Battery/Battery