
G6 V6-3.9L (2009)
4. Coat the rocker arm friction surfaces using prelube. Refer to Adhesives, Fluids, Lubricants, and Sealers (See: Specifications/Adhesives, Fluids,
Lubricants, and Sealers) for the correct part number.
Note: Shims (P/N 88894006) may be required under the valve rocker arm pedestals if reconditioning has been performed on the cylinder head or
its components.
5. Install the valve rocker arms in their original positions.
Caution: Refer to Fastener Caution (See: Service Precautions/Vehicle Damage Warnings/Fastener Caution).
6. Install the valve rocker arm bolts.
Tighten the bolts to 34 Nm (25 lb ft).
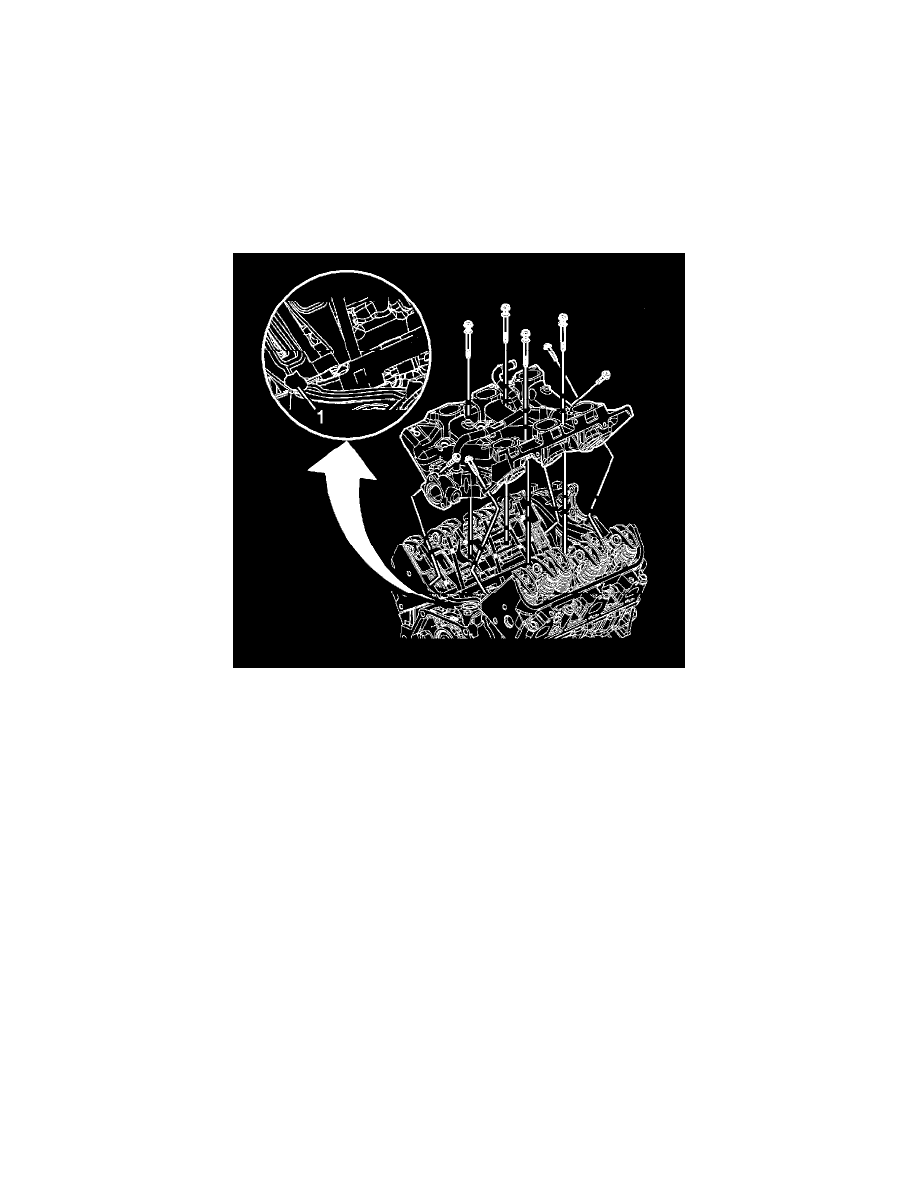
7. With the NEW gaskets and seals in place, apply a small drop, 8-10 mm (0.031-0.39 in) of RTV sealer to the 4 corners of the intake manifold to
engine block joints (1). Refer to Adhesives, Fluids, Lubricants, and Sealers (See: Specifications/Adhesives, Fluids, Lubricants, and Sealers) for
the correct part number.
8. Install the lower intake manifold.