
G6 V6-3.9L VIN 1 (2006)
SI. Install the headliner to the roof.
Carefully install the headliner in the vehicle. Do not damage the small "wings" on the side of the headliner when installing the headliner.
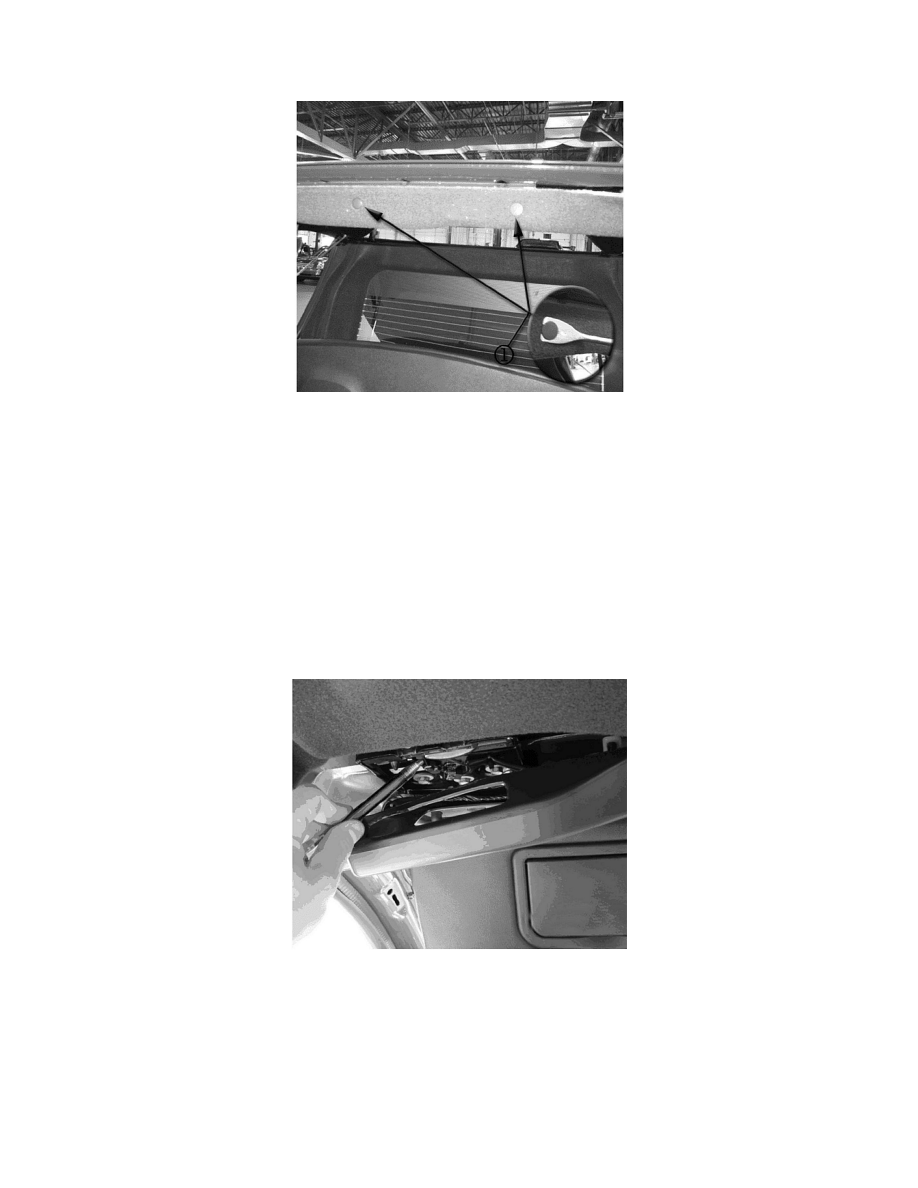
Install the front and rear push-pins (1) into the front panel of the headliner.
Roof Functional Test
Do not install the headliner until you have read the information below to avoid latch assembly or roof damage.
When snapping the rod ends back onto the ball studs, make sure that the rods and sockets are aligned squarely to the ball studs. Do not rotate the rod and
socket in either direction on the ball stud. If the rod and socket are rotated in either direction on the ball stud the top will bind when you lower or lift the
top.
Check the top for proper operation by using the switch on the header and running the top completely down into the trunk and completely closed again at
the header. If the top operates correctly, run the top just enough for the roof to unlatch at the header and move up slightly, and then reverse the switch
latch roof at the header again so that the "Top Move Complete" message appears on the radio display. Do this sequence 2-3 times to verify top operation.
If the top operates correctly, install the headliner. Proceed back to Step 20.
If the top will not operate correctly, verify that the S18 switch, which is activated by the latch hook, is not being made at the left header latch.