G6 V6-3.9L VIN 1 (2006)

18. If the brake rotor assembled LRO measurement is within specification, install the brake caliper and depress the brake pedal several times to secure
the rotor in place before removing the J45101-100 and the lug nuts.
Brake Rotor Surface and Wear Inspection
Brake Rotor Surface and Wear Inspection
Caution: Refer to Brake Dust Caution in Service Precautions.
1. If the inboard friction surface of the brake rotor is not accessible, reposition and support the caliper with the brake pads. Refer to Brake Pads
Replacement - Front and/or Brake Pads Replacement - Rear, if equipped.
2. Clean the friction surfaces of the brake rotor with denatured alcohol, or an equivalent approved brake cleaner.
3. Inspect the friction surfaces of the brake rotor for the following braking surface conditions:
^
Heavy rust and/or pitting Light surface rust can be removed with an abrasive disc. Heavy surface rust and/or pitting must be removed by
refinishing the rotor.
^
Cracks and/or heat spots
^
Excessive blueing discoloration
4. If the friction surfaces of the brake rotor exhibit one or more of the braking surface conditions, the rotor requires refinishing or replacement.
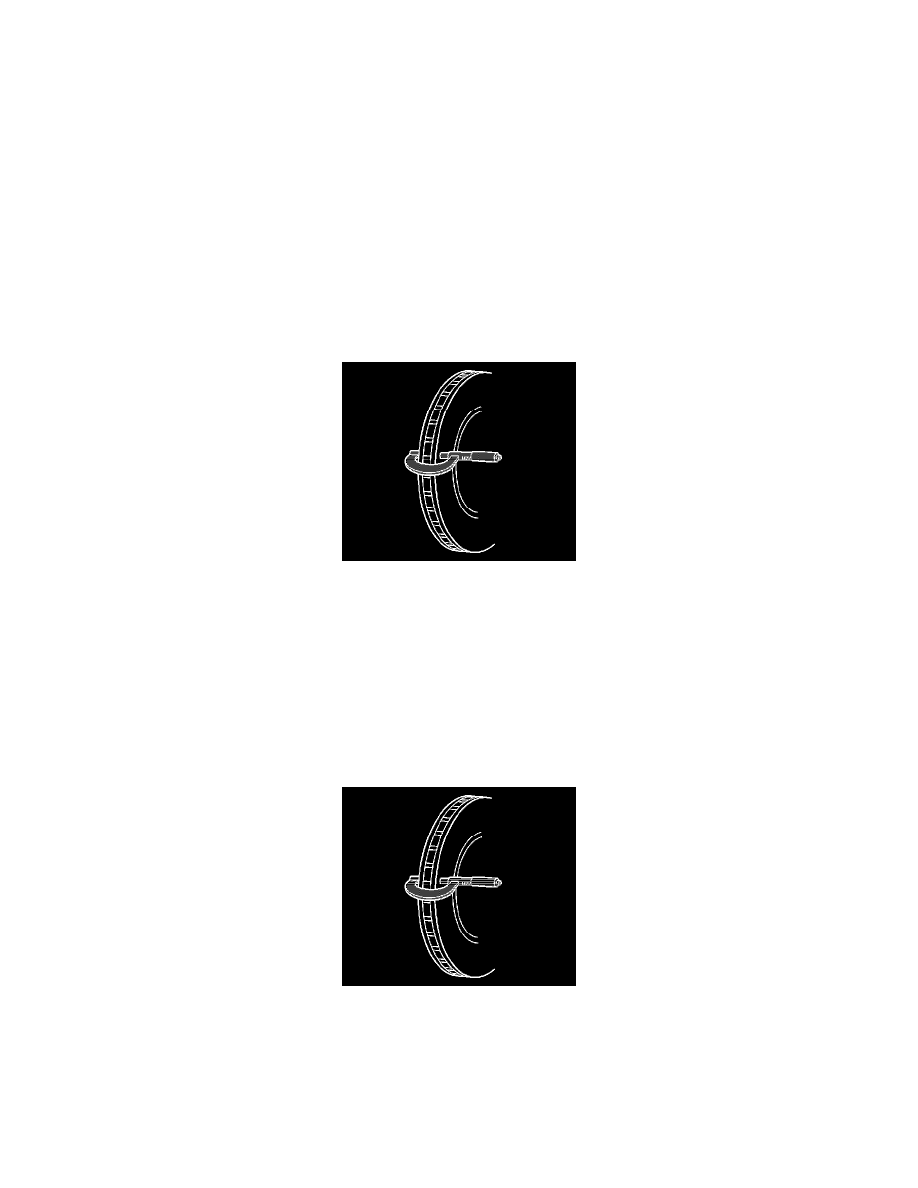
5. Using a micrometer calibrated in thousandths-of-a-millimeter, or ten-thousandths-of-an-inch, measure and record the scoring depth of any grooves
present on the rotor friction surfaces.
6. Compare the groove scoring depth recorded to the following specification:
Brake rotor maximum allowable scoring: 1.50 mm (0.059 inch)
7. If the brake rotor scoring depth exceeds the specification, or if an excessive amount of scoring is present, the rotor requires refinishing or
replacement.
Brake Rotor Thickness Measurement
Brake Rotor Thickness Measurement
Caution: Refer to Brake Dust Caution in Service Precautions.
1. If the inboard friction surface of the brake rotor is not accessible, reposition and support the caliper with the brake pads. Refer to Brake Pads
Replacement - Front and/or Brake Pads Replacement - Rear, if equipped.
2. Clean the friction surfaces of the brake rotor with denatured alcohol, or an equivalent approved brake cleaner.
3. Using a micrometer calibrated in thousandths-of-a-millimeter, or ten-thousandths-of-an-inch, measure and record the lowest thickness of the brake
rotor at 4 or more points, equally spaced around the rotor. Ensure that the measurements are only taken within the friction surfaces and that the
micrometer is positioned the same distance from the outside edge of the rotor, about 13 mm (1/2 inch), for each measurement.
4. Compare the lowest thickness measurement recorded to the following specifications:
^
Brake rotor minimum allowable thickness after refinishing: 23 mm (0.906 inch)
