
G6 V6-3.9L VIN 1 (2006)
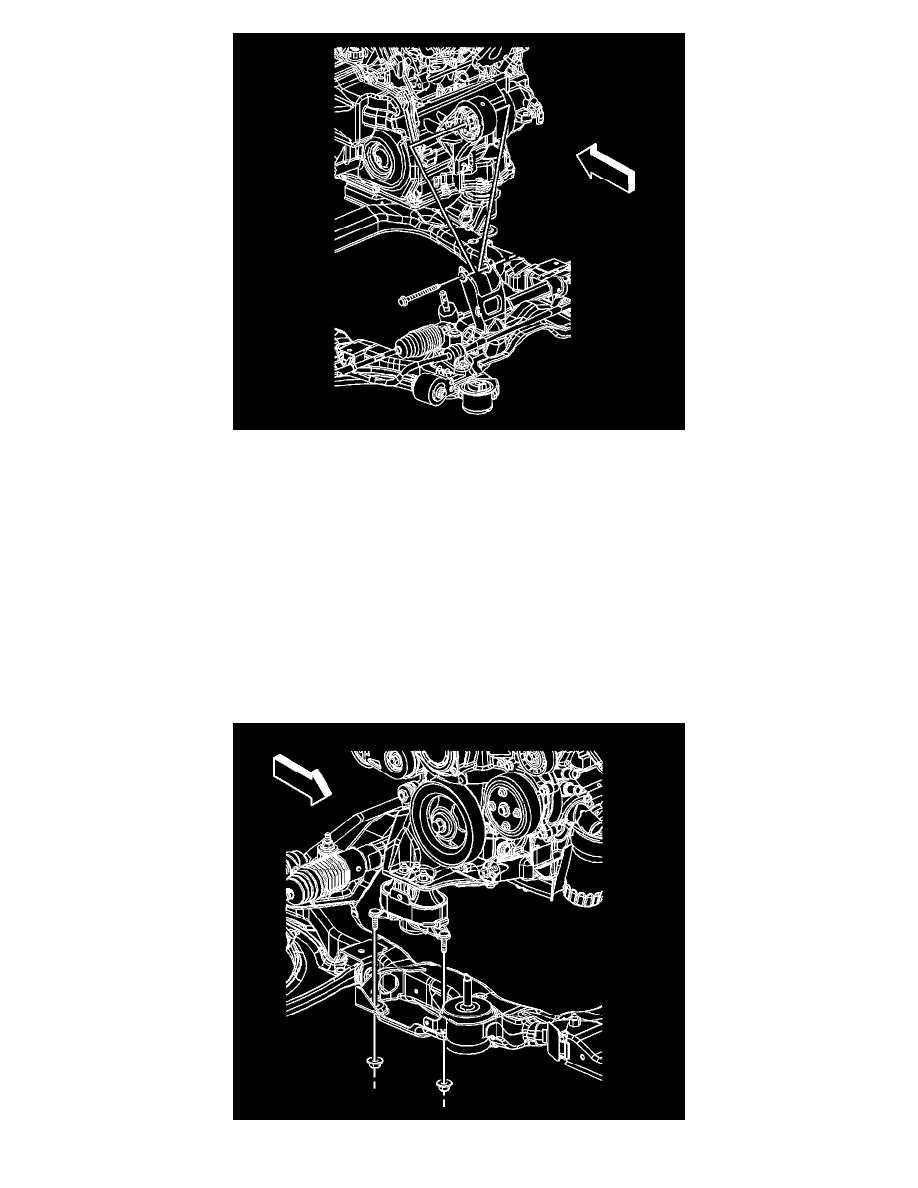
3. Loosen, but DO NOT REMOVE the rear transaxle mount through bolt.
4. Install the J23498-A on the bottom of the flex coupling of the exhaust pipe.
5. Rock the engine by hand until the J23498-A reading is as close to "0" degrees as possible.
6. While still holding the powertrain in position, tighten the front through bolt.
7. Tighten the rear through bolt.
8. After the through bolts have been tightened, re-check the angle.
9. There should be no more then "5" degrees of angle in the flex coupling with the powertrain in the static position.
10. If there is no more then "5" degrees of angle, tighten the through bolts to specifications.
Tighten the bolts to 90 Nm (66 ft. lbs.).
11. If there is more then "5" degrees of angle, loosen the through bolts and return to step 5.
Engine Mount Replacement
Engine Mount Replacement
Removal Procedure