
G6 V6-3.9L VIN 1 (2006)
Back Window Glass: Service and Repair
Rear Window Replacement
Rear Window Replacement
Tools Required
*
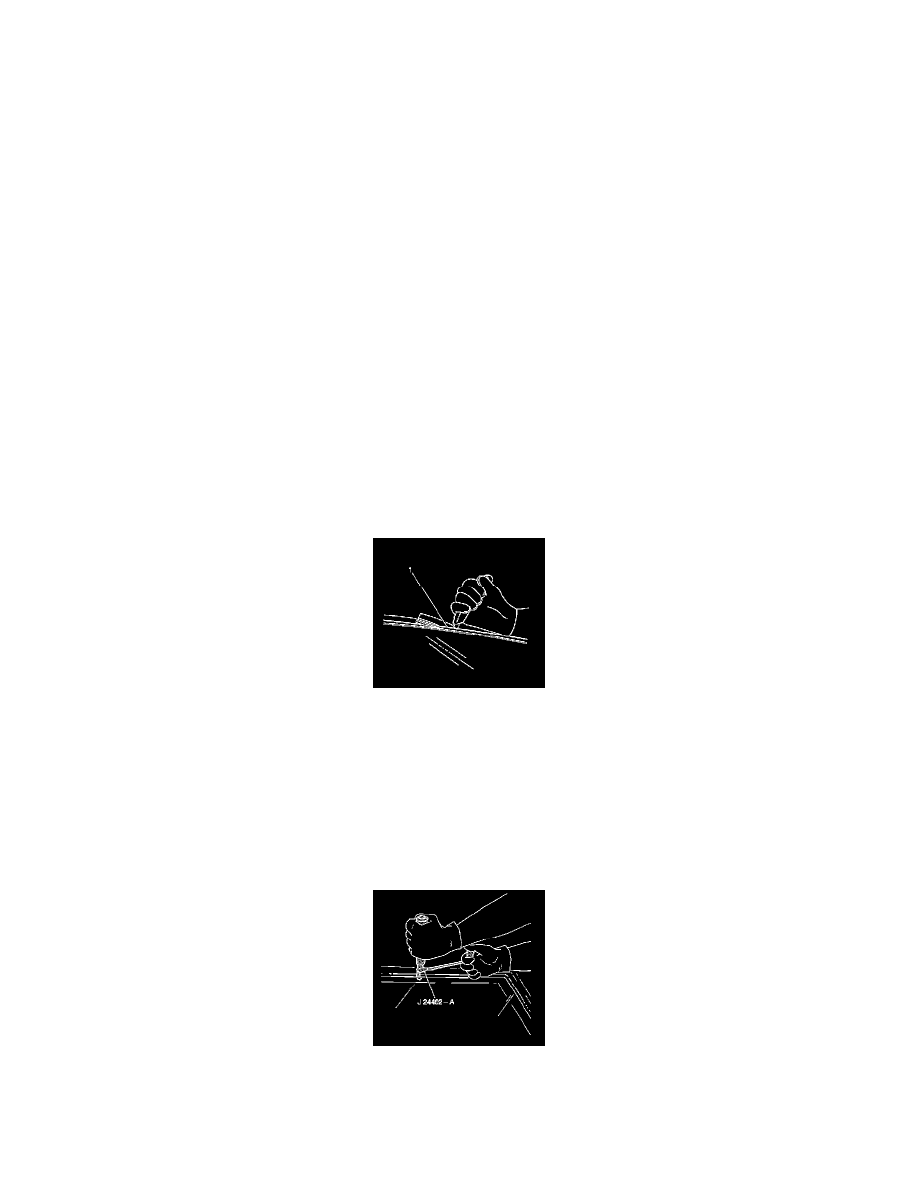
J 24402-A Glass Sealant (Cold Knife) Remover
*
J 39032 Stationary Glass Removal Tool
*
Urethane Adhesive Kit GM P/N 12346392 or Equivalent
*
Isopropyl Alcohol or Equivalent
*
Cartridge-Type Caulking Gun
*
Commercial-Type Utility Knife
*
Razor Blade Scraper
*
Suction Cups
*
Plastic Paddle
Removal Procedure
Caution: Refer to Cracked Window Caution in Service Precautions.
1. Remove the rear upper garnish moldings.
2. Disconnect the rear window radio antenna connector.
3. Disconnect the electrical connectors from the rear window defogger bus bars.
Caution: Refer to Glass and Sheet Metal Handling Caution in Service Precautions.
Important: Before cutting out a stationary window, apply a double layer of masking tape around the perimeter of the painted surfaces
and inner trim.
4. Using a utility knife, carefully cut the exposed reveal moldings from around the perimeter of the rear window to access the urethane adhesive bead.
5. If the original window is being reused, replace the window reveal moldings. Refer to Rear Window Reveal Molding Replacement.
Caution: Refer to Defroster Outlet Caution in Service Precautions.
6. Cover the following parts to protect from the broken glass:
*
Upper dash pad
*
Defroster outlets and A/C outlets
*
Seats and carpeting
Important: Keep the cutting edge of the tool against the window.
7. Remove the window from the urethane adhesive.
*
Leave a base of urethane approximately 2 mm (0.078 in) on the pinch-weld flange.