
G8 V6-3.6L (2008)
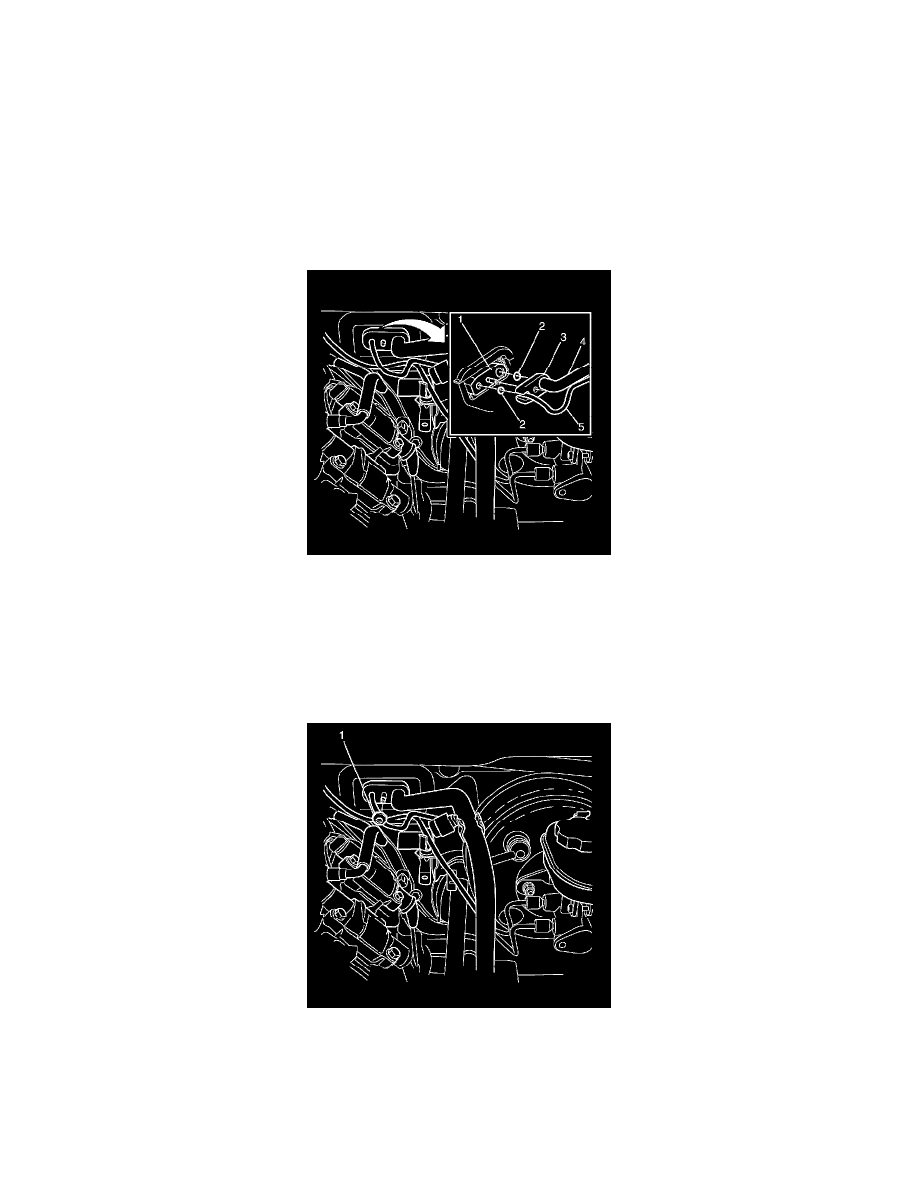
26. Remove the sealing washers (2). Refer to Sealing Washer Replacement (See: Coupler HVAC/A/C Coupler O-ring/Service and Repair/Sealing
Washer Replacement) .
Discard the sealing washers
Important: Cover any opening of the A/C system with a suitable cap or tape immediately, to prevent absorption of moisture from the
atmosphere.
27. Cap or plug the suction pipe (4), liquid pipe (5) and the TX valve (1).
28. Remove the liquid pipe (5) from the suction pipe/liquid pipe pad (3).
29. Remove the liquid pipe (5) from the engine compartment
Installation Procedure
1. Install the liquid pipe (5) to the suction pipe/liquid pipe pad (3).
2. Remove the plugs or caps from the suction pipe (4), liquid pipes (5) and the TX valve (1).
Important: DO NOT coat the NEW sealing washers (2) with oil, they must be fitted dry. The use of mineral oil will render the sealing
washers (2) useless, as the sealing washers (2) WILL swell causing refrigerant to leak out.
Install NEW sealing washers (2). Refer to Sealing Washer Replacement (See: Coupler HVAC/A/C Coupler O-ring/Service and Repair/Sealing
Washer Replacement) .
3. Position the suction pipe/liquid pipe pad (3) to the TX Valve (1).
Notice: Refer to Fastener Notice (See: Service Precautions/Vehicle Damage Warnings/Fastener Notice) .
4. Install the suction pipe/liquid pipe pad to TX valve retaining nut (1).
Tighten the nut to 22 N.m(16 lb ft).
5. Raise the vehicle.