
Grand AM L4-138 2.3L VIN A FI HP (1989)
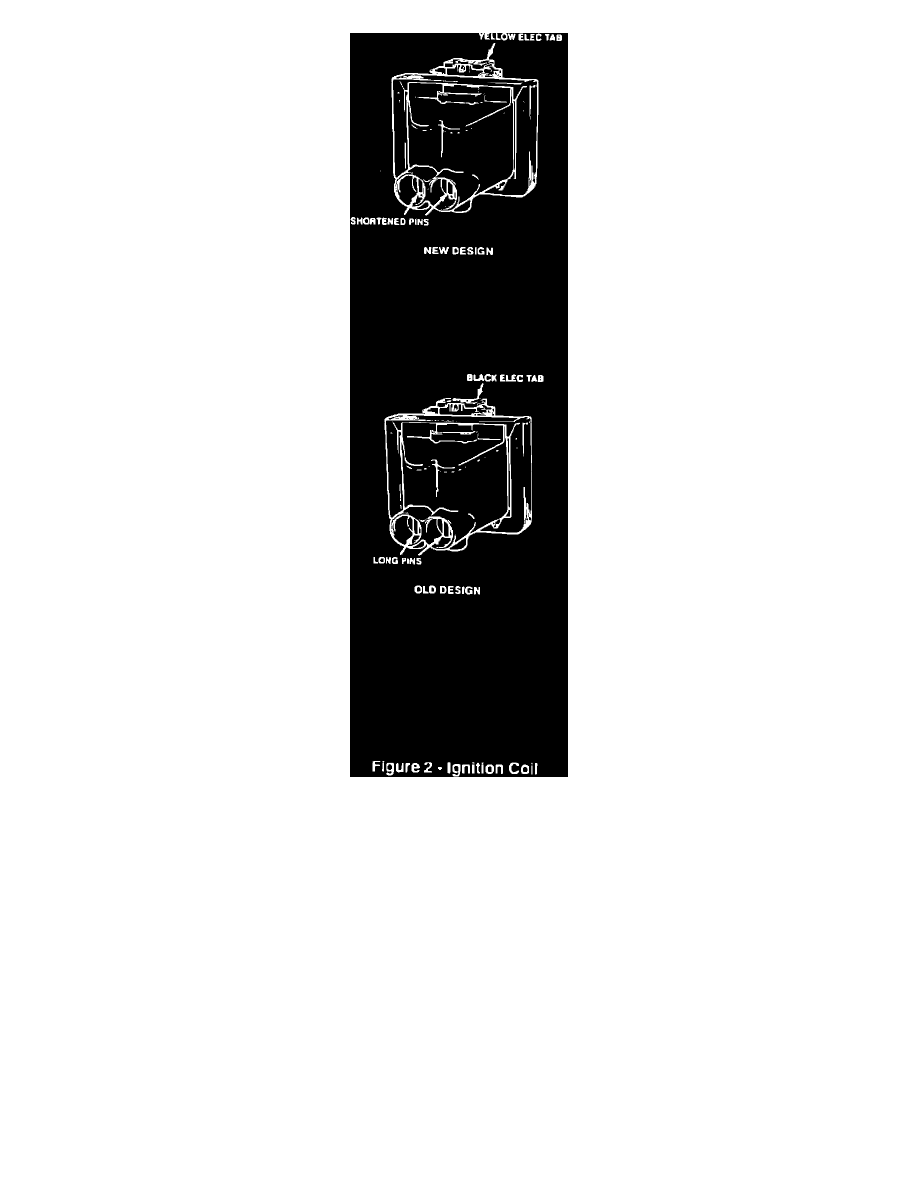
Figure 2
NOTICE:
If boots adhere to spark plugs, use tool J 36011 to remove by first twisting and then pulling upward on retainers. Reinstall boots
and retainers on IDI housing secondary terminals, making sure that the spark plug connectors (item 9 in Figure 1) are in place.
Boots and retainers must be in place on IDI housing secondary terminals prior to ignition system assembly installation or ignition
system damage may result.
6. Remove the four housing to cover screws (item 4 in Figure 1) and remove the ignition coil housing (item 7) from the cover (item 1).
7. Remove the coil harness connectors (item 5) from the coils.
8. Refer to Figure 2, and inspect the two ignition coils for color of electrical tab. Ignition coils with black electrical tabs are to be replaced with new
coils having yellow electrical tabs (from kit P/N 10457062). Coils with yellow electrical tabs do not require replacement. It should be rare to find a
campaign vehicle in which one or both coils already have yellow tabs.
9. If necessary to replace one or both coils, remove the "black tab" coil(s), the contacts(s), and the seal(s) from the cover (see Figure 1, item 6 and in
View A, items 13 & 14).
10.
Reinstall seal(s) (item 14 in Figure 1) to the housing.
11.
Reinstall contact(s) (item 13) to the housing (use petroleum jelly to retain).