
Grand AM L4-144 2.4L DOHC VIN T SFI (1997)
Notice: Do not rotate the crankshaft clockwise to TDC. Valve or piston damage could occur.
Important: The timing chain and crankshaft sprocket must be put on in a specific direction for chain noise and wear considerations. The surfaces that
were marked during removal should be showing when the chain and crankshaft sprocket are installed.
3. Install the timing chain over the exhaust camshaft sprocket around the coolant pump sprocket and around the crankshaft sprocket.
4. Remove the J 36008-A Camshaft Sprocket Alignment Pin from the intake camshaft. Use J 39579 in order to rotate the intake camshaft sprocket
counter-clockwise enough to allow the timing chain to slide over the intake camshaft sprocket.
5. Release J 39579. The length of the chain between the two camshaft sprockets will tighten.
6. If properly timed, the J 36008-A Camshaft Sprocket Alignment Pin will slide in easily. If the dowel pin does not fully index, the camshafts are not
timed correctly and the procedure must be repeated.
7. Leave the alignment dowel pins installed.
8. The keyway on the crankshaft and the mark on the cylinder block should be aligned, with the slack removed from the chain between the intake
camshaft sprocket and the crankshaft sprocket. If the mark and the keyway are not aligned, move the chain one tooth forward or rearward; remove
the slack and recheck the marks.
9. Use the following steps in order to reload the tensioner assembly to its zero position:
a. Assemble the tensioner plunger and the tensioner body.
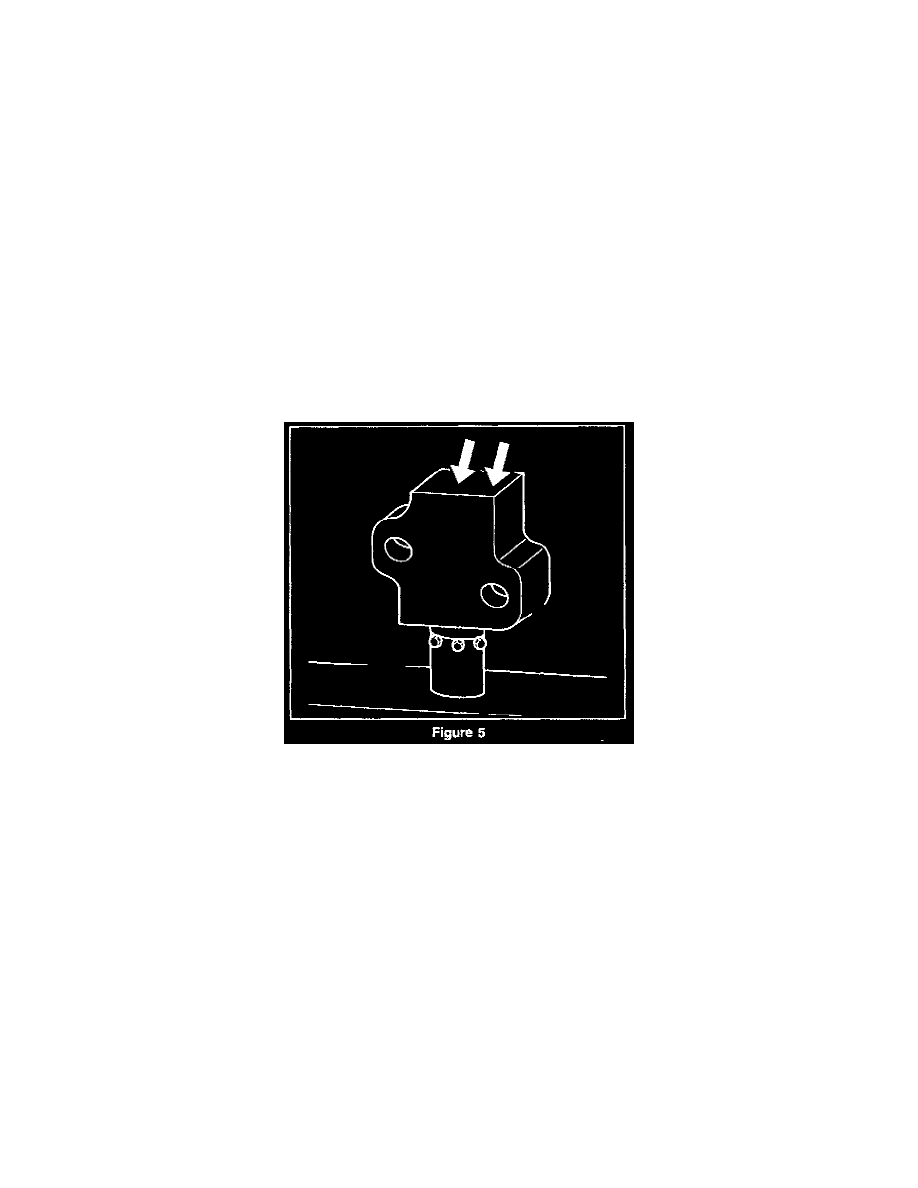
b. With the tensioner plunger fully extended, turn the tensioner and tensioner body upside down on a bench or other flat surface. A metal
workbench is best for this.
c. With the plunger face against the workbench, press firmly on the bottom of the tensioner body, compress the tensioner plunger until it is seated
flush in the tensioner.
10. Install the tensioner body and plunger to the chain housing.
11. Install the timing chain tensioner shoe on the stud. Apply hand pressure to the timing chain tensioner shoe until the locking tab seats in the groove
in the stud.
12. Tighten the timing chain tensioner body bolts. Do not over-tighten.
Tighten
^
Tighten the bolts to 10 Nm ( 89 lb in. ) Refer to Fastener Notice in General Information.
13. Release the timing chain tensioner plunger.
Notice: If the timing chain tensioner is not released from the installation position, engine damage will occur when the engine is started.
14. Using a flat-blade screwdriver, cotter pin remover, or a similar tool, press firmly against the face of timing chain tensioner plunger.
15. Depress the timing chain tensioner plunger until it is bottomed out in the bore of the timing chain tensioner. If the timing chain tensioner cannot be
depressed, it is not properly loaded and the procedure for loading the timing chain tensioner must be repeated.
16. Release the tensioner plunger, the plunger will press firmly against the back of the timing chain tensioner shoe.