
Grand AM L4-144 2.4L DOHC VIN T SFI (1997)
5. Door inside handle escutcheon by pulling inside door handle to open position and gently disengage by pulling front of escutcheon outward.
6. Reflector using a flat blade screwdriver.
7. Front or rear door trim panel screw behind reflector and pull cup.
8. Window regulator handle.
9. Door trim panel retainers using J 38778 Trim Removal Tool. Start at the bottom and gently pry inward separating trim from inner, thereby
disengaging all retainers from door inner.
10. Door trim panel by lifting at pull handle and applying pressure in the outboard direction just beneath the beltline. Beltline pressure exerted at the
upper front and working rearward will disengage trim panel beltline hooks from door inner beltline slots.
11. Disengage mirror switch from bezel by pushing on the side of mirror switch.
Install or Connect
1. Align keyway on mirror switch to bezel, then grasp mirror switch handle and pull towards bezel until it snaps in place.
2. Door trim panel by first aligning locator pins on back of trim to door inner. Push trim panel close but just short of full engagement. Set upper
beltline hooks by applying downward pressure at trim panel beltline.
3. Align fasteners to door inner panel retainer holes and engage fasteners by applying pressure to door trim panel.
4. Window regulator handle.
5. Front or rear door trim panel screw behind reflector and pull cup.
6. Door inside handle escutcheon by inserting door handle in door handle opening.
7. Insert door inside handle escutcheon clips to front end of door trim panel opening and apply pressure to secure.
8. Reflector by aligning clips to the slots in door trim panel and apply pressure to secure.
9. Manual lock slider knob by positioning onto locking rod and slide rearward.
10. Wire harness connectors.
11. Front door power lock and window switch and bezel.
12. Rear door power switch and bezel.
13. Front door upper trim panel by inserting tabs to retainers and apply pressure to secure.
Tighten
^
Screw to 1.3 N.m (11.5 lb. in.).
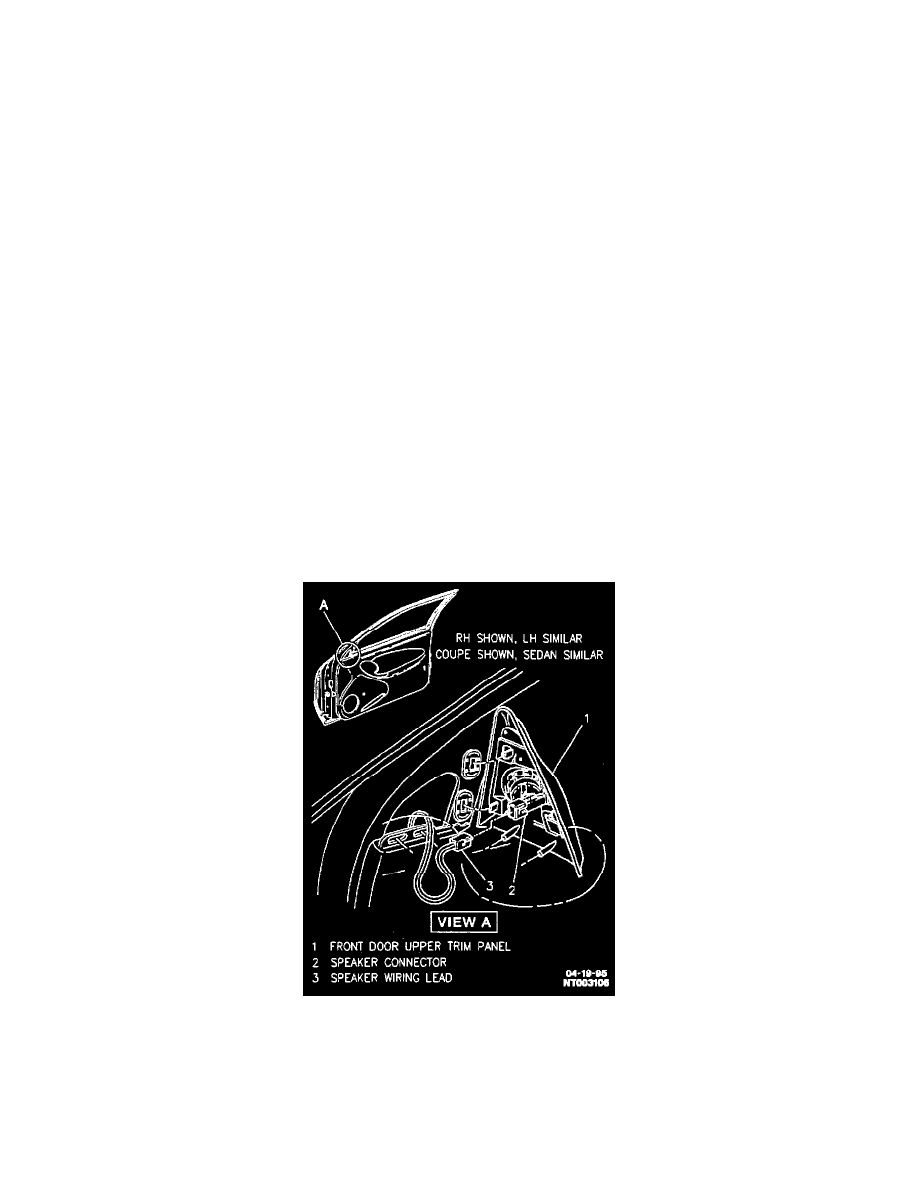
Front Door Upper Trim Panel
Front Door Upper Trim Panel With Speaker
Remove or Disconnect
1. Front door upper trim panel by gently prying at side to disengage tabs and pull rearward.
2. Speaker wiring lead from speaker connector, refer to illustration.
Install or Connect