
Grand AM V6-3.4L VIN E (2001)
13. Disconnect the rear deck release switch connector.
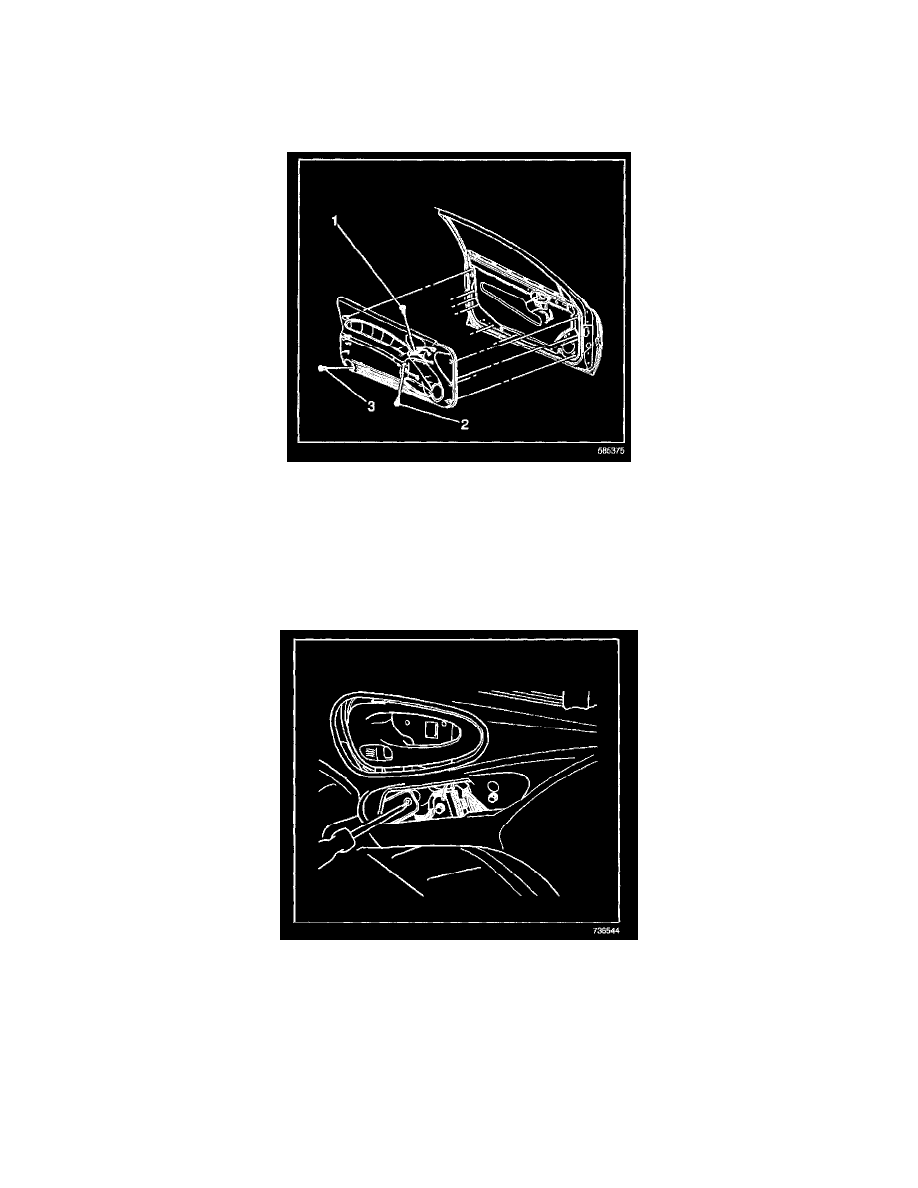
14. Using J 38778 and starting at the door bottom, disengage the door trim panel retainers.
15. Lift up on the trim panel to disengage it from the inner belt molding.
16. Remove the door trim panel from the door.
INSTALLATION PROCEDURE
1. Position the trim panel on the inner belt molding and press down.
2. Install the front door trim panel to the door, pressing into place until the retainers are fully seated
3. Install the inside door handle bezel.
4. Connect the rear deck release electrical connector.
5. Install the rear deck release switch bezel, pressing into place until fully seated.
6. Install the window regulator handle to the door.
NOTE: Refer to Fastener Notice in Service Precautions.
7. Install the door trim panel screw through the switch bezel opening.
Tighten
Tighten the door trim panel screw to 10 N.m (89 lb in).
8. Connect all required electrical connectors.
9. Install the front door switch bezel to the front door trim panel.
10. Install the door trim panel screw to the arm-rest pull handle.
Tighten
Tighten the door trim panel screws to 10 N.m (89 lb in).