
Grand AM V6-3.4L VIN E (2001)
Trunk / Liftgate Weatherstrip: Service and Repair
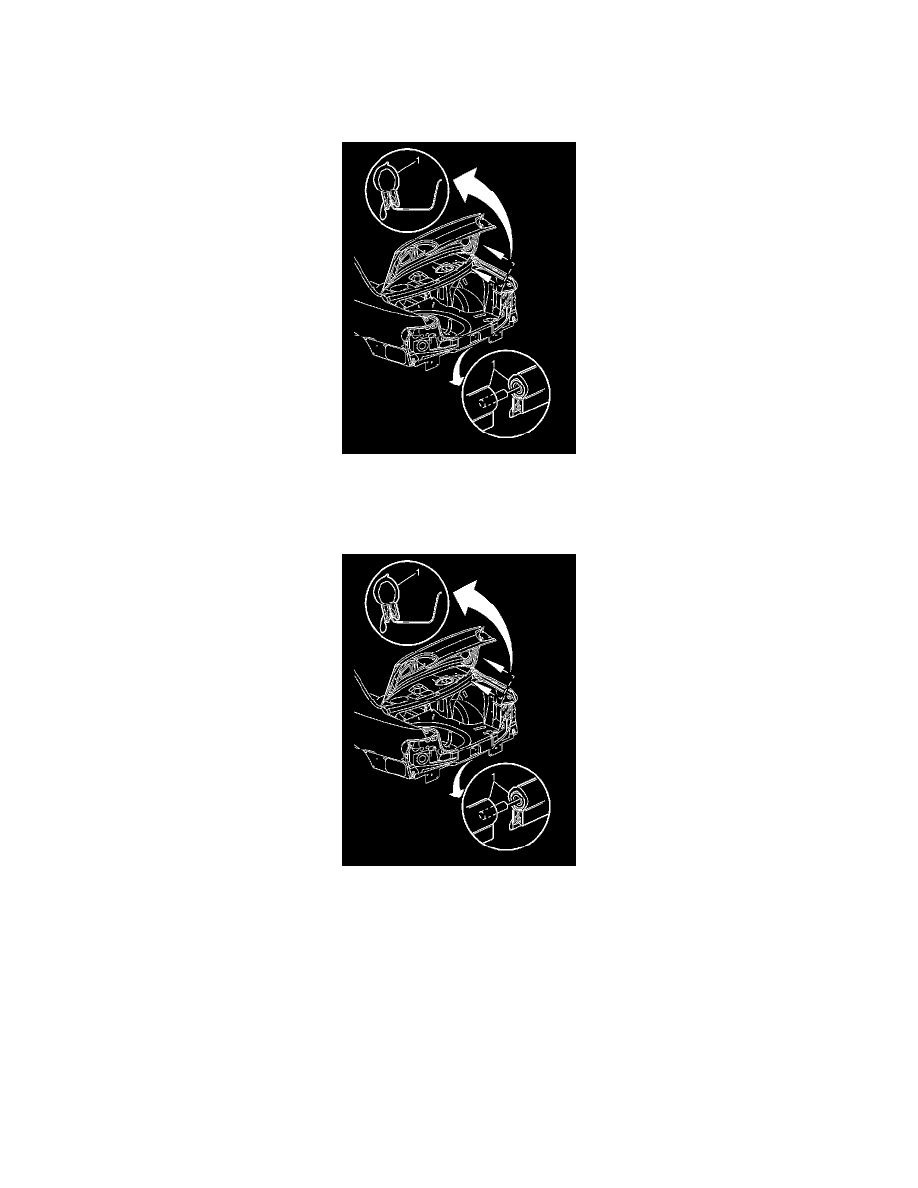
Rear Compartment Lid Weatherstrip Replacement
Removal Procedure
1. Open the rear compartment.
2. Remove the rear compartment lid weatherstrip (1) from the pinchweld flange.
Installation Procedure
Important: Apply light hand pressure in order to seat the strip when installing the rear compartment lid weatherstrip to the flange.
Heavy impacting, such as with a mallet, will result in waterleaks.
1. Install the rear compartment lid weatherstrip (1) to the pinchweld flange.
2. Inspect the entire flange opening in order to ensure that the clinch is completely seated.
3. Use a hose with no nozzle attached in order to test the weatherstrip for leaks.
4. If leaks are present, perform the following steps:
1. Remove the weatherstrip.
2. Brush the weatherstrip adhesive, P/N 3M-08011 or the equivalent, around the perimeter of the flange.
3. Install and retest the weatherstripping for leaks.