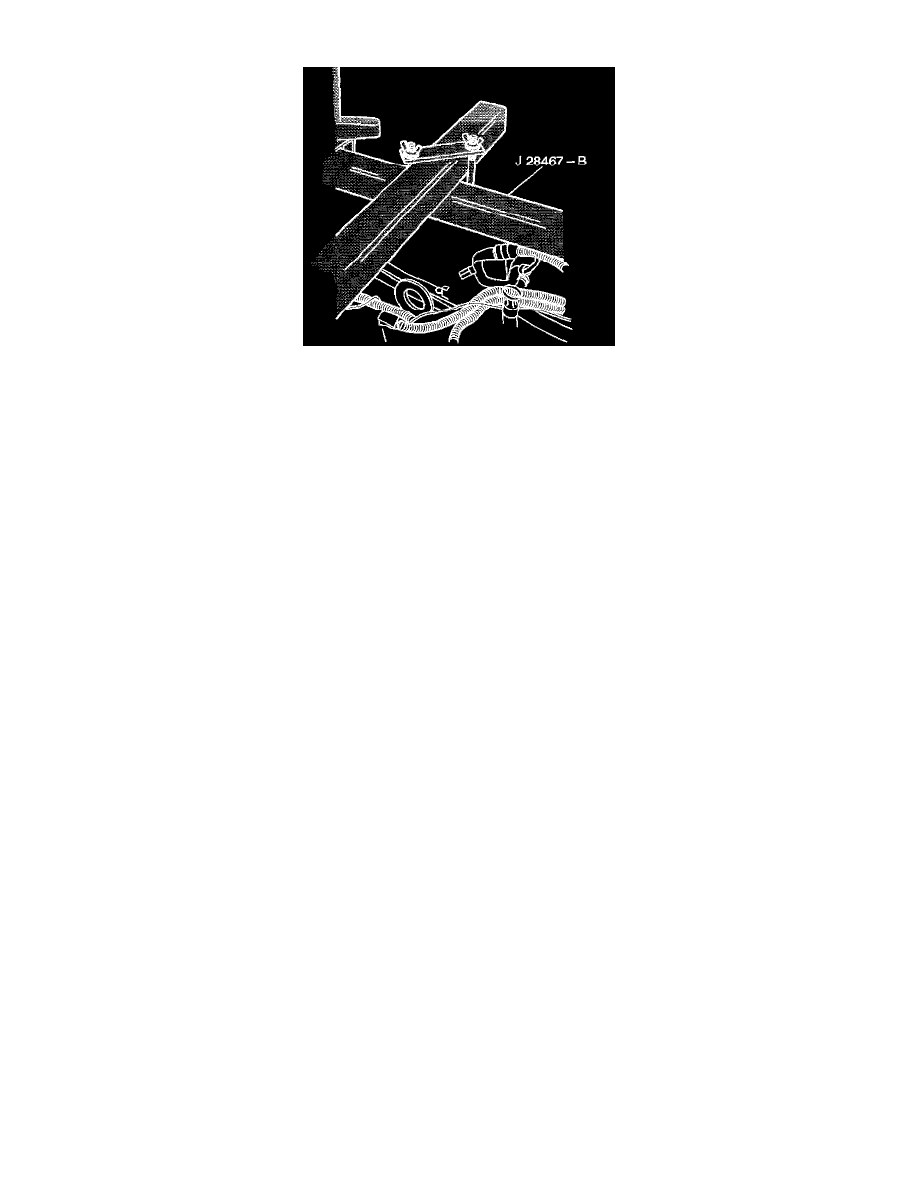
Grand AM V6-3.4L VIN E (2001)

16. Hand tighten the driver side cross bracket assembly (J28467-11A) wing nuts.
17. Install the second radiator shelf tube (J28467-2A) through the passenger side cross bracket assembly (J28467-1A) on the top of the strut tower
tube (J28467-3).
18. Place the rubber padded foot of the front support assembly (J28467-4A) on the vehicle radiator shelf. The foot position used in the front support
assembly (J28467-4A) depends on the vehicle application.
19. Install the 7/16 inch x 2.0 inch quick release pin (J28467-9) through the hole in the front support assembly (J28467-4A) in order to level the
radiator shelf tube (J28467-2A). The hole used in the front support assembly (J28467-4A) depends on the vehicle application.
20. Install the lift hook (J28467-7A) through the lift hook bracket (J28467-6A).
21. Install the 1/2 inch lift hook washer and lift hook wing nut (J28467-34) onto the lift hook (J28467-7A).
22. Install the assemblage lift hook bracket (J28467-6A) over the radiator shelf tube (J28467-2A).
23. Adjust the radiator shelf tube (J28467-2A) and the assemblage lift hook bracket (J28467-6A) in order to align the hook with the right (rear), front
of engine, lift hook bracket located next to the generator.
24. Hand tighten the passenger side cross bracket assembly (J28467-1A) wing nuts.
25. Hand tighten the lift hook wing nuts (J28467-34) securely in order to remove all slack from the engine support fixture assembly.
