
Grand AM V6-3.4L VIN E (2001)
Expansion Block/Orifice Tube: Service and Repair
EXPANSION (ORIFICE) TUBE REPLACEMENT
TOOLS REQUIRED
J 39400-A Halogen Leak Detector
REMOVAL PROCEDURE
IMPORTANT:
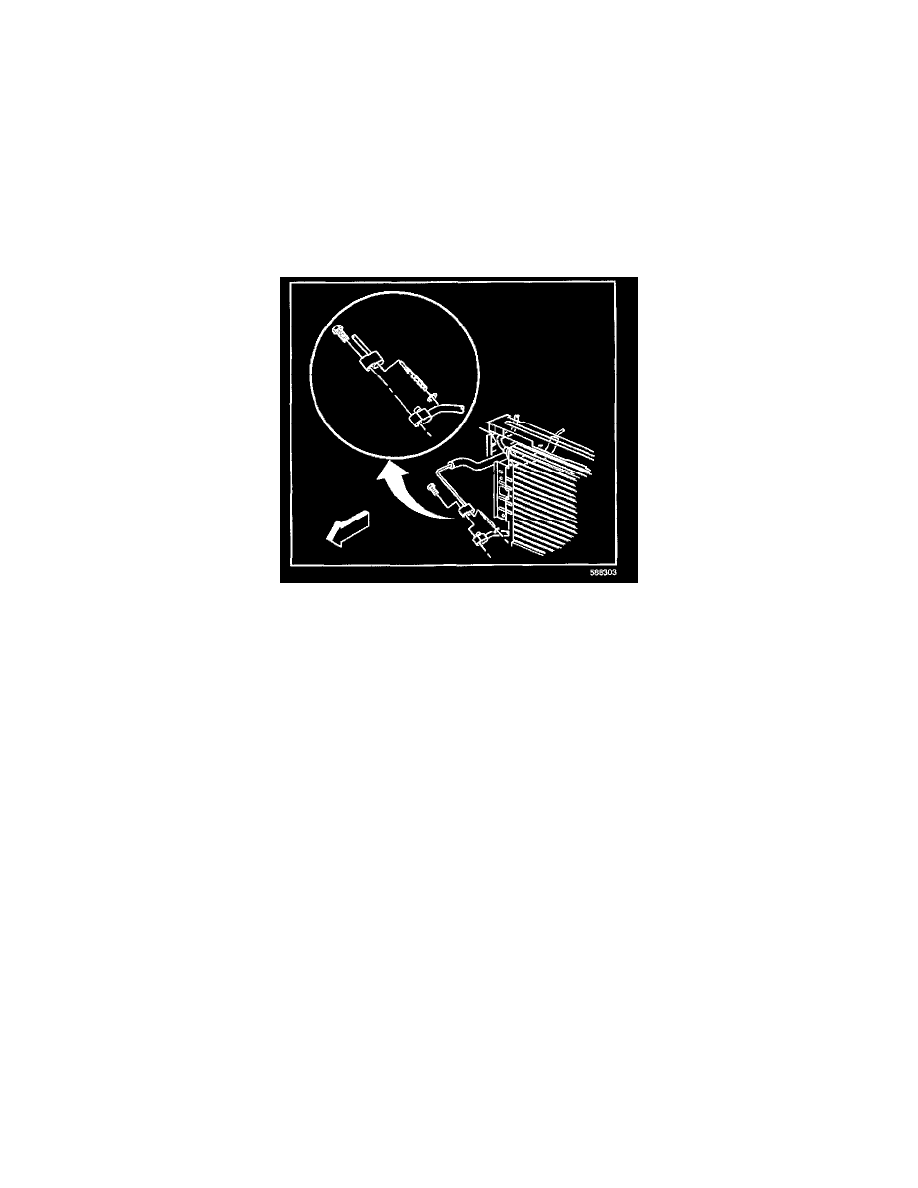
^
The expansion (orifice) tube is located at the condenser to evaporator hose connection in the evaporator hose.
^
When you replace an expansion (orifice) tube, compare the design of the orifice tube to the design of the replacement part for the correct selection.
The different styles of orifice tubes are not interchangeable.
1. Recover the refrigerant. Refer to Refrigerant Recovery and Recharging.
2. Raise the vehicle. Refer to Lifting and Jacking the Vehicle.
3. Remove the bolt holding the evaporator hose assembly to the condenser.
4. Remove the evaporator hose assembly from the condenser.
IMPORTANT: Immediately cap or tape the open end of the condenser line to prevent contamination.
5. Remove and discard the O-ring seal.
6. Using pliers, CAREFULLY grasp the edge of the expansion (orifice) tube without touching the filter screen and pull to remove the tube;
immediately cap or tape the evaporator tube to prevent contamination.
7. Use the following procedure in order to remove a restricted or plugged expansion (orifice) tube:
7.1.
Remove as much as possible of the impacted residue.
7.2.
Use a heat gun in order to apply heat to the expansion (orifice) tube. Apply the heat approximately 7 mm (1/4 in) from the dimples on the
inlet pipe.
7.3.
While applying heat, use pliers in order to grip the orifice tube. Use a turning motion along with a push-pull motion.
This will loosen the impacted orifice tube and remove the tube.
7.4.
Swab the inside of the evaporator inlet line to clean any contamination from the line.