
Grand AM V6-3.4L VIN E (2001)
3.
Insert the key and turn the ignition switch to the ON position.
4.
Place the gearshift lever in the LOW position.
5.
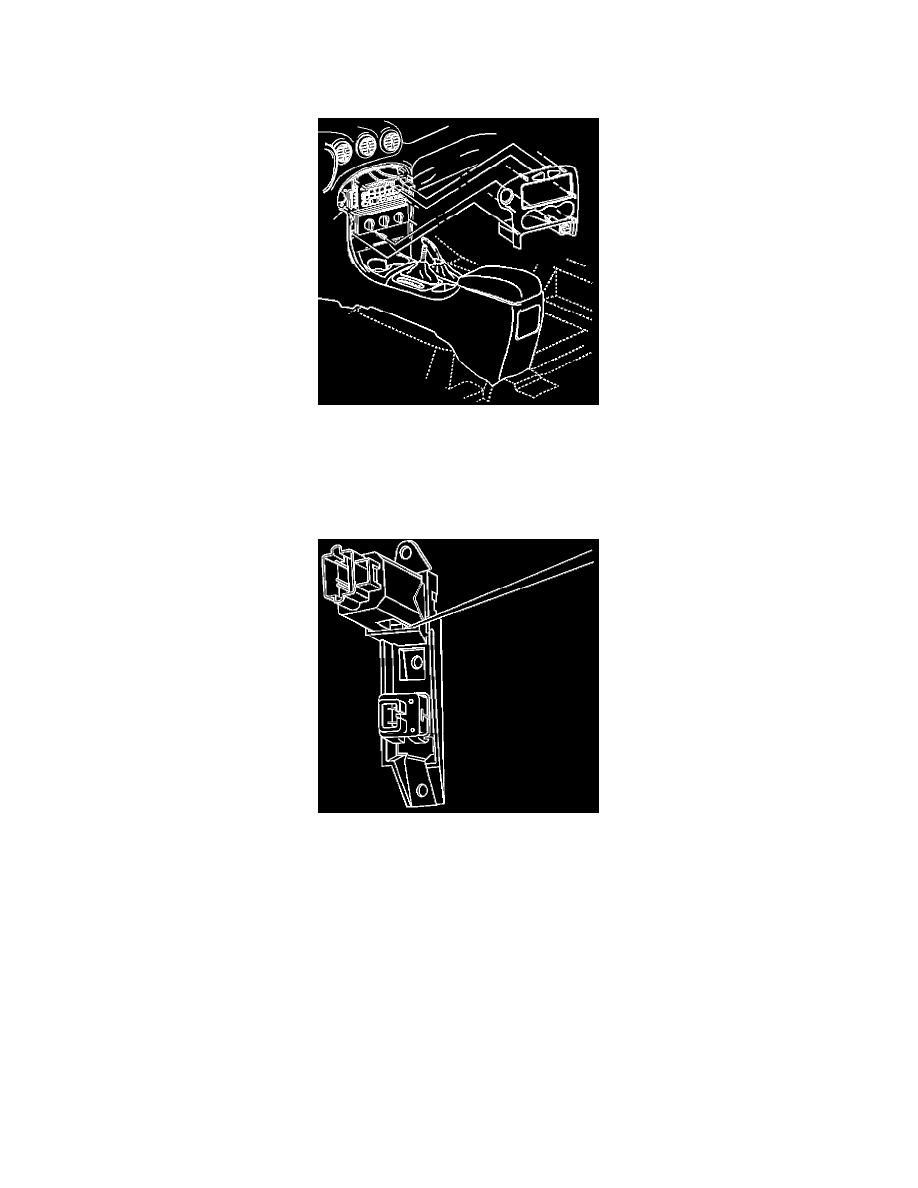
Using a small flat-blade screwdriver, carefully disengage the accessory trim plate from the instrument panel (IP).
6.
Disconnect the electrical connectors from the switches installed in the accessory trim plate.
7.
Remove the three 7 mm hex head screws attaching the hazard warning switch mounting bracket to the accessory trim plate and remove the switch
and bracket assembly.
8.
Using a small flat-blade screwdriver, carefully depress the two retaining features on the side of the switch and remove the hazard warning switch
from the bracket.
9.
Install the new hazard warning switch in the mounting bracket.
10.
Position the hazard warning switch and bracket assembly to the accessory trim plate and install the three attaching screws.
Tighten
Tighten to 3 N.m (27 lb in).
11.
Connect the electrical connectors to the switches in the accessory trim plate.
12.
Install the accessory trim plate to the IP and press into place until fully seated.
13.
Place the gearshift lever in the PARK position.
14.
Turn the ignition key to the OFF position and remove the key.