Grand AM V6-3300 3.3L (1992)

Timing Cover: Service and Repair
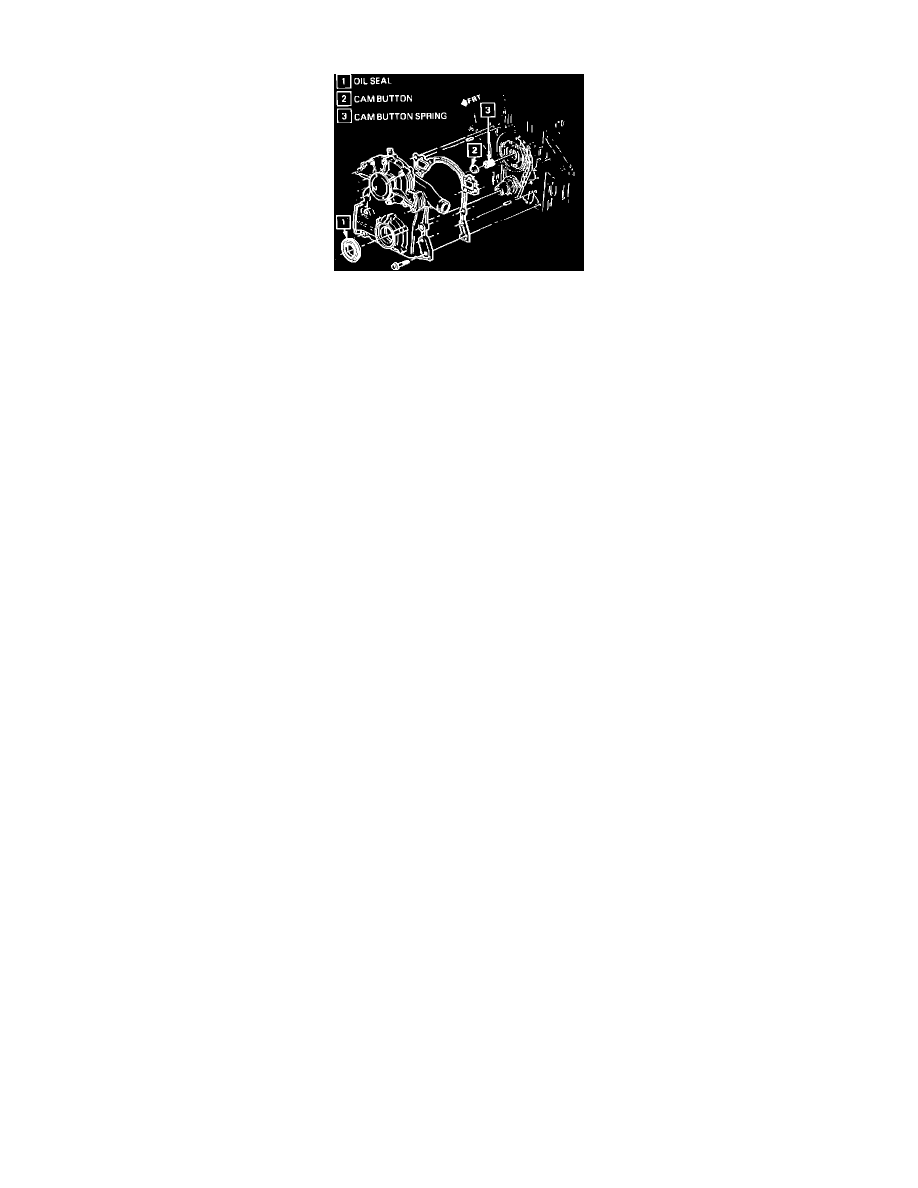
Fig. 9 Engine Front Cover Replacement
1.
Disconnect battery ground cable, then drain cooling system.
2.
Remove serpentine drive belt, then the heater pipes. Remove lower radiator and coolant bypass hoses from front cover.
3.
On 1991 models, remove alternator and position aside, then the power steering pump.
4.
On all models, raise and support vehicle.
5.
Remove right front wheel and tire assembly, then remove inner fender splash shield.
6.
On 1991 models, remove right front axle, then support engine using fixture No. J-28467 or equivalent.
7.
On 1991 models, remove engine mount, then tensioner bracket.
8.
On all models, remove torque converter cover, then install flywheel holding tool J-37096 or equivalent to hold fly wheel in position.
9.
Remove crankshaft balancer bolt, then remove balancer.
10.
On 1991-92 models, remove crankshaft sensor shield.
11.
On all models, disconnect electrical connectors at camshaft and crankshaft sensors and oil pressure sender switch.
12.
Remove oil pan to front cover attaching bolts.
13.
Remove front cover to engine attaching bolts, then remove front cover, Fig. 9.
14.
Reverse procedure to install. Apply sealant 1052080 or equivalent, to front cover bolt threads. Adjust crankshaft sensor using tool No. J-37087 or
equivalent. Hold flywheel in place using tool No. J-37096 or equivalent, when tightening balancer bolt.
