
Grand Prix V6-191 3.1L (1989)
Quantity
Description
Part Number
Per Vehicle
Left Door Hinge Kit
10218446
1
Right Door Hinge Kit
10118445
1
Each door hinge kit contains 2 hinges, 4 nuts and 4 bolts.
Due to initial parts quantity restrictions, please submit the ordering of hinge kits to previous hinge fracture rates experienced by this vehicle population.
Service Procedure
NOTICE:
THIS PROCEDURE DIFFERS FROM PREVIOUS HINGE REPLACEMENT METHODS BECAUSE:
a.
Door remains on vehicle.
b.
Access to both door hinges is made through front wheelhouse area.
c.
Hinges come pre-primed and are NOT to be painted.
NOTICE:
IN ORDER TO MINIMIZE DOOR REALIGNMENT, DO NOT REMOVE BOTH DOOR HINGES AT SAME TIME. DO EACH HINGE
SEPARATELY AND, IF BROKEN HINGES ARE NOTED DURING VEHICLE WRITE-UP, REPLACE BROKEN HINGES FIRST.
1.
Place vehicle on hoist.
2.
Obtain hinges for both door locations.
3.
Using proper lift points, raise vehicle to half up position (until wheel/tire chest high).
4.
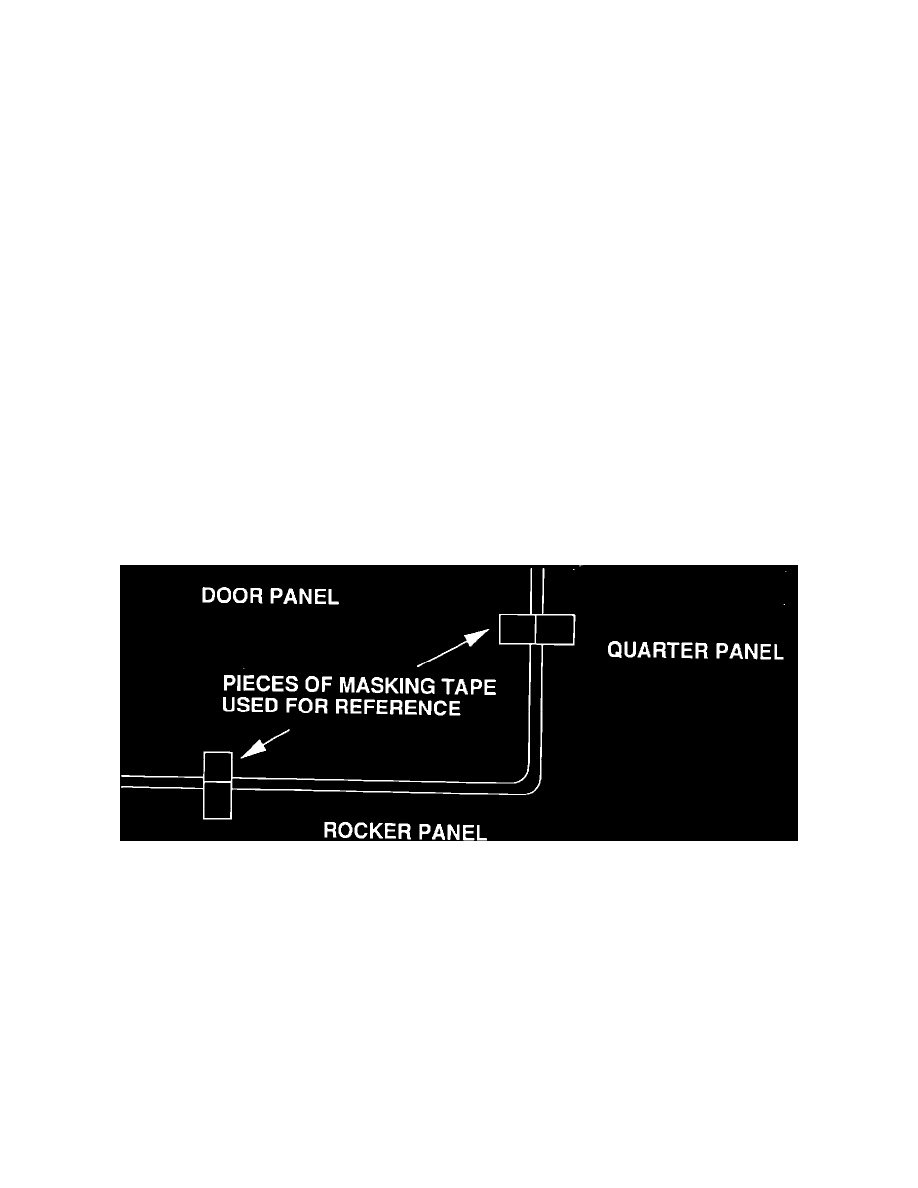
Using two pieces of masking tape, place one piece to bridge gap between door and rocker panel and second piece to bridge gap between door and
quarter panel to act as reference points for door alignment (see illustration).
MASKING TAPE REFERENCE LOCATIONS
5.
Cut tape at gap area using utility knife or other suitable tool.
6.
Remove front tire and wheel assembly.
7.
Starting at top center of front wheelhouse liner, remove all attaching screws located rearward of top center of liner.
8.
Loosen liner from fender and position liner forward of front suspension assembly.
9.
Remove insulator cover attachments and insulator cover (located between fender and hinge pillar).
10.
Clean hinge mounting surfaces on door and body with rag and mark hinge locations on body surfaces with grease pencil or other suitable marker.