Grand Prix V6-191 3.1L (1989)

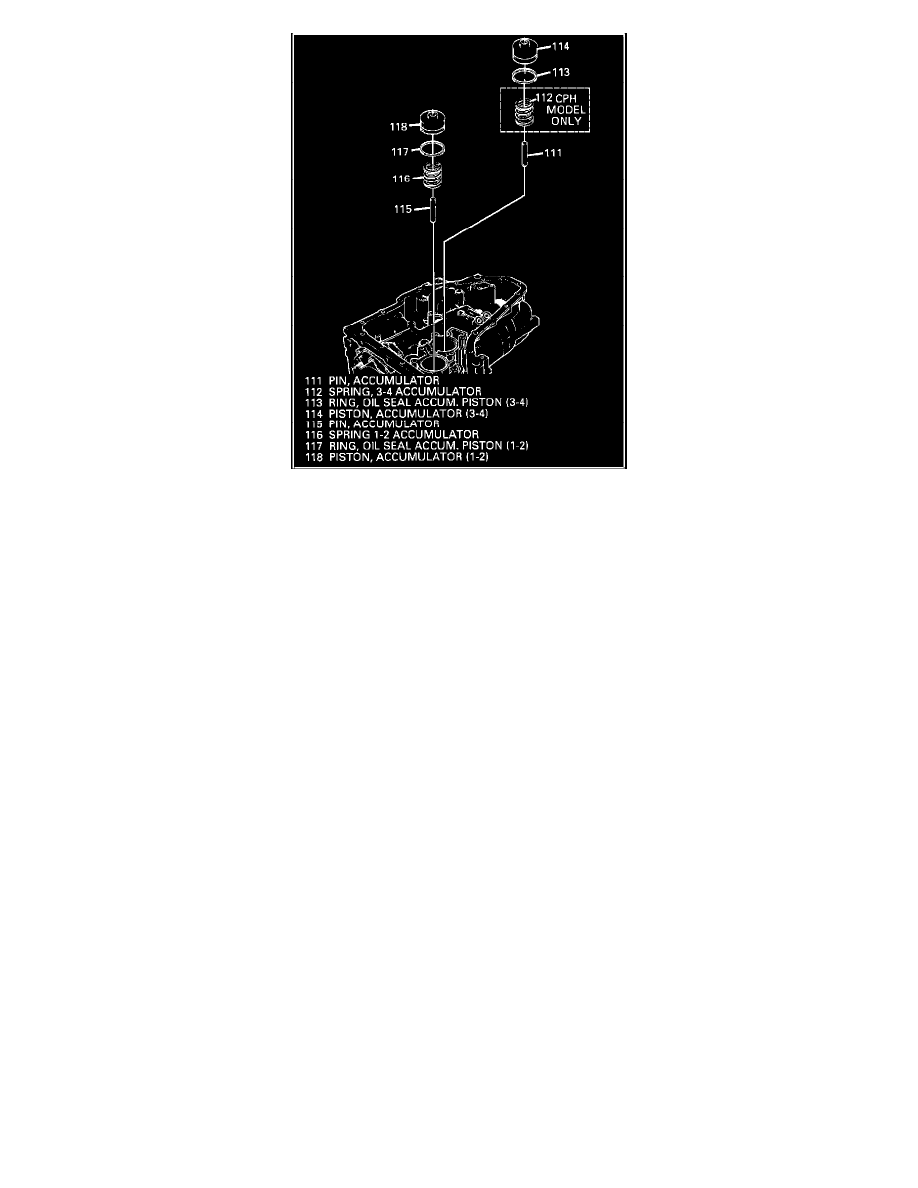
Figure 4 - 1-2 Accumulator Spring
SERVICE PROCEDURE:
(Figures 1 - 4)
1)
Check Julian Date of transaxle:
A)
If built on or after Julian Date (076), use 8662990 for 3rd clutch plates and 8662989 for overhaul packages. Complete repairs; no further
steps required.
B)
If built before Julian Date (076) and the I.D. tag has the previous model codes shown in figure 1, order 8662954 for 3rd clutch plates
and 8662960 for overhaul packages. If these packages are not available, then order the package listed in 1A and the calibration update
kit package listed under "Service Parts Information" for the transaxle model. Go to step 2.
2
Update the valve body assembly and replace the following:
-
2-3 accumulator valve spring (336) (most models) (Figure 2)
-
3-2 control valve spring (341) (all models) (Figure 2)
-
Spacer plate assembly (031) (some models) (not shown)
-
1-2 servo cushion spring (559) (all models) (Figure 3)
-
1-2 accumulator valve spring (326) (CPH model only) (Figure 2)
-
1-2 accumulator spring (116) (CPH model only) (Figure 4)
IMPORTANT:
All components supplied in the calibration update kit package must be installed to complete calibration update. If not, this
will cause a slip-bump condition on 2-3 and 3-2 shifts.
3)
Once all calibration update components have been installed, apply new adhesive models tag supplied. Refer to Figure 1 for proper location and
correct tag to apply. This will indicate that the transaxle has been updated to latest build level.
