
Grand Prix V6-191 3.1L VIN M SFI (1998)
Push Rod: Service and Repair
REMOVAL PROCEDURE
1. Remove the valve rocker arm cover(s). Refer to Valve Rocker Arm Cover Replacement (Left Front) and/or Valve Rocker Arm Cover
Replacement (Right Rear) in Unit Repair.
2. Remove the rocker arm bolt(s).
3. Remove the rocker arm(s).
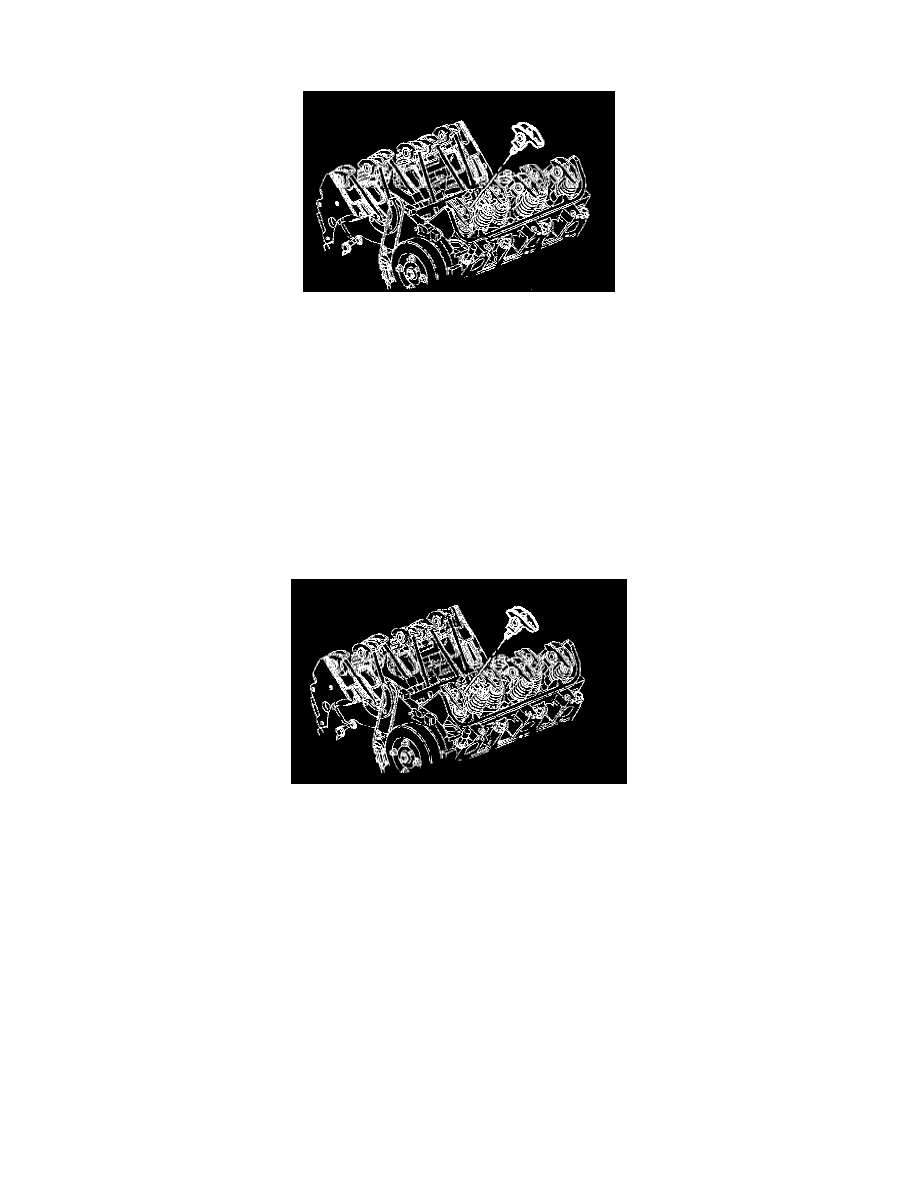
IMPORTANT: Place the valve train parts in a rack in order to ensure that they are installed in the same location from which they were removed.
Intake pushrods measure 144.18 mm (5.68 inch) long. Exhaust pushrods measure 152.51 mm (6.0 inch) long. Use care when removing the
pushrods. Ensure that they do not fall down into the lifter valley.
4. Remove the pushrod(s).
INSTALLATION PROCEDURE
IMPORTANT: Coat the bearing surface of the rocker arms, rocker arm bolts, and pushrods with prelube GM P/N 1052365 or its equivalent. Install
all of the components in their original location.
1. Use the following steps in order to install the pushrod(s).
1.1. Coat the ends of the pushrods with prelube GM P/N 1052365 or equivalent.
1.2. Install the intake valve pushrods measure 144.18 mm (5.68 inch) long.
1.3. Install the exhaust valve pushrods measure 152.51 mm (6.0 inch) long.
2. Install the rocker arm(s).
3. Install the rocker arm bolt(s).
^
Tighten the rocker arm bolt to 10 Nm (89 inch lbs.) plus 30 degrees.
NOTICE: Refer to Fastener Notice in Service Precautions.
4. Install the valve rocker arm cover(s). Refer to Valve Rocker Arm Cover Replacement (Left Front) and/or Valve Rocker Arm Cover Replacement
(Right Rear) in Unit Repair.