
Grand Prix V6-191 3.1L VIN M SFI (1998)
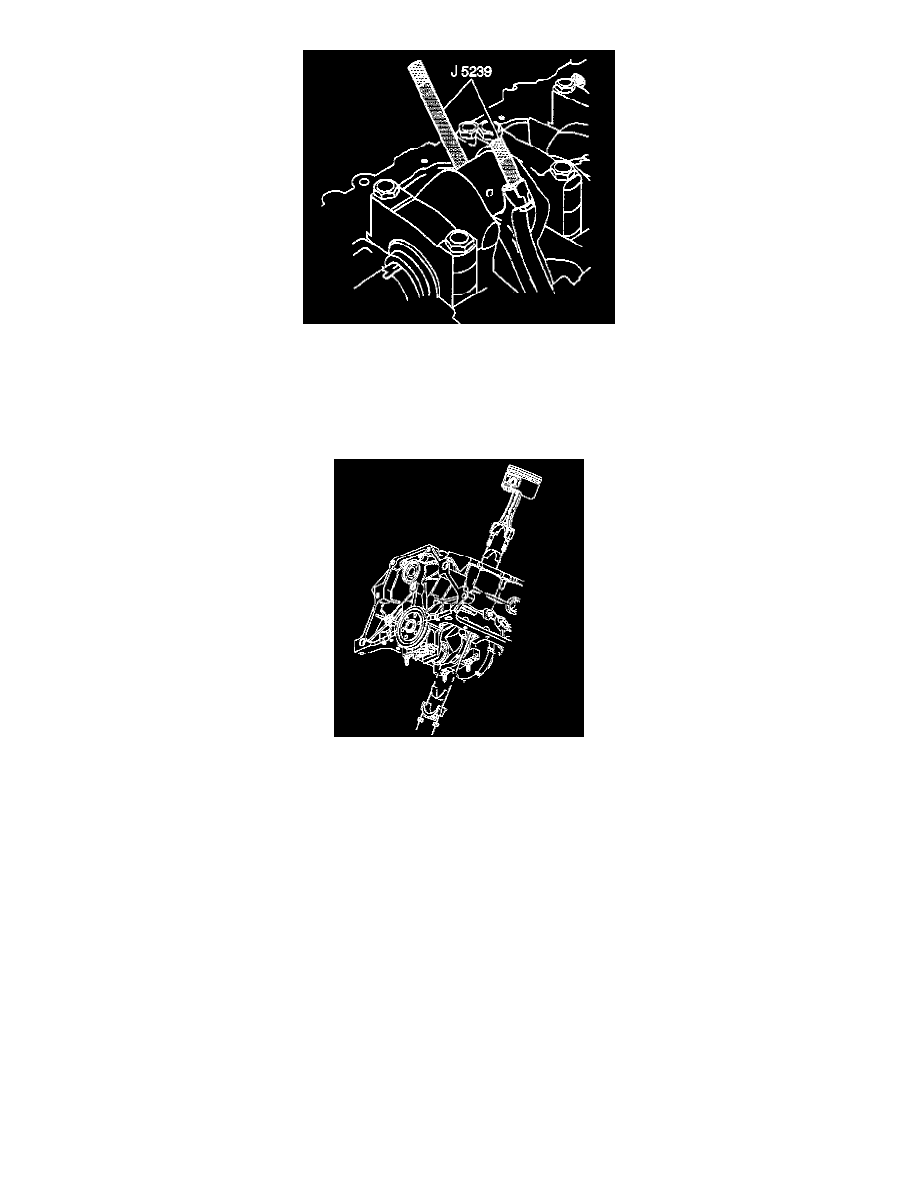
11. Install the J 5239.
NOTICE: Install thread protector in order to avoid damage to the crankshaft journal.
12. Push the piston and rod up through the cylinder.
13. Lower the vehicle.
14. Remove the connecting rod, upper connecting rod bearing and piston out of the top of the engine block.
15. Wipe oil from the connecting rod bearings and crankshaft connecting rod journal.
16. Inspect the connecting rod bearings. Refer to Crankshaft and Bearings Clean and Inspect in Unit Repair.
17. Inspect the connecting rod cap and connecting rod. Refer to Piston, Connecting Rod and Bearings Clean/Inspect in Unit Repair.
18. Inspect the crankshaft connecting rod journal. Refer to Crankshaft and Bearings Clean and Inspect in Unit Repair.
19. Clean the cylinder bores with a light honing.
20. Clean the cylinder bores with hot water and detergent.
21. Swab the bores with a clean, dry cloth.
22. Swab the bores with new engine oil and a clean, dry cloth.
INSTALLATION PROCEDURE
^
Tools Required
-
J 5239 Connecting Rod Bolt Guide Set
-
J 8037 Piston Ring Compressor
-
J 36660 Electronic Torque Angle Meter
1. Coat the piston, the piston rings, the cylinder bore, and the bearing surfaces with new engine oil.