
Grand Prix V6-191 3.1L VIN M SFI (1998)
Spark Plug: Service and Repair
Spark Plug Replacement
REMOVAL PROCEDURE
TOOLS REQUIRED
J 38491 Spark Plug Heat Shield Removal Tool
1. Turn OFF the ignition switch.
2. Remove the spark plug wires from the spark plugs.
NOTE: Observe the following service precautions:
^
Allow the engine to cool before removing the spark plugs. Attempting to remove spark plugs from a hot engine can cause the spark plugs to
seize. This can damage the cylinder head threads.
^
Clean the spark plug recess area before removing the spark plug. Failure to do so can result in engine damage due to dirt or foreign material
entering the cylinder head, or in contamination of the cylinder head threads. Contaminated threads may prevent proper seating of the new spark
plug.
^
Use only the spark plugs specified for use in the vehicle. Do not install spark plugs that are either hotter or colder than those specified for the
vehicle. Installing spark plugs of another type can severely damage the engine.
Remove the spark plugs from the engine.
INSTALLATION PROCEDURE
NOTE: It is important to check the gap of all new and reconditioned spark plugs before installation. Pre-set gaps may have changed during handling.
Use a round wire feeler gauge to be sure of an accurate check, particularly on used plugs. Installing plugs with the wrong gap can cause poor engine
performance and may even damage the engine.
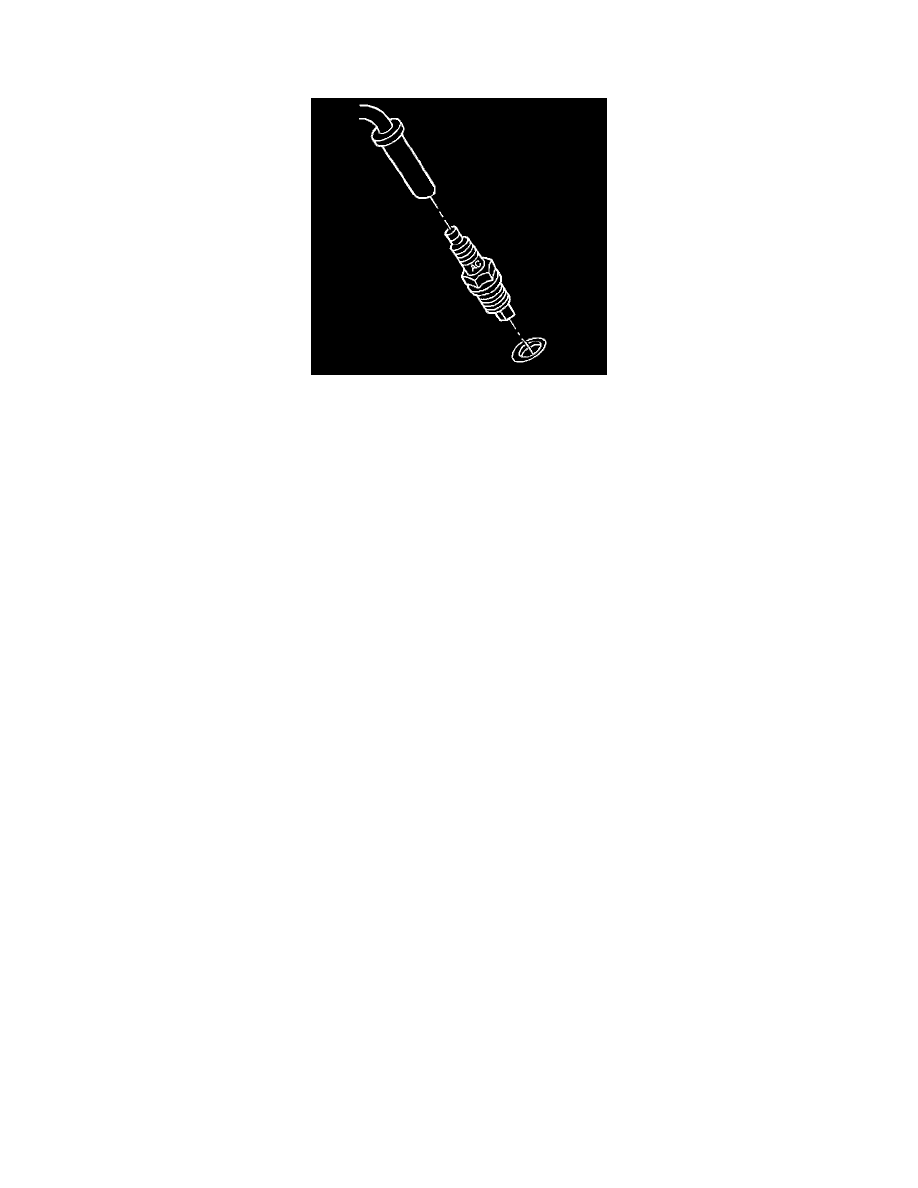
1. Measure the spark plug gap on the spark plugs to be installed. Compare the measurement to the gap specifications. Refer to Spark Plug Usage.
Correct as necessary.
NOTE:
^
Be sure plug threads smoothly into cylinder head and is fully seated. Use a thread chaser if necessary to clean threads in cylinder head.
Cross-threading or failing to fully seat spark plug can cause overheating of plug, exhaust blow-by, or thread damage. Follow the recommended
torque specifications carefully. Over or under-tightening can also cause severe damage to engine or spark plug.
^
Use the correct fastener in the correct location. Replacement fasteners must be the correct part number for that application. Fasteners requiring
replacement or fasteners requiring the use of thread locking compound or sealant are identified in the service procedure. Do not use paints,
lubricants, or corrosion inhibitors on fasteners or fastener joint surfaces unless specified. These coatings affect fastener torque and joint
clamping force and may damage the fastener. Use the correct tightening sequence and specifications when installing fasteners in order to avoid
damage to parts and systems.
2. Install the spark plugs to the engine.
Tighten
Tighten the spark plug to 15 N.m (11 lb ft).