Grand Prix V6-191 3.1L VIN M SFI (1998)

Wheel Fastener: Service and Repair
Front Suspension
REMOVAL PROCEDURE
^
Tools Required:
-
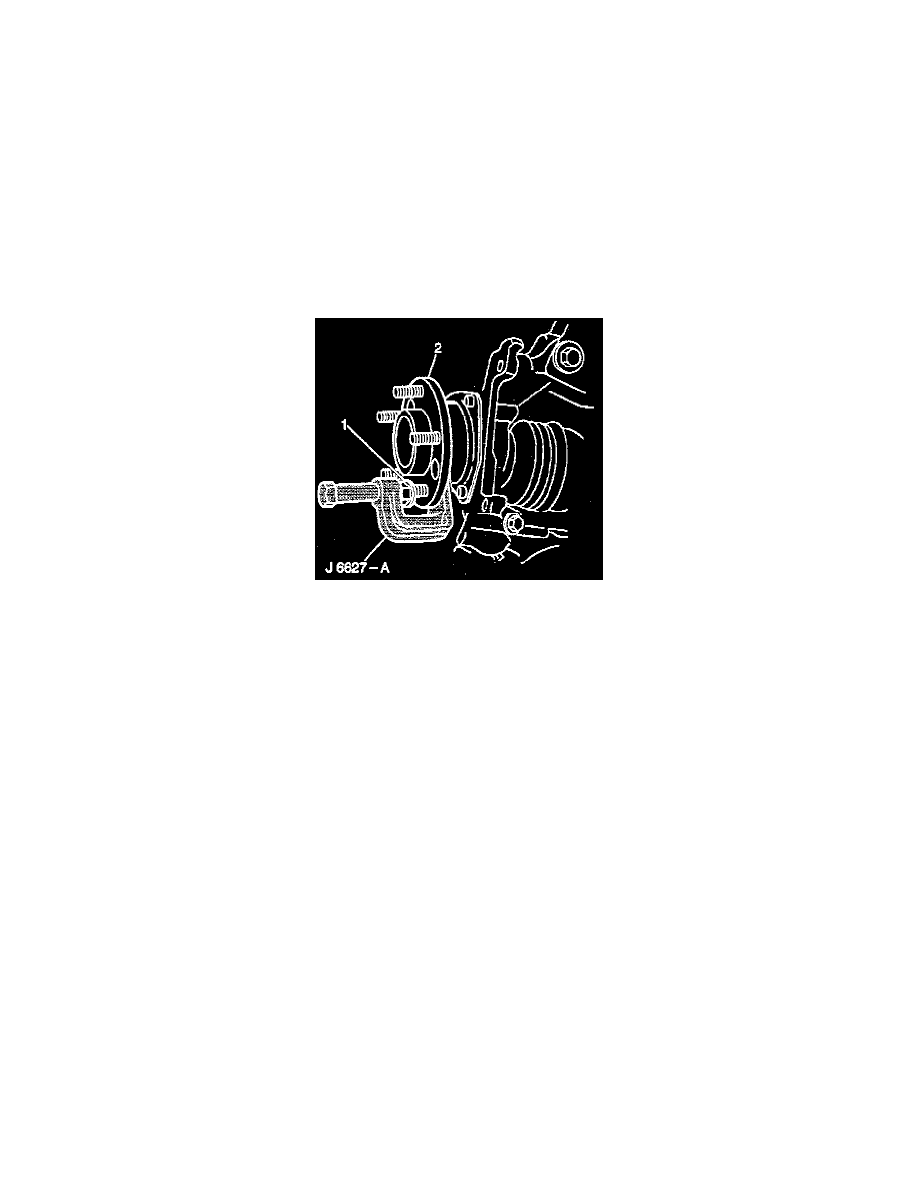
J 6627-A Stud Remover
Important: Use a 36 mm (1.42 inch) wheel bolt for front service replacement only.
1. Raise and suitable support the vehicle.
2. Remove the tire and wheel assembly.
3. Remove the brake caliper and bracket. Hang the caliper and the bracket from the vehicle. DO NOT allow the caliper and the bracket to hang by
the brake hose. Refer to BRAKE CALIPER REPLACEMENT (FRONT) in FRONT DISC BRAKES.
4. Remove the brake rotor. Refer to BRAKE ROTOR/DISC in FRONT DISC BRAKES.
5. The stud must be 10 - 12 mm (0.4 - 0.5 inch) shorter than the original 43 mm (1.69 inch) stud for removal. Cut the bolt if necessary and position
the hub in the-six o'clock Position.
6. Use the J 6627-A in order to extract the stud from the hub.
7. Clean the wheel hub, the flange, and the rotor of any corrosion, metal chips, or foreign material.
INSTALLATION PROCEDURE
NOTICE: Always use the correct fastener in the proper location. When you replace a fastener, use ONLY the exact part number for that application.
The manufacturer will call out those fasteners that require a replacement after removal. The manufacturer will also call out the fasteners that require
thread lockers or thread sealant. UNLESS OTHERWISE SPECIFIED, do not use supplemental coatings (paints, greases, or other corrosion inhibitors)
on threaded fasteners or fastener joint interfaces. Generally, such coatings adversely affect the fastener torque and joint clamping force, and may
damage the fastener. When you install fasteners, use the correct tightening sequence and specifications. Following these instructions can help you
avoid damage to parts and systems.
1. Install a shorter replacement bolt in the wheel hub.
2. Add enough washers (1) to draw the bolt into the hub.
3. Install the wheel nut with the flat side against the washers.
Important: Fully seat the wheel bolt against the hub flange.
4. Tighten the wheel nut until the wheel bolt is fully seated against the hub flange.
5. Back off the wheel nut and remove the washers.
6. Install the brake caliper and bracket. Refer to BRAKE CALIPER REPLACEMENT (FRONT) in FRONT DISC BRAKES.
7. Install the brake caliper and the bracket. Refer to BRAKE CALIPER in FRONT DISC BRAKES and refer to CALIPER BRACKET in FRONT
DISC BRAKES.
8. Install the tire and wheel assembly.
9. Lower the vehicle.
