
Grand Prix V6-191 3.1L VIN M SFI (1998)
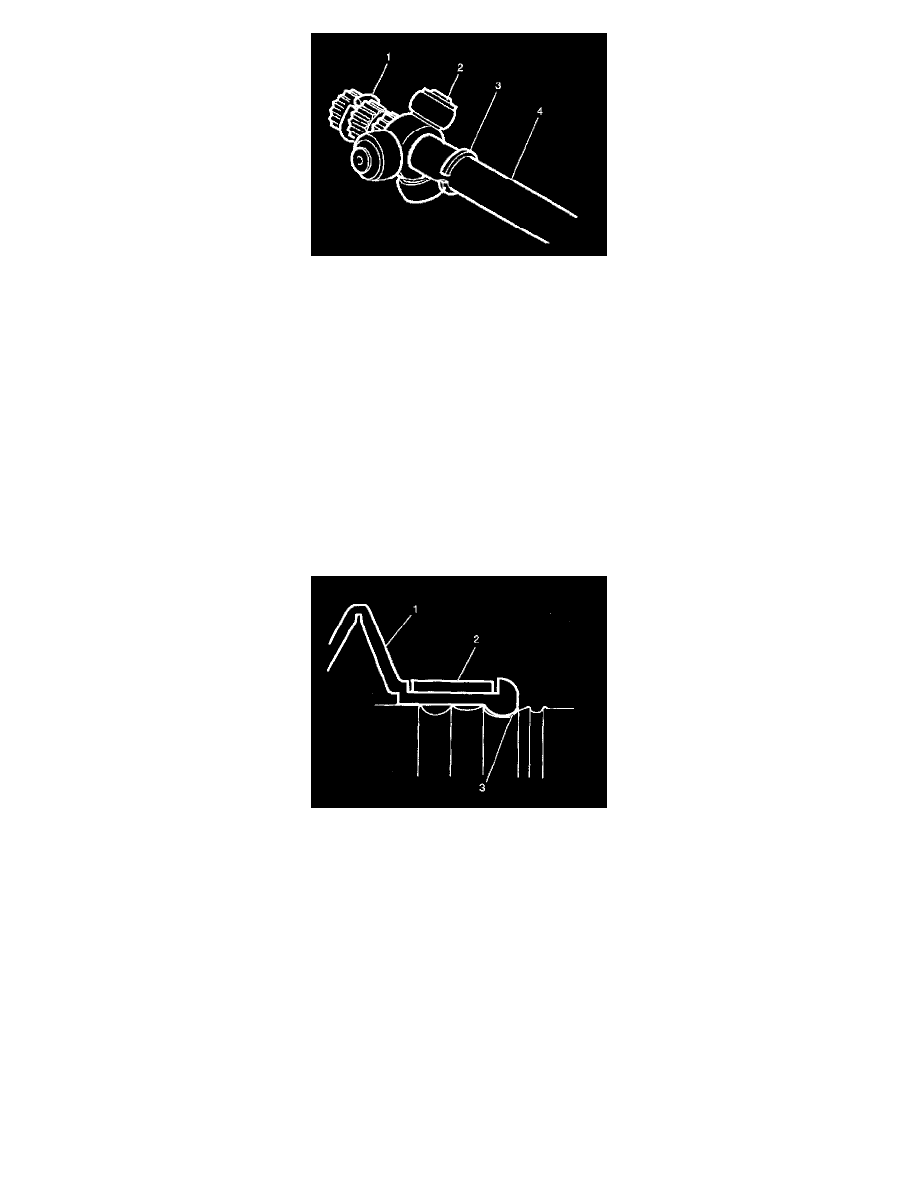
7. Slide the spacer ring (3) and the tripot joint spider (2) back on the halfshaft bar (4).
8. Remove the halfshaft bar retaining ring (1) from the groove on the halfshaft bar.
9. Slide tripot joint spider assembly (2) off of the halfshaft bar (4).
10. Clean the tripot joint spider assembly (2) and the housing thoroughly with cleaning solvent.
11. Remove all traces of old grease and any contaminates. Dry all the parts.
12. Remove the trilobal tripot bushing from the housing.
13. Remove the spacer ring (3) and the boot from the halfshaft bar (4).
14. Inspect the following parts for damage or wear: The inboard boot
^
The tripot joint spider assembly (2)
^
The housing
^
The trilobal tripot bushing
ASSEMBLY PROCEDURE
Tools Required
^
J 41048 Swage Tool
^
J 8059 Snap Ring Pliers
^
J 35910 Seal Clamp Tool
1. Install the new swage ring (2) on the neck of the inboard boot (1). Do not swage.
2. Slide the halfshaft inboard boot (1) onto the halfshaft bar.
3. Position the neck of the halfshaft inboard boot (1) in the boot groove (3) on the halfshaft bar.