
Grand Prix V6-3.8L (2007)
10. Remove the hood release cable from the hood release handle.
11. Squeeze the tabs on the cable retainer to remove the cable assembly from the hood release handle assembly.
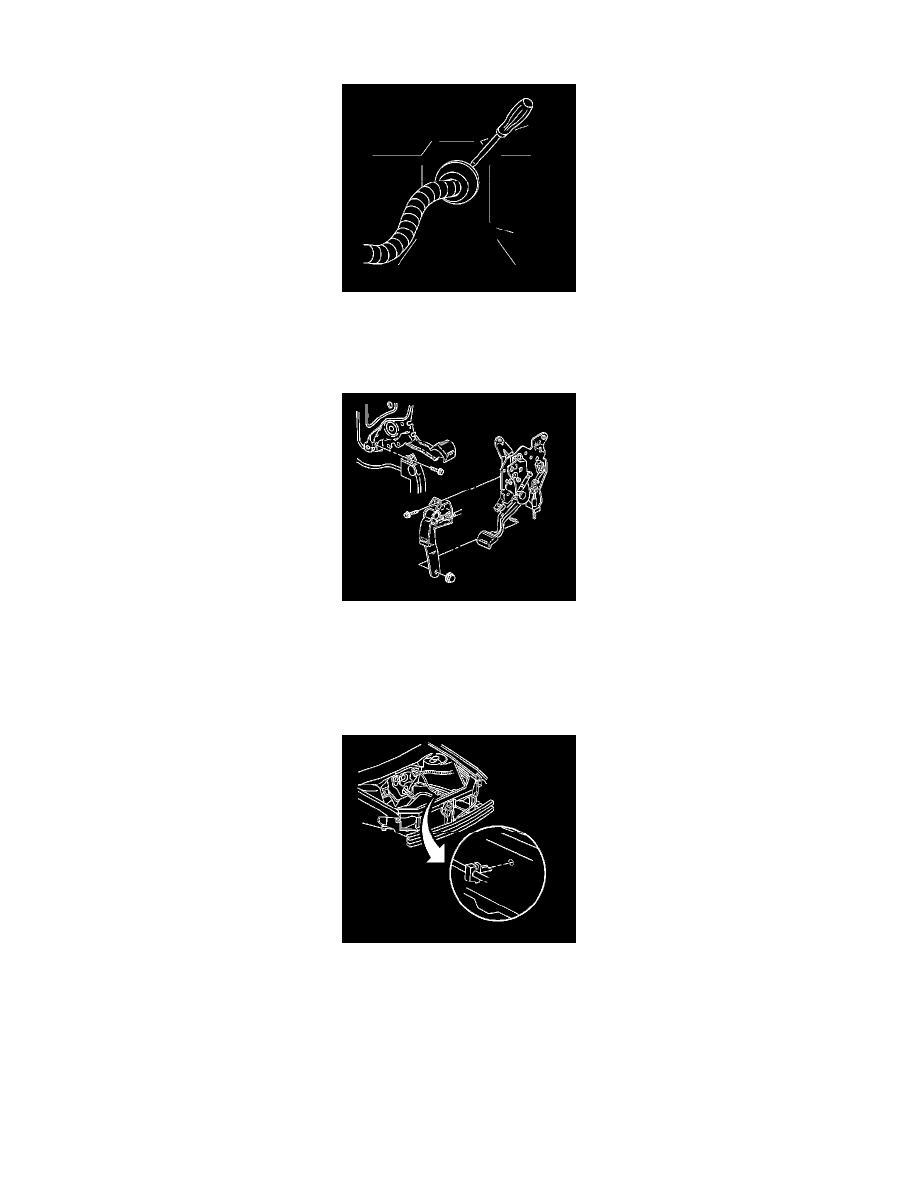
12. Use a small flat-bladed tool to remove the grommet from the dash panel.
13. Remove the hood latch release cable from the dash panel and vehicle.
Installation Procedure
1. Tie the hood latch release cable to a wire or string. Route the hood latch release cable grommet through the dash panel.
2. Apply strip caulk sealer or equivalent around the grommet.
3. Install the hood latch release cable to the hood release handle.
4. Install the cable assembly into the hood release handle assembly until you hear the tabs click.
5. Pull the carpet back.
6. Install the front left carpet retainer.
7. Install the hood latch release cable retainers to the engine compartment side rail retainers.
8. Route the hood latch release cable through the radiator support.
9. Install the air cleaner.
10. Install the front sheet metal diagonal brace.