
Grand Prix V6-3.8L (2007)
Trunk / Liftgate Shock / Support: Service and Repair
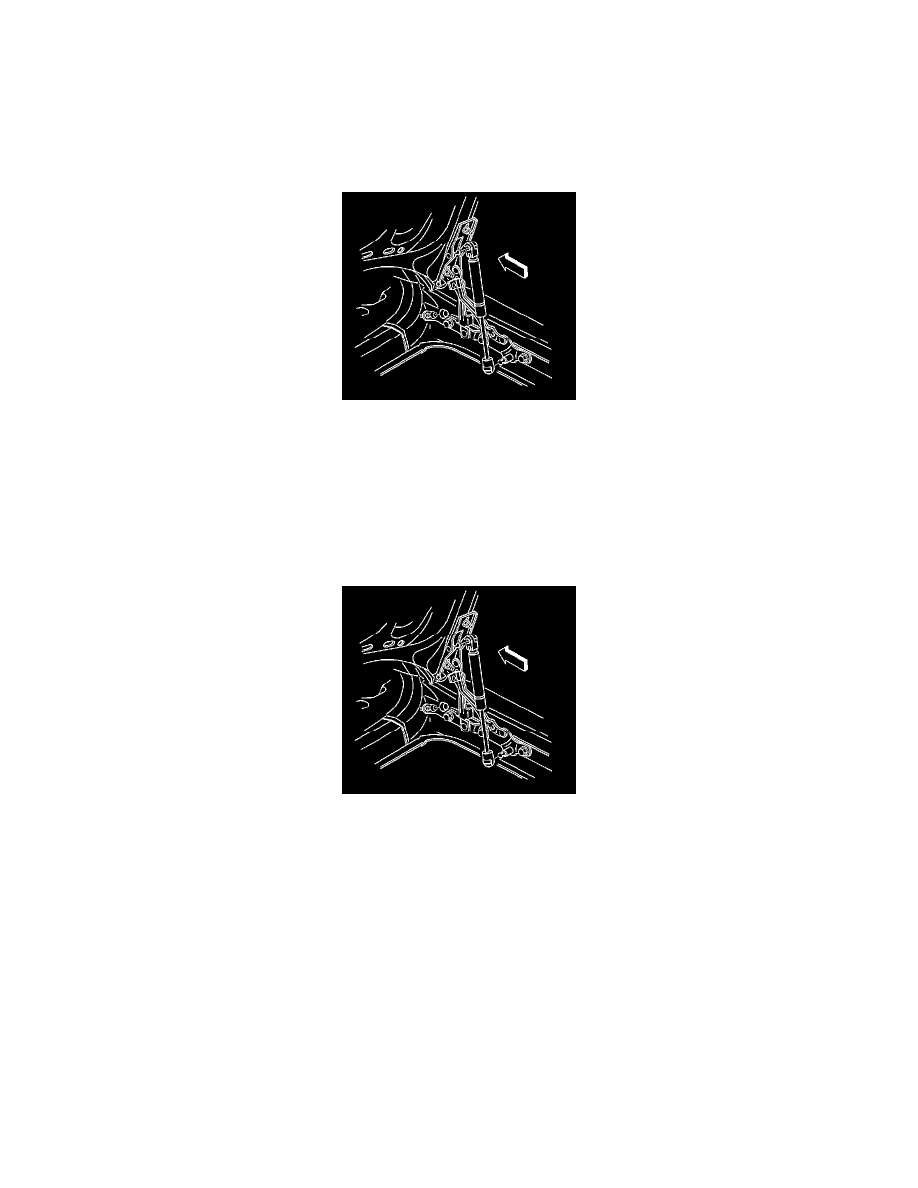
Rear Compartment Lid Strut Replacement
Removal Procedure
Caution: When a hood hold open device is being removed or installed, provide alternate support to avoid the possibility of damage to the
vehicle or personal injury.
Notice: In order to avoid damaging the rear compartment strut, apply pressure at the strut end before removing or attaching the strut. Do not apply
pressure to the mid-section of the rear compartment strut when removing or installing.
1. Raise and support the rear compartment lid.
2. Use a small flat-bladed tool to lift up the snap-ring retainer at the bottom and the top of the rear compartment strut.
3. Remove the rear compartment strut from the ball studs on the hinge.
4. Remove rear compartment strut from the vehicle.
Installation Procedure
1. Align the top and bottom of the rear compartment strut with the ball studs on the hinge.
2. Install the rear compartment strut onto the upper ball stud, pressing into place until fully seated.
3. Install the rear compartment strut onto the lower ball stud, pressing into place until fully seated.
4. Remove the support and close the rear compartment lid.