
Grand Prix V6-3.8L (2007)
7. Use a suitable driving tool and hammer and lightly tap around the outer edge of the seal to remove it.
8. Inspect the crankshaft for nicks or burrs on the surface that contacts the seal.
9. Repair or replace the crankshaft, if necessary.
Installation Procedure
Notice: Do not apply or use any oil lubrication on the crankshaft rear oil seal, or the seal installer. Do not touch the sealing lip of the oil seal once the
protective sleeve is removed. Doing so will damage/deform the seal.
Notice: Clean the crankshaft sealing surface with a clean, lint free towel. Inspect lead-in edge of crankshaft for burrs/sharp edges that could damage the
rear main oil seal. Remove burrs/sharp edges with crocus cloth before proceeding.
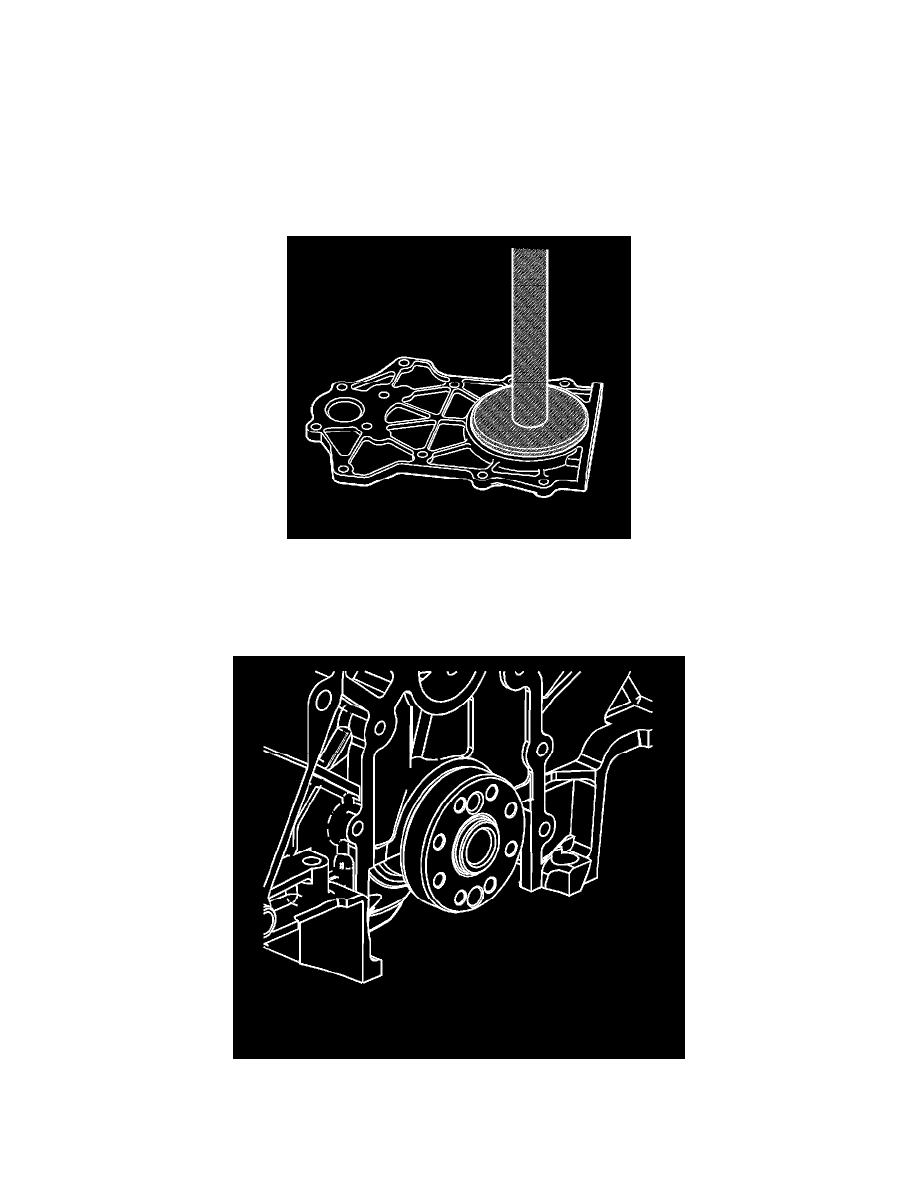
1. Clean and inspect the crankshaft rear oil seal housing making sure it is free of any foreign material.
2. With all bolts removed from the housing, place it face up on a flat clean surface.
3. Carefully remove the protection sleeve from the NEW rear oil seal.
4. Install the seal onto EN-47623 by placing the seal on an angle and using a twisting motion until it is fully seated.
5. Place EN-47623 along with J 8092 onto the housing as shown and apply a constant downward force until the seal is fully seated.
6. Clean the crankshaft sealing surface with a clean, lint free towel. Inspect the crankshaft sealing surface and leading edge of the crankshaft for
burrs/sharp edges that could damage the rear main oil seal. Remove any burrs or sharp edges with crocus cloth prior to proceeding.