
Grand Prix V6-3.8L SC VIN 1 (1997)
3.
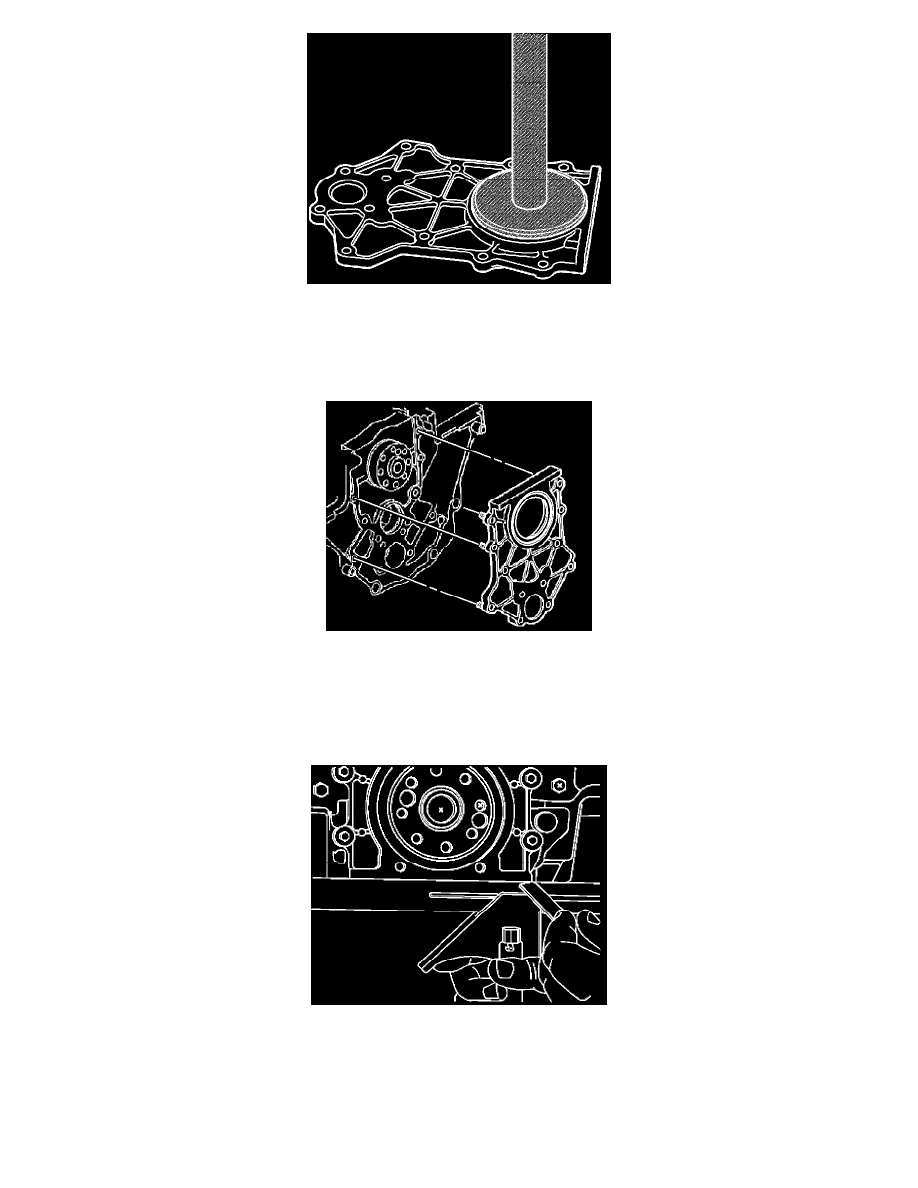
Place EN 47623 along with J 8092 onto the housing as shown and apply a constant downward force until the seal is fully seated.
Note:
Do not use a sealant or adhesive when installing this component. Use of a sealant or adhesive can cause improper sealing. A component that is
not sealed properly can leak leading to extensive engine damage.
4.
Install the crankshaft rear oil seal housing gasket and housing onto the engine. Make sure to use a new oil seal housing gasket.
Important:
The plastic inserts in the crankshaft rear oil seal housing bolt holes are used to aid assembly only. The inserts are not required for service.
5.
Install the crankshaft rear oil seal housing bolts and finger tighten.
6.
Place a straight edge on the engine block oil pan flange and the crankshaft rear oil seal housing flange. Use a feeler gage to ensure there is no more
than 0.10 mm (0.004 in) step on each side. If necessary, gently rotate the crankshaft rear oil seal housing to make the step equal on each side.
Note:
Refer to Fastener Notice on page P-7 in Cautions and Notices.
7.
Tighten the crankshaft rear oil seal housing bolts.