
Grand Prix V6-3.8L SC VIN 1 (1997)
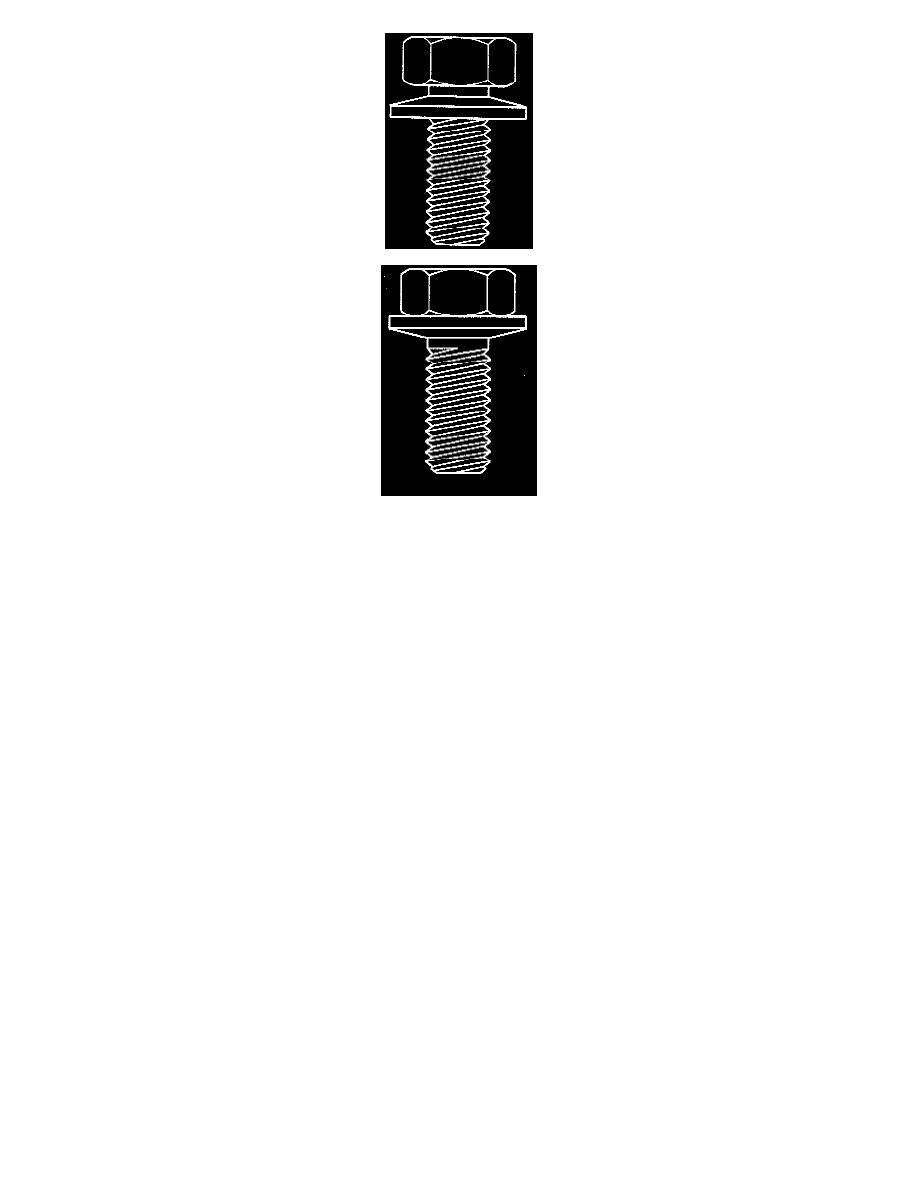
When service requires the removal of the bottom oil pan, the washers on the bolts must be inspected. A new bolt and washer assembly should be
installed if the washer is inverted.
REMOVE OR DISCONNECT
1. Raise and suitably support the vehicle.
2. Place drain pan under transaxle bottom oil pan.
3. Oil pan bolts/screws from front and sides.
4. Loosen rear oil pan bolts/screws approximately four turns.
NOTICE: Care must be taken not to damage mating surfaces of oil pan and case. Such damage may result in oil leaks in this area.
5. Lightly tap oil pan with rubber mallet or pry oil pan loose with a screwdriver and allow fluid to drain.
6. Remaining oil pan bolts/screws.
7. Oil pan.
8. Oil pan gasket.
Inspect
^
Oil pan and filter screen for foreign material:
-
Metal particles.
-
Clutch facing material.
-
Rubber particles.
-
Engine coolant.
^
Determine and correct source of contamination
^
Oil pan flange for distortion. Straighten if necessary.
Clean
-
Transaxle case and oil pan gasket surfaces with solvent and air dry. All traces of old gasket material must be removed.
NOTICE: If the transaxle case and oil pan flanges are not dry and free of any oil film, leakage may result.
INSTALL OR CONNECT
NOTICE: Always use the correct fastener in the proper location. When you replace a fastener, use ONLY the exact part number for that application.
The manufacturer will call out those fasteners that require a replacement after removal. The manufacturer will also call out the fasteners that require
thread lockers or thread sealant. UNLESS OTHERWISE SPECIFIED, do not use supplemental coatings (paints, greases, or other corrosion inhibitors)
on threaded fasteners or fastener joint interfaces. Generally, such coatings adversely affect the fastener torque and the joint clamping force, and may
damage the fastener. When you install fasteners, use the correct tightening sequence and specifications. Following these instructions can help you