
Grand Prix V6-3.8L VIN 2 (2004)
Notice: Refer to Paint Damage Notice in Cautions and Notices.
1. Apply masking tape to the door and applique.
2. Lower the window to the full down position.
3. Remove the front door trim panel. Refer to Trim Panel Replacement - Side Front Door (See: Front Door Panel/Service and Repair) .
4. Loosen the outside rearview mirror. Refer to Mirror Replacement - Power (See: Mirrors/Service and Repair/Mirror Replacement - Power Mirror)
.
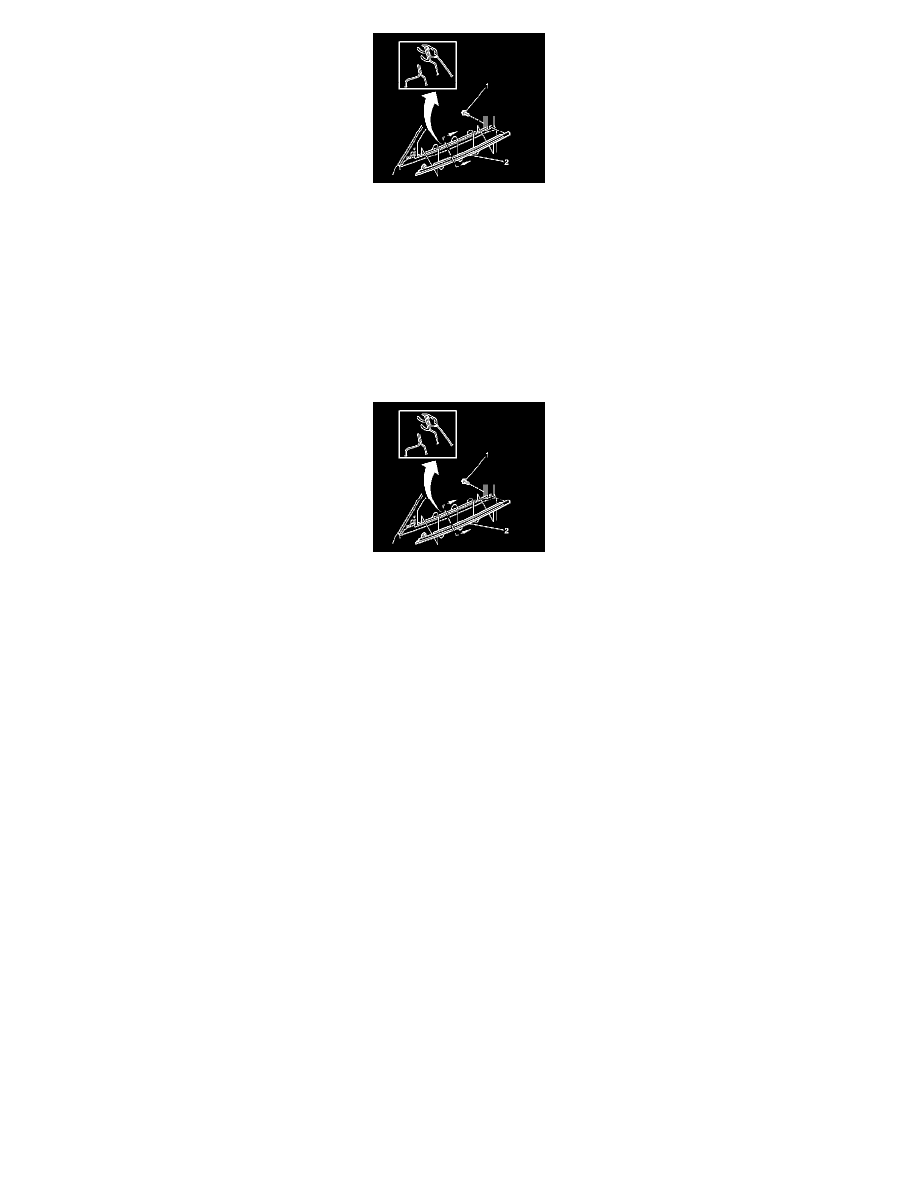
5. Remove the outer belt sealing strip screw (1).
6. Remove the outer belt sealing strip (2) from the door.
Installation Procedure
Important: Align the strip properly to the door inner panel for screw installation.
1. Install the outer belt sealing strip (2) to the door.
Press the outer belt sealing strip firmly onto the pinch-weld flange.
Notice: Refer to Fastener Notice in Cautions and Notices.
2. Install the outer belt sealing strip screw (1).
Tighten the screw to 2 N.m (18 lb in).
3. Install the outside rearview mirror. Refer to Mirror Replacement - Power (See: Mirrors/Service and Repair/Mirror Replacement - Power Mirror) .
4. Install the front door trim panel. Refer to Trim Panel Replacement - Side Front Door (See: Front Door Panel/Service and Repair) .
5. Inspect the window for proper operation.
6. Remove the masking.