Grand Prix V6-3.8L VIN 2 (2004)

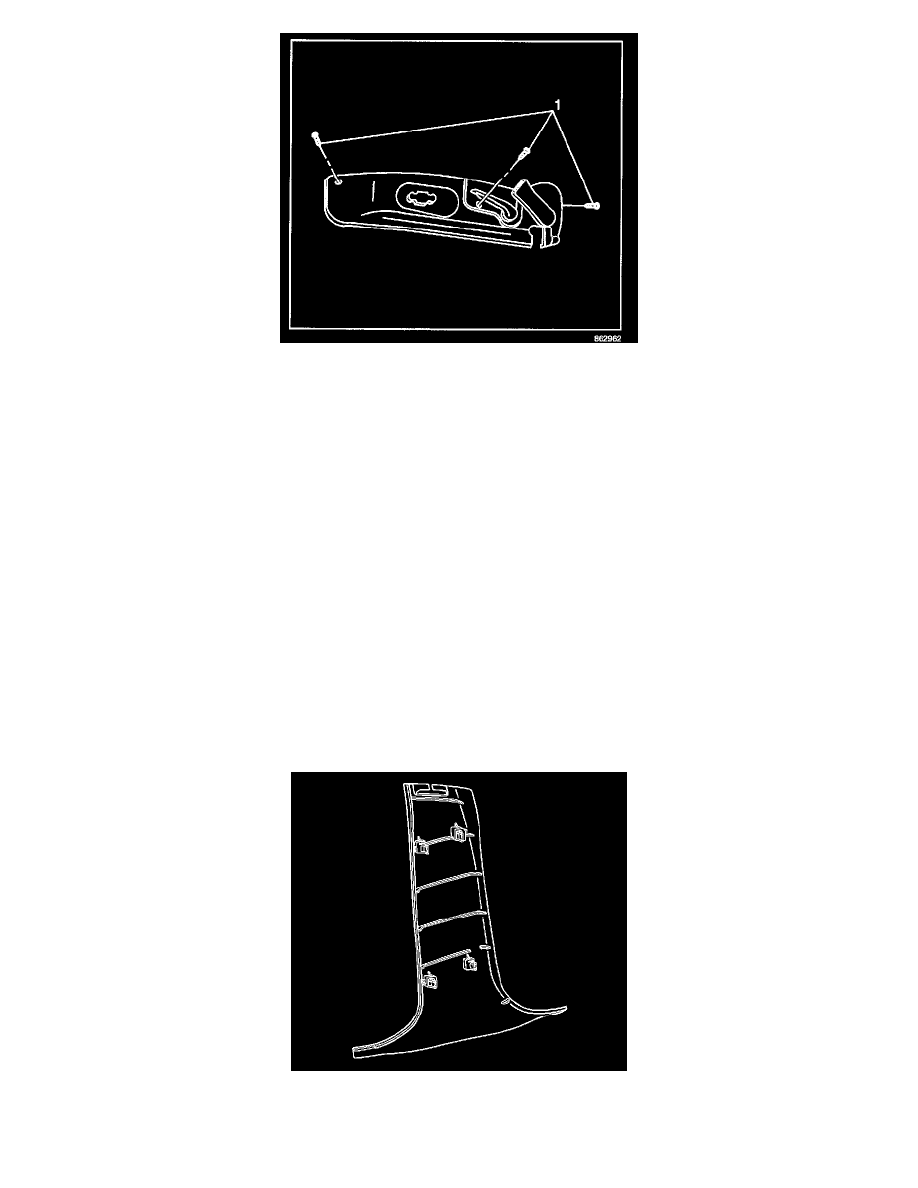
3. Install the trim panel screws (1).
Tighten
Tighten the screws to 3 N.m (27 lb.in).
4. Install the retainer to the base of the recliner handle.
5. Install the recliner handle.
6. Install the seat belt anchor nut.
Tighten
Tighten the nut to 42 N.m (31 lb.ft).
Trim Panel Replacement - Lower Center Pillar
Trim Panel Replacement - Lower Center Pillar
Tools Required
J 38778 Door Trim Pad and Garnish Clip Remover
Removal Procedure
1. Remove the front door carpet retainer. Refer to Carpet Retainer Replacement - Front (See: Carpet/Service and Repair/Removal and
Replacement/Carpet Retainer Replacement - Front) .
2. Use J 38778 to disengage the clips while holding the carper retaining leg of the quarter trim panel.
3. Pull the door weather-strips from the pinchweld flange as needed.
4. Pull out on the panel to disengage the retaining clips.
