
Grand Prix V6-3.8L VIN 2 (2004)
1. Position the rear quarter lower trim panel in the vehicle.
2. Install the upper clip to the trim panel by pressing into place until fully seated.
3. Install the carpet retainer section by pressing down until the clip is fully seated.
4. Install the rear seat cushion. Refer to Seat Cushion Replacement - Rear (See: Seats/Seat Cushion/Service and Repair/Removal and
Replacement/Seat Cushion Replacement - Rear) in Seats.
Trim Panel Replacement - Rear Quarter Upper
Trim Panel Replacement - Rear Quarter Upper
Removal Procedure
1. Remove the rear seat cushion. Refer to Seat Cushion Replacement - Rear (See: Seats/Seat Cushion/Service and Repair/Removal and
Replacement/Seat Cushion Replacement - Rear) in Seats.
2. Remove the rear seat back. Refer to Seat Back Replacement - Rear (Folding) (See: Seats/Seat Back/Service and Repair/Removal and
Replacement/Seat Back Replacement - Rear (Folding)) in Seats.
3. Remove the rear quarter lower trim panel. Refer to Trim Panel Replacement - Rear Quarter Lower (See: ) .
4. Pull out the rear door weather-strip from the pinchweld flange as needed.
5. Loosen the sail panel as needed.
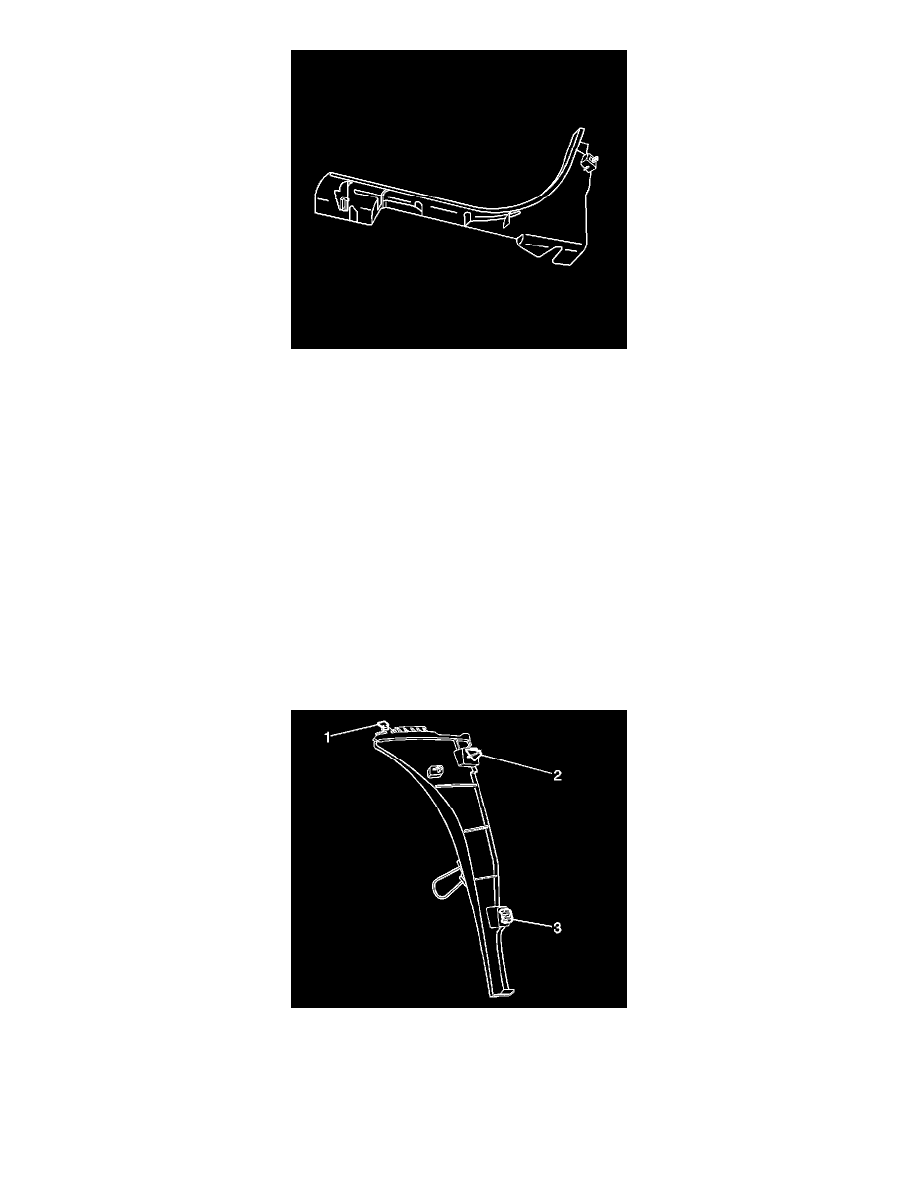
6. Pull out on the lower third of the quarter trim panel to disengage the clip (3).
7. Lift the bottom edge of the quarter panel until the panel is at a 45-degree angle.
8. Slide the panel down to disengage the top T-hook (1).
9. Remove the trim panel from the vehicle.
Installation Procedure